Getting Started with stax2aws
stax2aws is supported on Windows, macOS, and Linux.
Installing stax2aws on Windows
To install stax2aws on Windows, you should retrieve the latest release from the Releases page. Most users should retrieve the stax2aws_version_windows_amd64.zip file. Other architectures are available for download as well.
After downloading and extracting the zip file, open either the Command shell or PowerShell and navigate to the path with the stax2aws binary. Run the executable using the following commands to confirm that it can execute:
-
Command shell:
C:\stax2aws> stax2aws.exe --help -
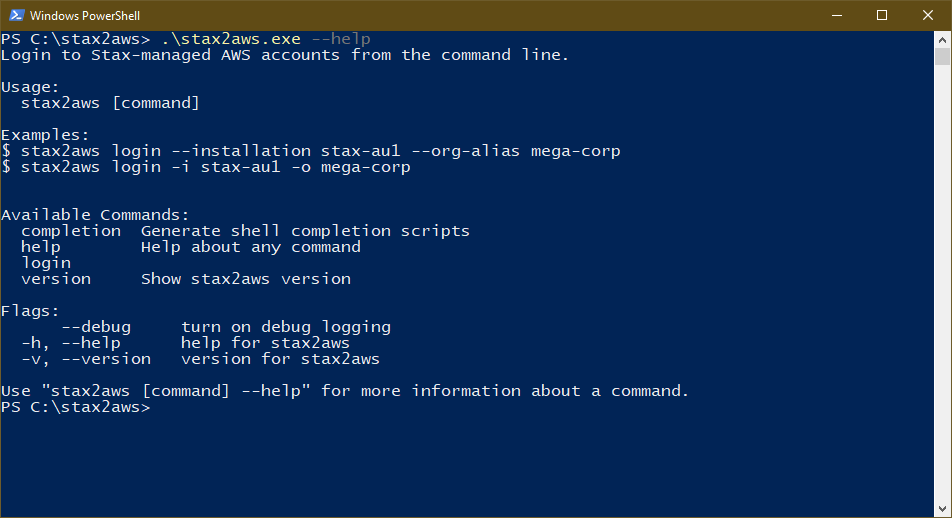
PowerShell:
PS C:\stax2aws> .\stax2aws.exe --help
You should see output similar to the following:
Installing stax2aws on macOS or Linux
To install stax2aws on macOS or Linux, the Homebrew package manager is recommended. You should install Homebrew before attempting the instructions below.
Run a Terminal or shell of choice and issue the following commands to install stax2aws:
$ brew tap stax-labs/homebrew-taps
$ brew trust --formula stax-labs/homebrew-taps/stax2aws
$ brew install stax2aws
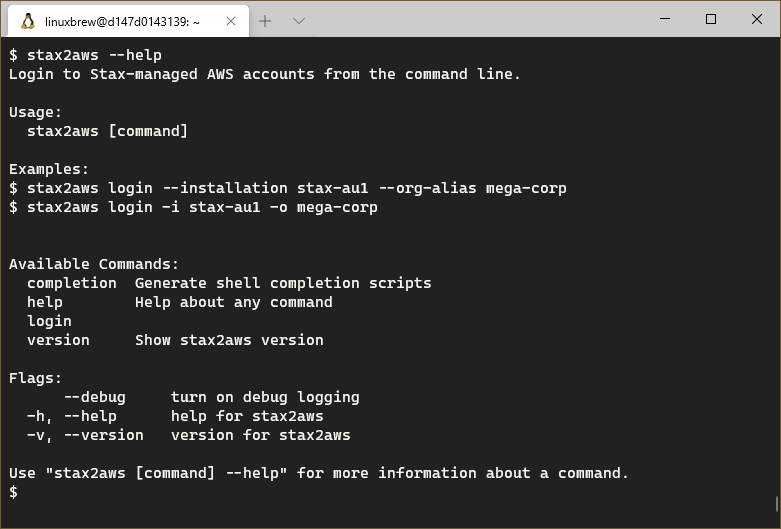
Once the installation completes, run a Terminal or shell of choice and run stax2aws to validate that it executes successfully:
$ stax2aws --help
You should see output similar to the following:
Usage
-
Open a shell and issue the following command to commence the authentication flow:
stax2aws login -i installation -o orgaliasReplace installation above with your Stax installation, and orgalias with your Stax Organization Alias. Your Stax installation can be found by clicking the arrow (⌄) next to your Organization Alias in the Stax, then reviewing the INSTALLATION section of the menu. In the example below, the Stax Installation stax-au1 and Organization Alias stax-demo are used:
stax2aws login -i stax-au1 -o stax-demo -
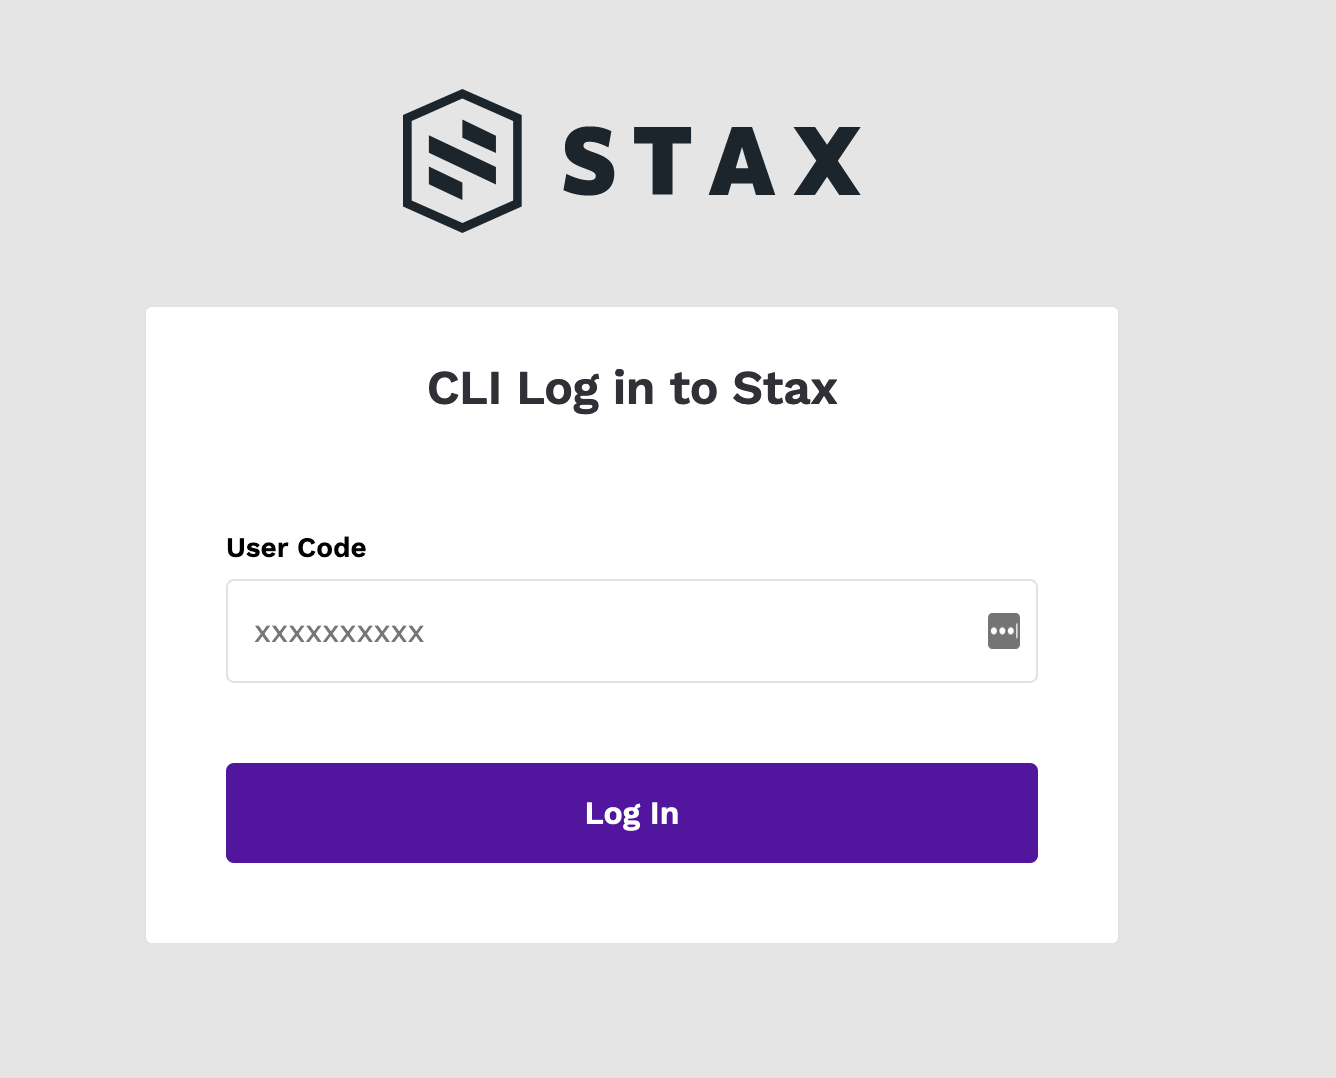
You will be directed to the Stax Console to authenticate your account. You can navigate to the console either by scanning the QR code, or browsing to the URL given. You will be prompted to accept the User Code and then log in to Stax normally. You should use whichever authentication method you typically use to authenticate to the Stax Console.
Once you log in, you'll be directed to return to your shell:
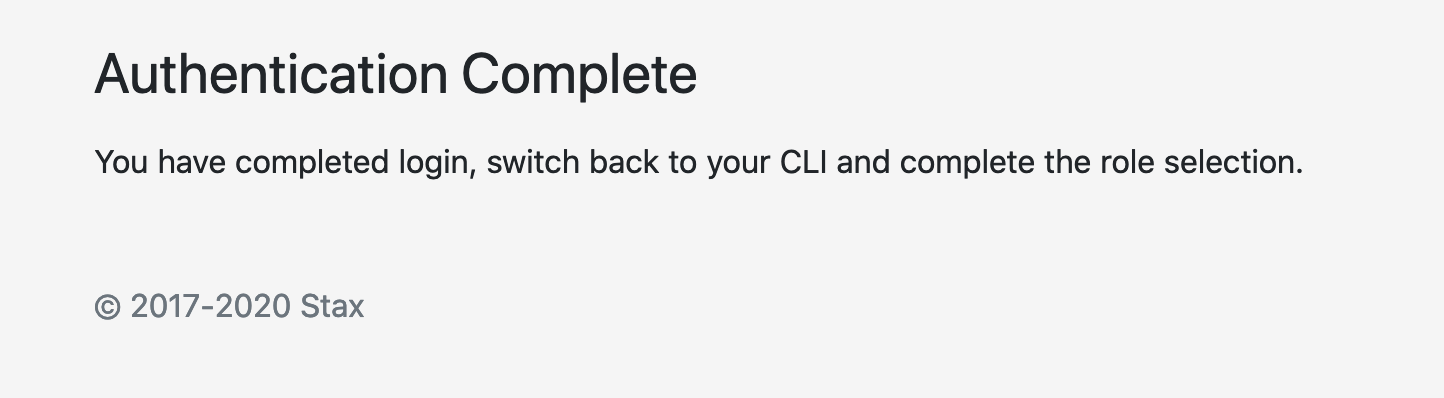
- stax2aws will prompt you to choose a role from the list that you are permitted to assume. You can use the arrow keys to browse the list, or start typing to narrow the list down to roles with particular keywords. Press Enter once your cursor is focused on the desired role.
stax2aws will then complete the role assumption and provide an AWS profile name. This profile name should be used when performing tasks with the AWS CLI or other tooling that utilizes IAM credentials. In the following example, the profile name is stax-au1-stax-demo:
$ aws sts get-caller-identity --profile stax-au1-stax-demo
{
    "UserId": "AROAUYAX54V3J54XXXXXX:stax-demo@example.com",
    "Account": "123456789012",
    "Arn": "arn:aws:sts::123456789012:assumed-role/staxid-readonly-role/stax-demo@example.com"
}
When your AWS credentials expire you will be required to re-authenticate using the steps above.
Configuration Options
Environment Variables
Many of the login command line options have associated environment variables that can be utilized instead:
| Command Line Option | Environment Variable |
|---|---|
| --installation or -i | STAX_INSTALLATION |
| --org-alias or -o | STAX_ORG_ALIAS |
| --role-arn or -r | STAX_ROLE_ARN |
| --profile or -p | STAX_PROFILE |
| --session-duration | STAX_SESSION_DURATION |
Understanding Session Duration
The session duration option is limited by the maximum allowed session duration on the target AWS role. For Stax default roles, the maximum limit is 8 hours (28800 seconds). For roles provisioned through Permission Sets this is configurable per role between the minimum and maximum allowed AWS values (from 1 hour to 12 hours). Configuring a duration above the maximum allowed will result in an AWS error being returned during the AWS calls to assume the role. stax2aws is unable to validate this prior to attempted use of the role.
Understanding Profile
The profile option enables you to create multiple active sessions. The profile value is propagated to the AWS CLI and becomes the AWS_PROFILE. By combining the profile option with the role-arn and session-duration options, you can create unique profiles and authenticate several different sessions which may be different roles or accounts.
Command Line Options
Additional login command line options can assist in a smooth experience:
| Command Line Option | Description |
|---|---|
| --open-browser | Automatically open a browser with the token code populated. |
| --force | Force a refresh of credentials even if the current profile credentials are still valid. |
Configuration File
A file is used to store the stax2aws configuration. This exists in the user's HOME directory called stax2aws.yaml. The file can be edited directly to implement desired profiles and configuration.
$ cat stax2aws.yaml
stax2aws:  profiles:
  - installation: au1
   org-alias: stax-demo
   profile: stax-au1-stax-demo
   role-arn: arn:aws:iam::123456789012:role/staxid-readonly-role
   session-duration: 28800