Add a Rule from the Catalog
Rules in Stax are automated compliance checks to ensure your resources are compliant with the standards you apply to them. These standards can be external standards, like the Center for Internet Security (CIS), a set of industry best practices around a specific AWS product, or your own internal standards.
The Rules available within Stax are not just limited to ensuring that your resources are secure, there are also Rules that check for optimization, tagging compliance, use of approved regions and more. In total, there are nearly 200 Rules in our catalog that you can configure to meet your needs and the list is always growing.
There are two ways to add Rules; adding a Rule Bundle or adding from the catalog. This article will cover both.
Before You Begin
- Adding a Rule or Rule Bundle will generally take 5 - 10 minutes
- Once a Rule or Rule Bundle is added, evaluation of the new Rule(s) may take 2-4 hours
- In order to add or edit Rule within Stax, you'll need to be an admin
- It's also important to be aware that when you create a new Rule, any non-compliant resources may trigger notifications to be sent to other Stax users
- It's also good to know that while an individual Rule can be applied everywhere or to a specific segment, a Rule Bundle will be applied everywhere
Get Started
- Log in to the Stax Console
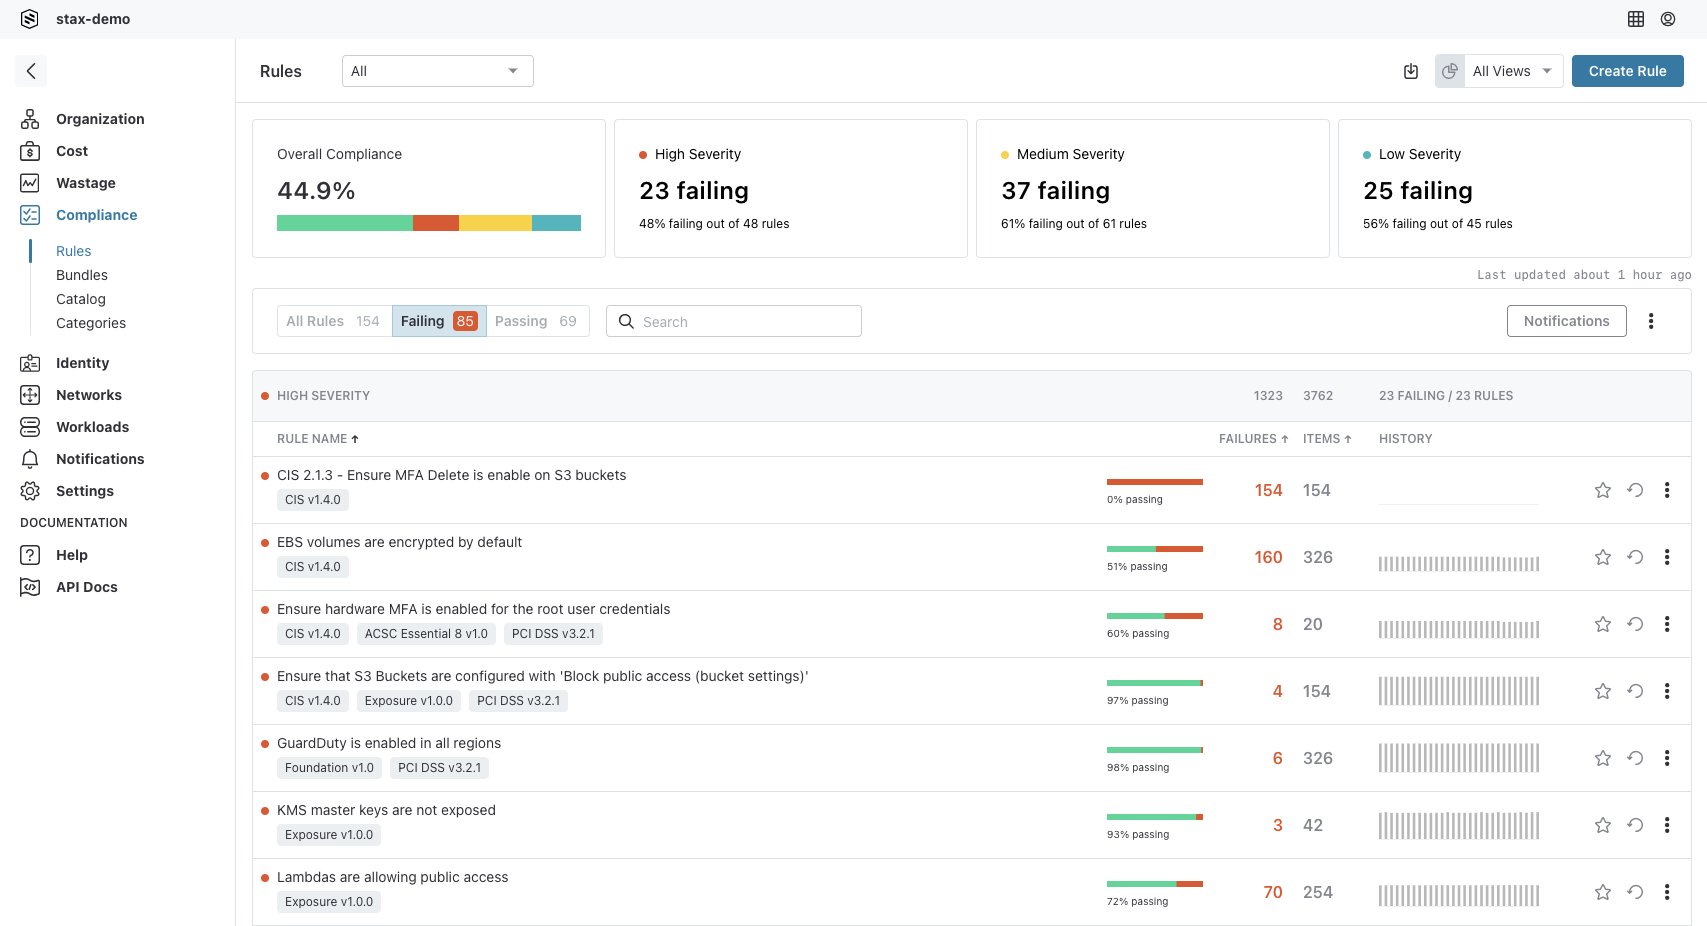
- Navigate to Rules
- You'll be able to see the Rules your organization has already set up
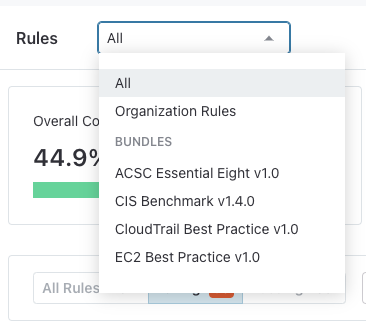
- You can check the Bundles that have been switched on by clicking the filter at the top of the page
Add a New Single Rule
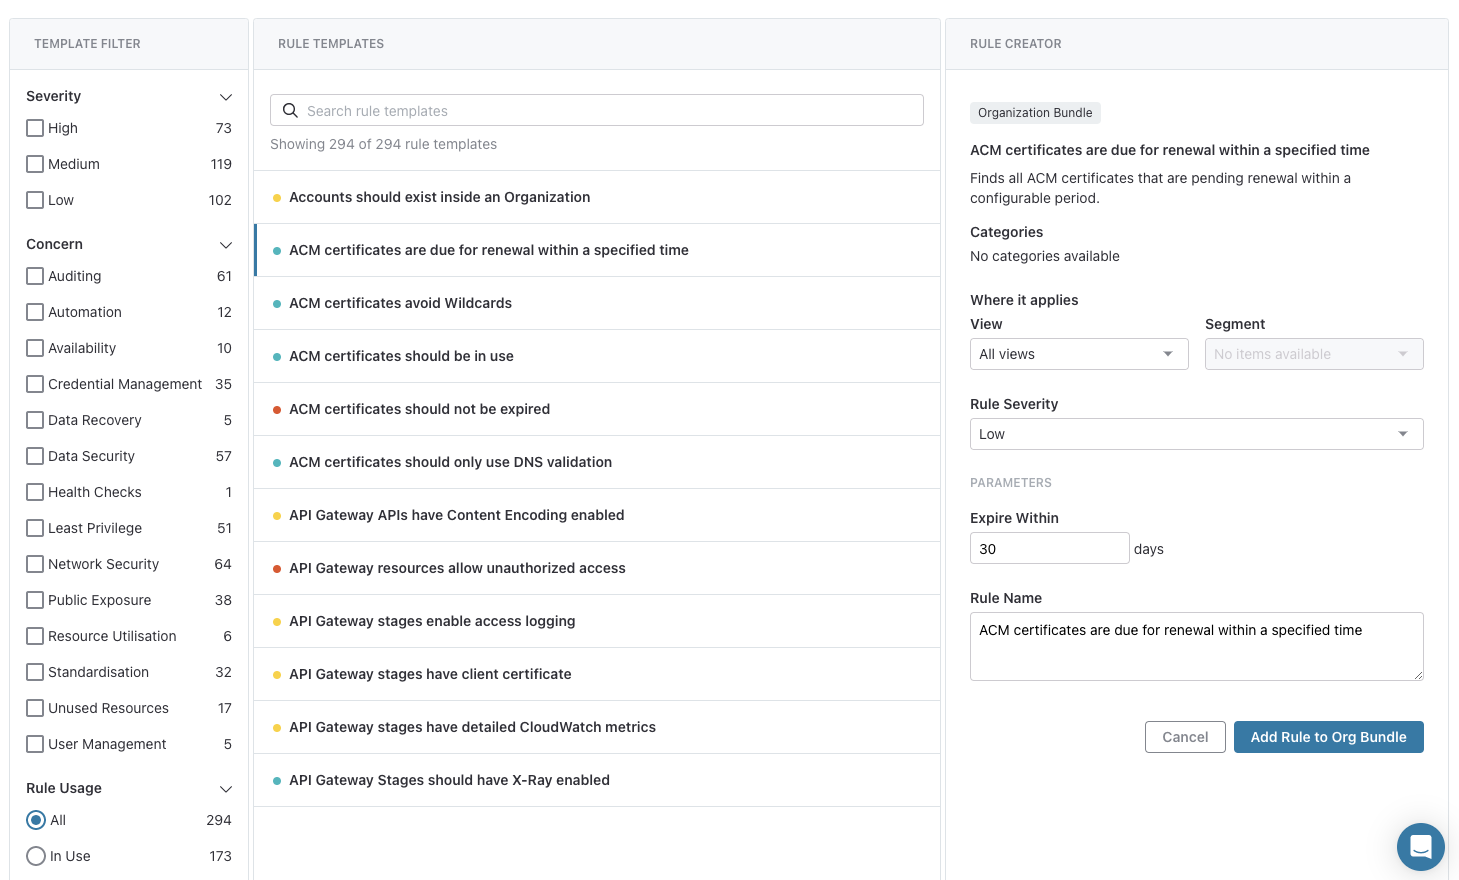
- To add a new single Rule, choose Create Rule. The Rules Catalog will be displayed
2. From the Rules Catalog, choose the appropriate Rule template. Either search by keyword, or choose one or more categories/severities of concern
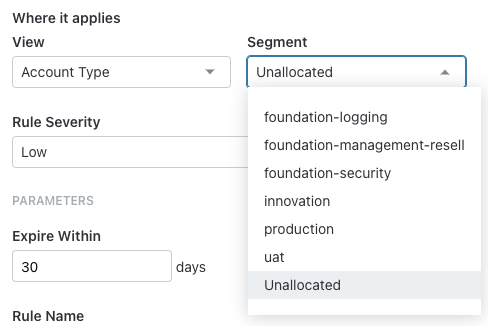
6. Give the Rule a meaningful name

