Configure AD FS for Single Sign-On
Stax integrates with your corporate identity using SAML. This allows you to bring your own identities and identity management controls to the Stax platform. Active Directory Federation Services (AD FS) is Microsoft's SAML identity provider (IdP) that is available with Windows Server from Windows Server 2003 onwards.
Before You Begin
- Estimated time to complete: 1 hour
- Ensure you are a member of the Admin role in Stax
- Ensure you have permission to administer the AD FS environment
- While Stax should work with AD FS all the way back to Windows Server 2003, only AD FS on Windows Server 2016 and newer are supported
Create the Relying Party Trust in AD FS
Determine your SAML Service URIs (Entity ID and SAML 2.0 Service URL) using the guidance in Configure Single Sign-On.
Prepare the Active Directory Domain Services (AD) Groups
Stax has four roles; admin, operations, user, and readonly. You can use AD FS to specify these roles at login time. For this purpose, you'll need to create and populate five AD groups.
In the examples below, we'll use the following four group names:
- Stax Admins
- Stax Operations
- Stax Users
- Stax Read Only Users
See Permissions in Stax for more information on Stax roles.
Configure AD FS
Once you've prepared the URIs and AD Groups, you can configure AD FS.
-
Connect to the Windows Server computer holding the AD FS "Primary computer" role. If you're unsure which computer this is, run Windows PowerShell on an AD FS server as an administrator and issue the following command:
Get-AdfsFarmInformation |Select-Object -ExpandProperty FarmNodes |Where-Object { $_.NodeType -eq "PrimaryComputer" } |Select-Object FQDN -
From the Start menu, open Windows Administrative Tools, then double-click on AD FS Management to open the AD FS console
-
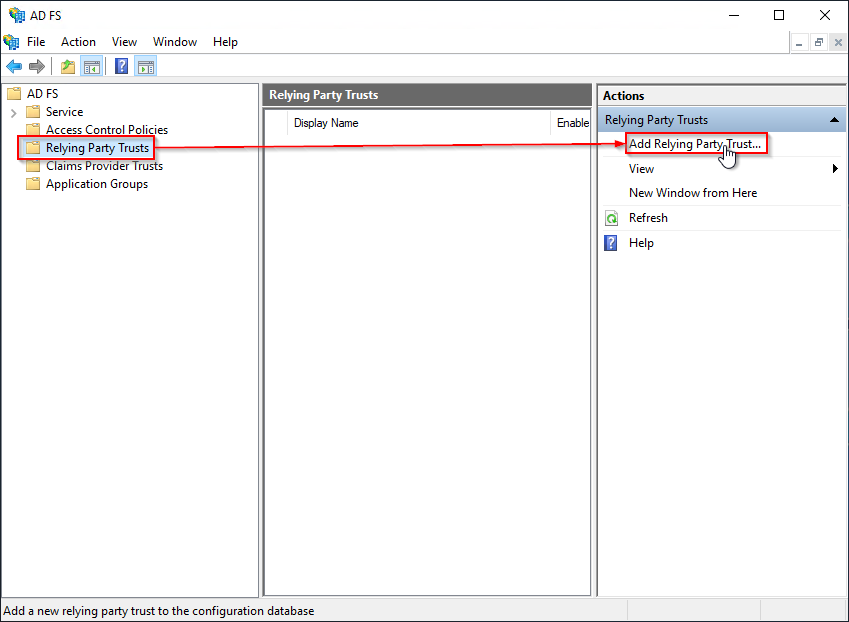
Within the AD FS console's navigation pane, navigate to AD FS then Relying Party Trusts. In the Actions pane, choose Add Relying Party Trust... to open the Add Relying Party Trust Wizard
-
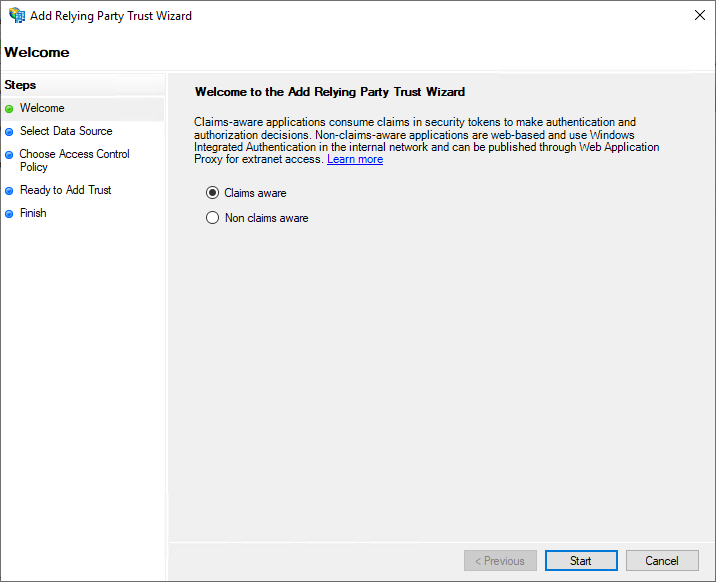
Depending on your version of AD FS, you may be prompted to choose whether the application is Claims aware or Non claims aware. Ensure Claims aware is selected and choose Start
-
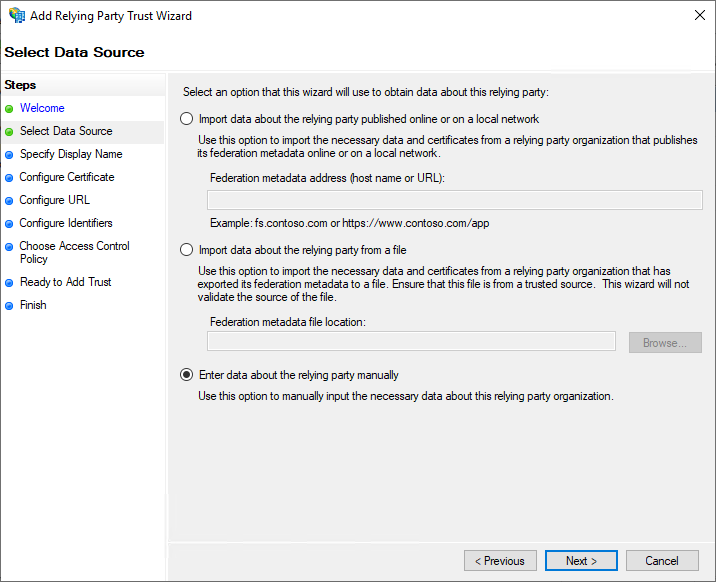
On the Select Data source page, choose Enter data about the relying party manually and choose Next
-
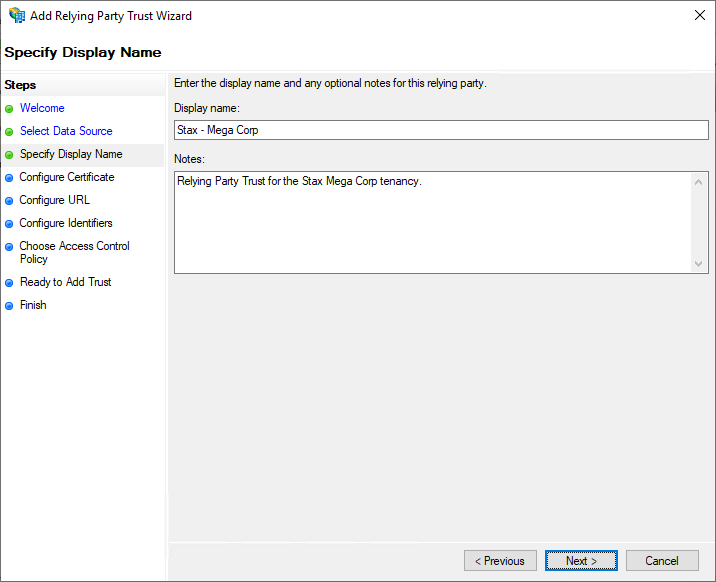
On the Specify Display Name page, enter a Display Name for the application that fits your corporate convention. Each Display Name must be unique within your AD FS farm. Enter a description if appropriate and choose Next
-
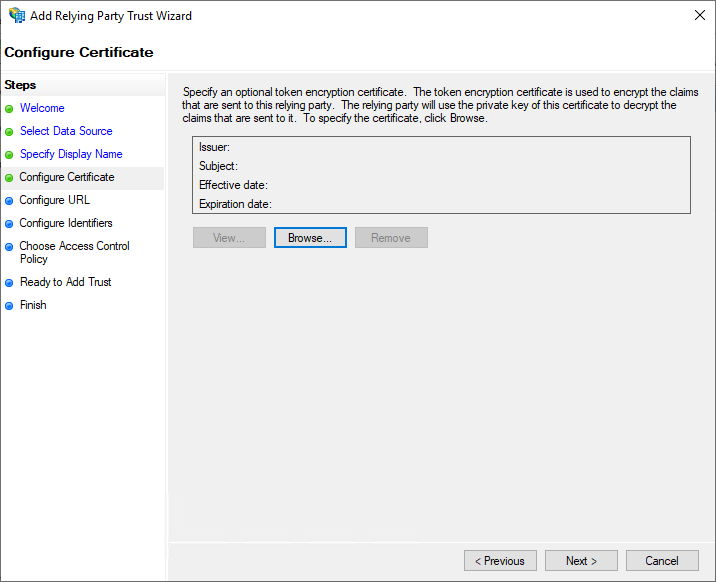
On the Configure Certificate page, leave the token encryption certificate blank and choose Next
-
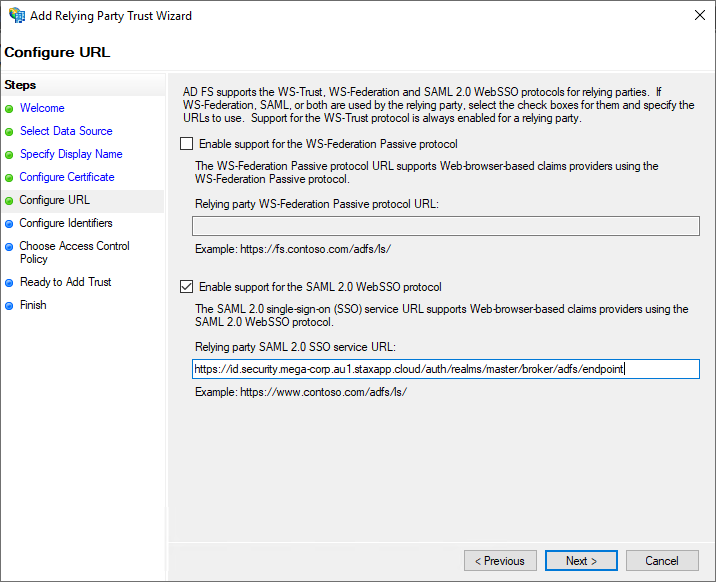
On the Configure URL page, check the Enable support for the SAML 2.0 WebSSO protocol box and enter the SAML 2.0 Service URL you determined earlier in the URL text box. Click Next
-
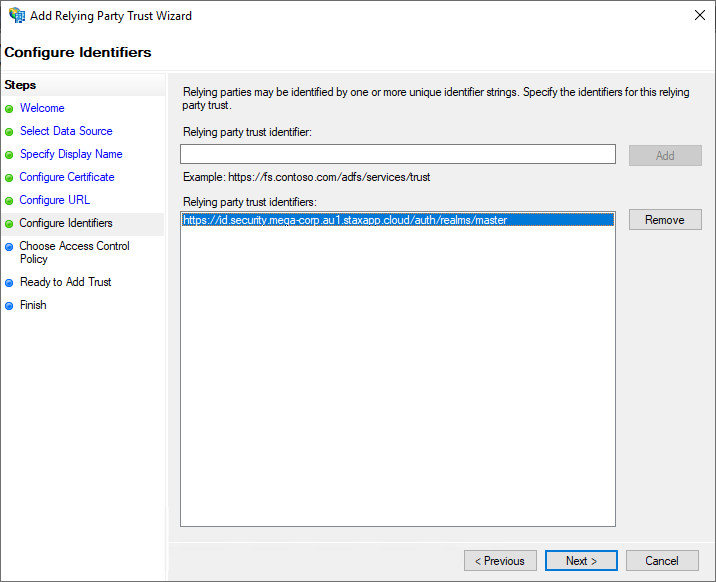
On the Configure Identifiers page, add the Entity ID you determined earlier. Enter this value into the Relying party trust identifier field. Choose Add and then Next
-
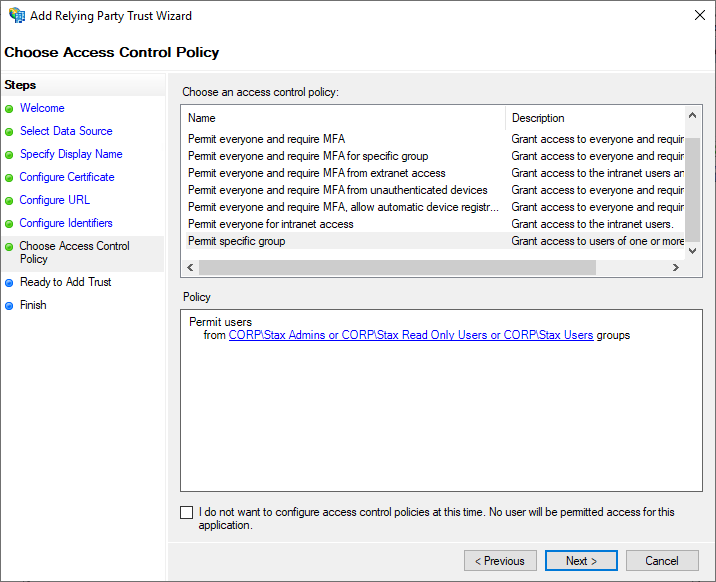
On the Choose Access Control Policy page, choose the appropriate access control policy and any relevant parameters. In the example below, access is restricted so that only members of the Stax Admins, Stax Operations, Stax Read Only Users*, and Stax Users Active Directory groups can log into Stax. Choose *Next*
-
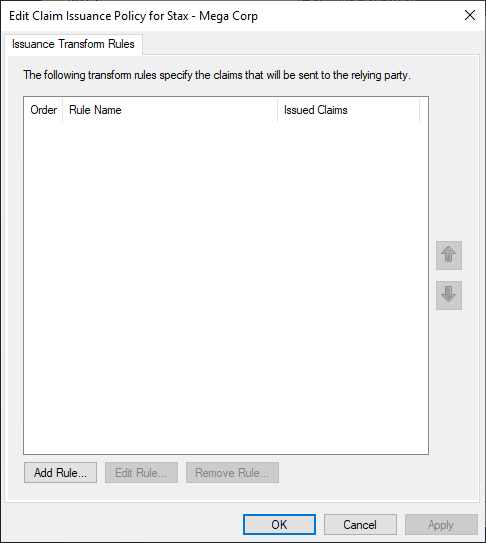
On the Ready to Add Trust page, review your settings then choose Next. Leave Configure claims issuance policy for this application selected on the Finish page, and choose Close. This will add the Relying Party Trust and open the Edit Claim Issuance Policy dialog
-
On the Edit Claim Issuance Policy dialog, click Add Rule... and add the following claim rules:
Parameter Value 1. Send AD properties as claims Claim rule template Send LDAP Attributes as Claims Claim rule name Send AD Attributes as Claims Attribute Store Active Directory Attribute Mapping: LDAP Attribute Outgoing Claim Type - E-Mail-Addresses email - Given-Name firstName - Surname lastName - E-Mail-Addresses persistentId 2. Send Stax Admins group membership as a claim Claim rule template Send Group Membership as a Claim Claim rule name Send Stax Role - Admin as Claim User's group CORP\Stax Admins (Your Stax Admins AD group) Outgoing claim type Role Outgoing claim value customer_admin 3. Send Stax Operations group membership as a claim Claim rule template Send Group Membership as a Claim Claim rule name Send Stax Role - Operations as Claim User's group CORP\Stax Operations (Your Stax Operations AD group) Outgoing claim type Role Outgoing claim value customer_operations 4. Send Stax Users group membership as a claim Claim rule templates Send Group Membership as a Claim Claim rule name Send Stax Role - User as Claim User's group CORP\Stax Users (Your Stax Users AD group) Outgoing claim type Role Outgoing claim value customer_user 5. Send Stax Read Only Users group membership as a claim Claim rule template Send Group Membership as a Claim Claim rule name Send Stax Role - Read Only as Claim User's group CORP\Stax Read Only Users (Your Stax Read Only Users AD group) Outgoing claim type Role Outgoing claim value customer_readonly 6. Send Persistent Name Identifier as a Claim Claim rule template Transform an Incoming Claim Claim rule name Send Persistent Name Identifier Incoming claim type persistentId Outgoing claim type Name ID Outgoing name ID format Persistent Identifier
Configure Stax to allow AD FS Sign-In
When you're ready to have Stax configured, you will need to raise a support case with your AD FS metadata and SAML 2.0 Service URL.
If you're not sure where to find your metadata file, open Windows PowerShell as an administrator on your primary AD FS computer and run the following command:
Get-AdfsEndpoint |
 Where-Object { $_.Protocol -eq "Federation Metadata " } |
 Select-Object FullUrl
Once SAML is configured on your Stax tenancy, the support team will be in touch to let you know that it's ready to be tested.
How do you know this worked?
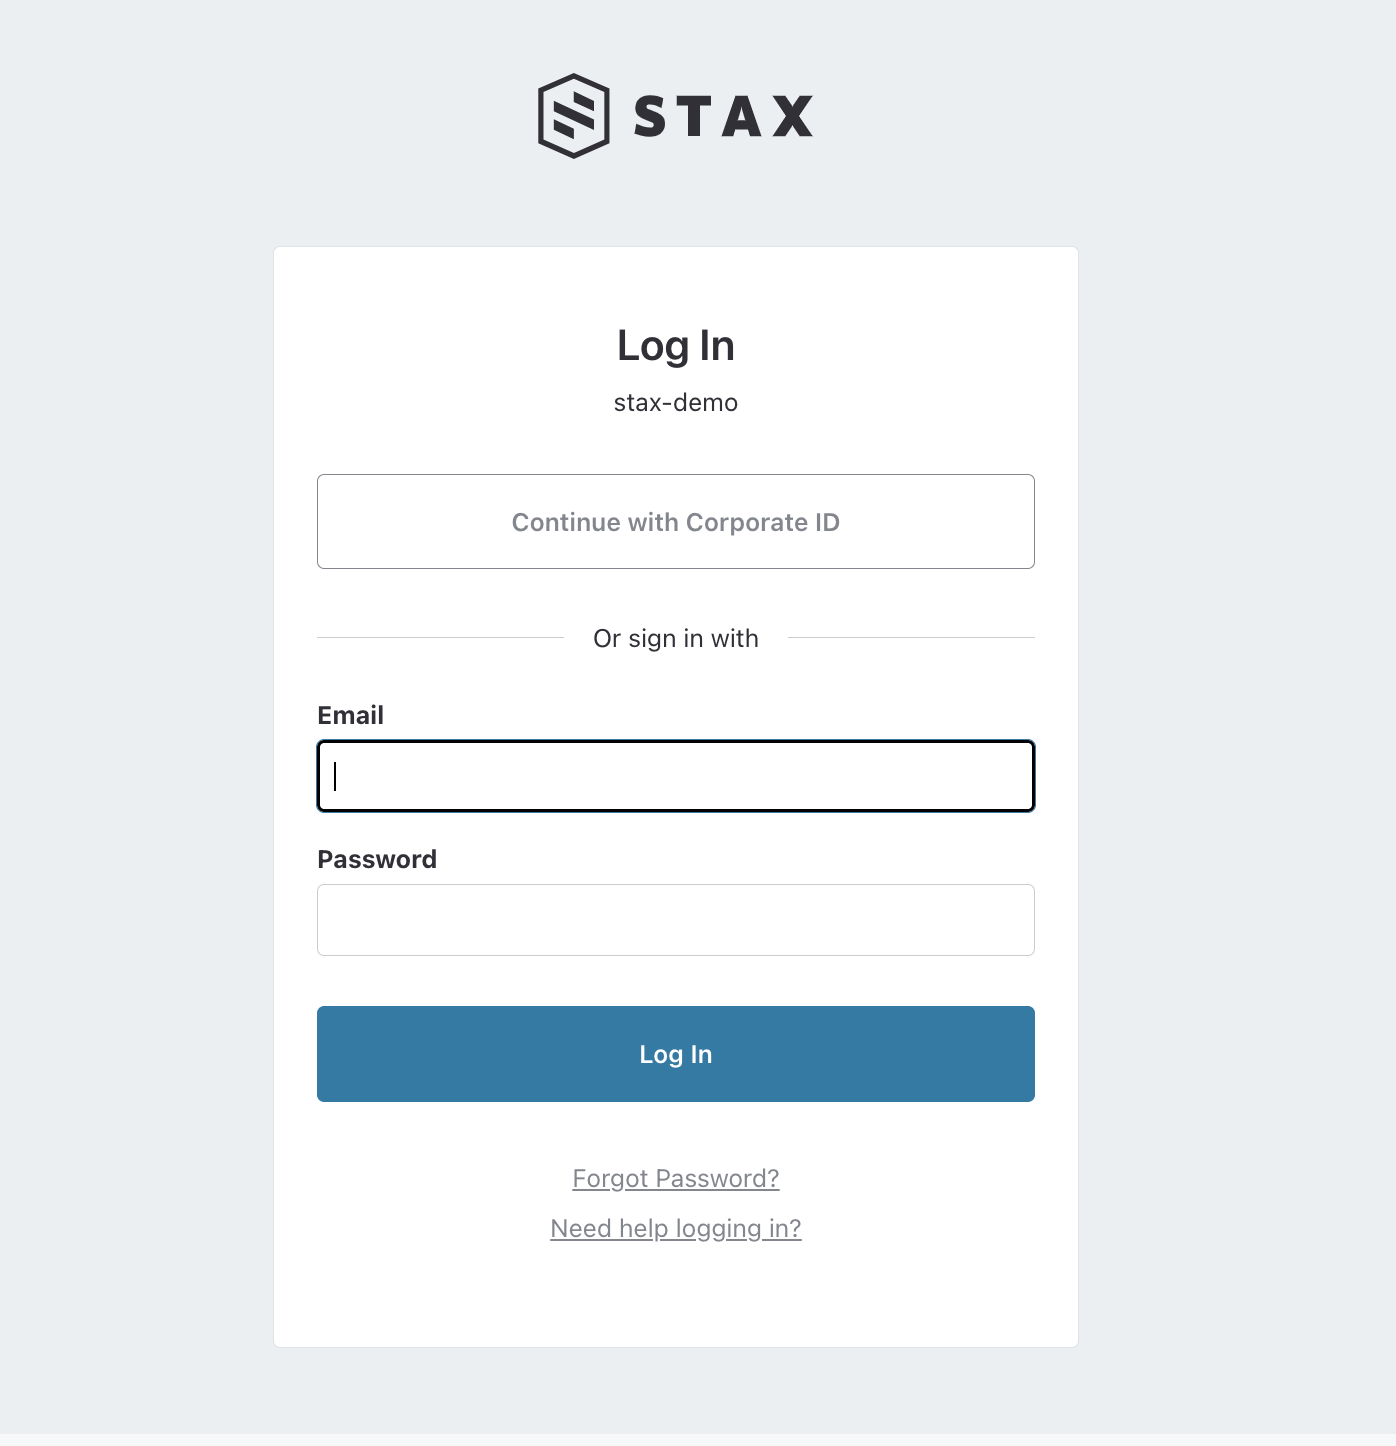
At this time, Stax does not support IdP-initiated sign-ins. You must use SP-initiated sign-in to access Stax.
Next time you navigate to your Stax Console login page, on the top, you'll see a new Continue with Corporate ID button. Clicking this button will take you to your SAML sign-in page. Log in to the IdP and you'll be signed into your Stax tenancy.