Configure Entra ID for Single Sign-On
Stax integrates with your corporate identity using SAML. This allows you to bring your own identities and identity management controls to the Stax platform. Entra ID (formerly Azure Active Directory) is Microsoft's cloud-hosted identity solution. It supports integration with applications as a SAML identity provider (IdP) and is available for use by most organizations with a Microsoft 365/Office 365 tenancy.
Before You Begin
- Estimated time to complete: 1 hour
- Ensure you are a member of the Admin role in Stax
- You need to be a member of the Global Admins role in Entra ID, or be delegated equivalent access to Enterprise Applications by an administrator
Prepare the SAML Service URIs
Determine your SAML Service URIs (Entity ID and SAML 2.0 Service URL) using the guidance in Configure Single Sign-On.
Create a new Enterprise Application in Entra ID/Azure AD
Once you've prepared the URIs and AD Groups, you can configure Entra ID/Azure AD.
-
Log in to the Entra ID portal at https://entra.microsoft.com/
-
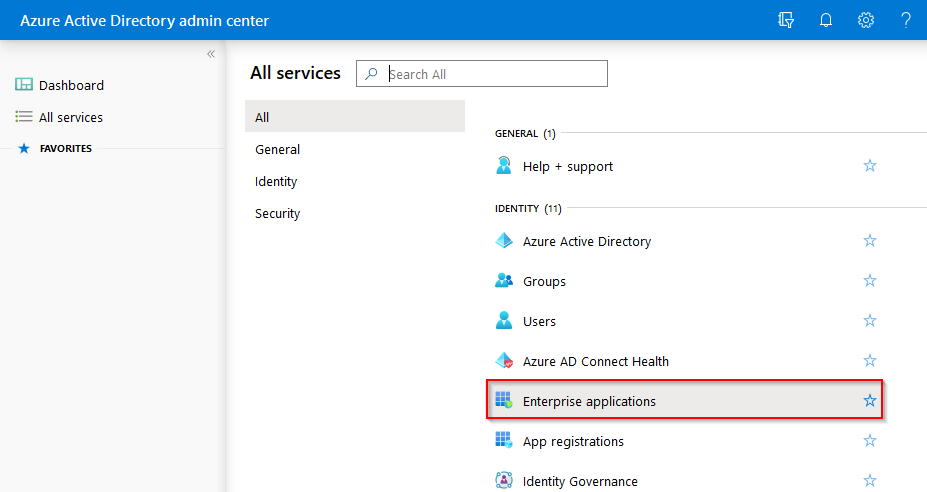
From the left-hand navigation pane, choose Identity, then within the Applications section, choose Enterprise applications
-
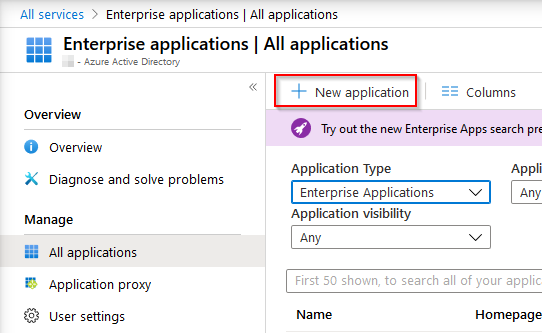
From the All applications page, choose + New application
-
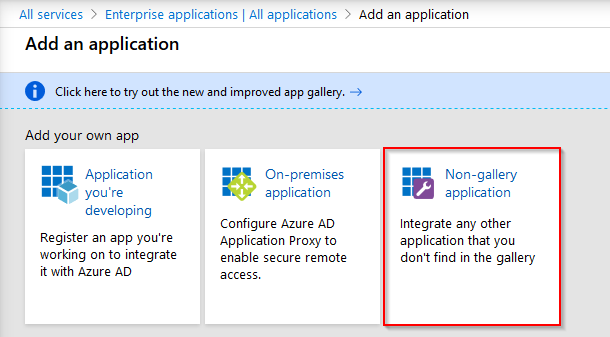
On the Add an application page, choose Non-gallery application
-
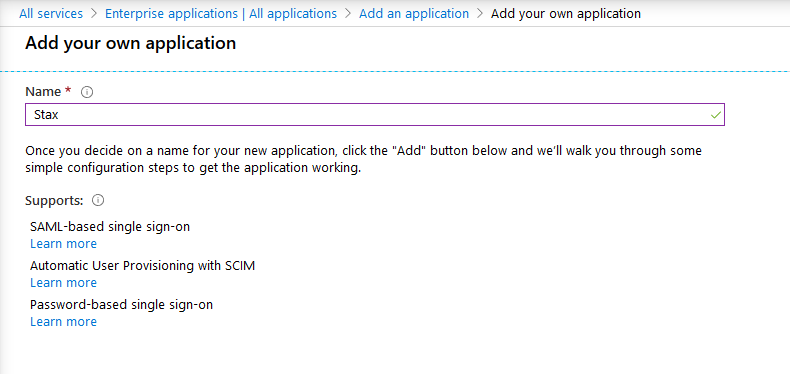
On the Add your application page, enter a name for the application then click Add
-
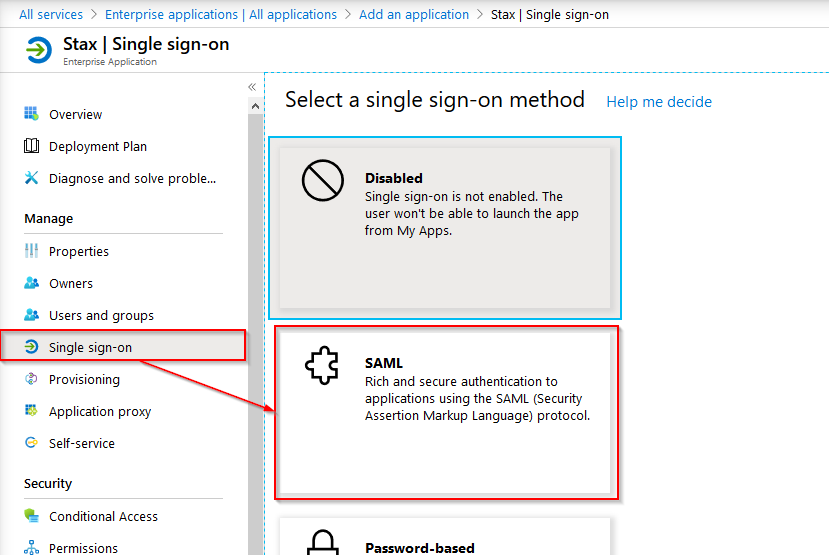
Once the application is created, from the Manage section, choose Single sign-on, then SAML to enable SAML for the application
-
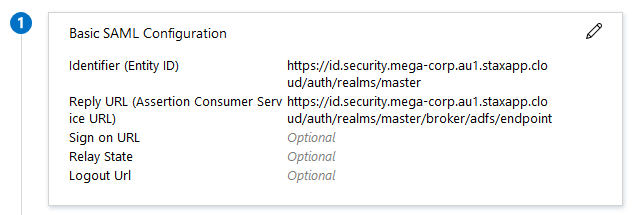
Using the details you gathered above, complete the Basic SAML configuration for the new application:
Parameter Value Example Identifier (Entity ID) The entity ID you determined earlier https://id.security.mega-corp.au1.staxapp.cloud/auth/realms/masterReply URL (Assertion Consumer Service URL) The SAML 2.0 Service URL you determined earlier https://id.security.mega-corp.au1.staxapp.cloud/auth/realms/master/broker/saml/endpointSign on URL (blank) Relay State (blank) Logout Url (blank) -
Next, click the edit button next to User Attributes & Claims and configure the Claims for the application:
-
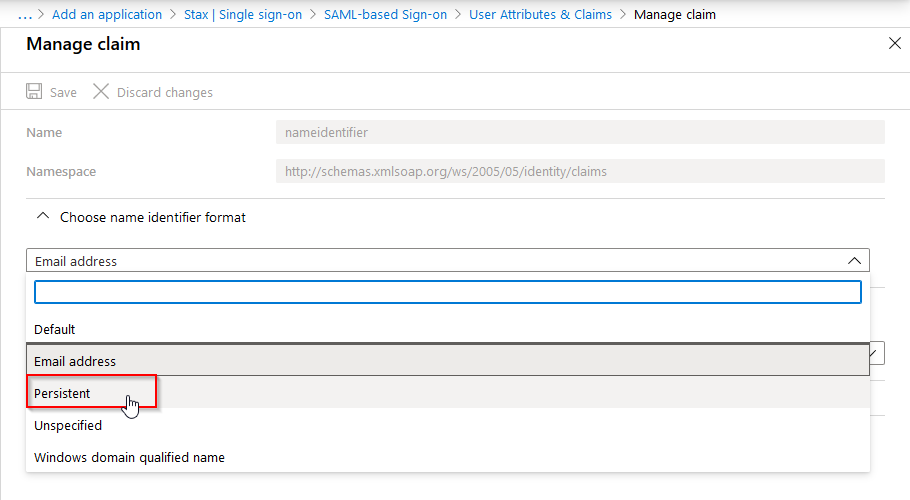
First, click on Unique User Identifier (Name ID) under Required claim and change the name identifier format from the default Email address to Persistent.
-
Save and close the Manage claim form to return to the User Attributes & Claims page
-
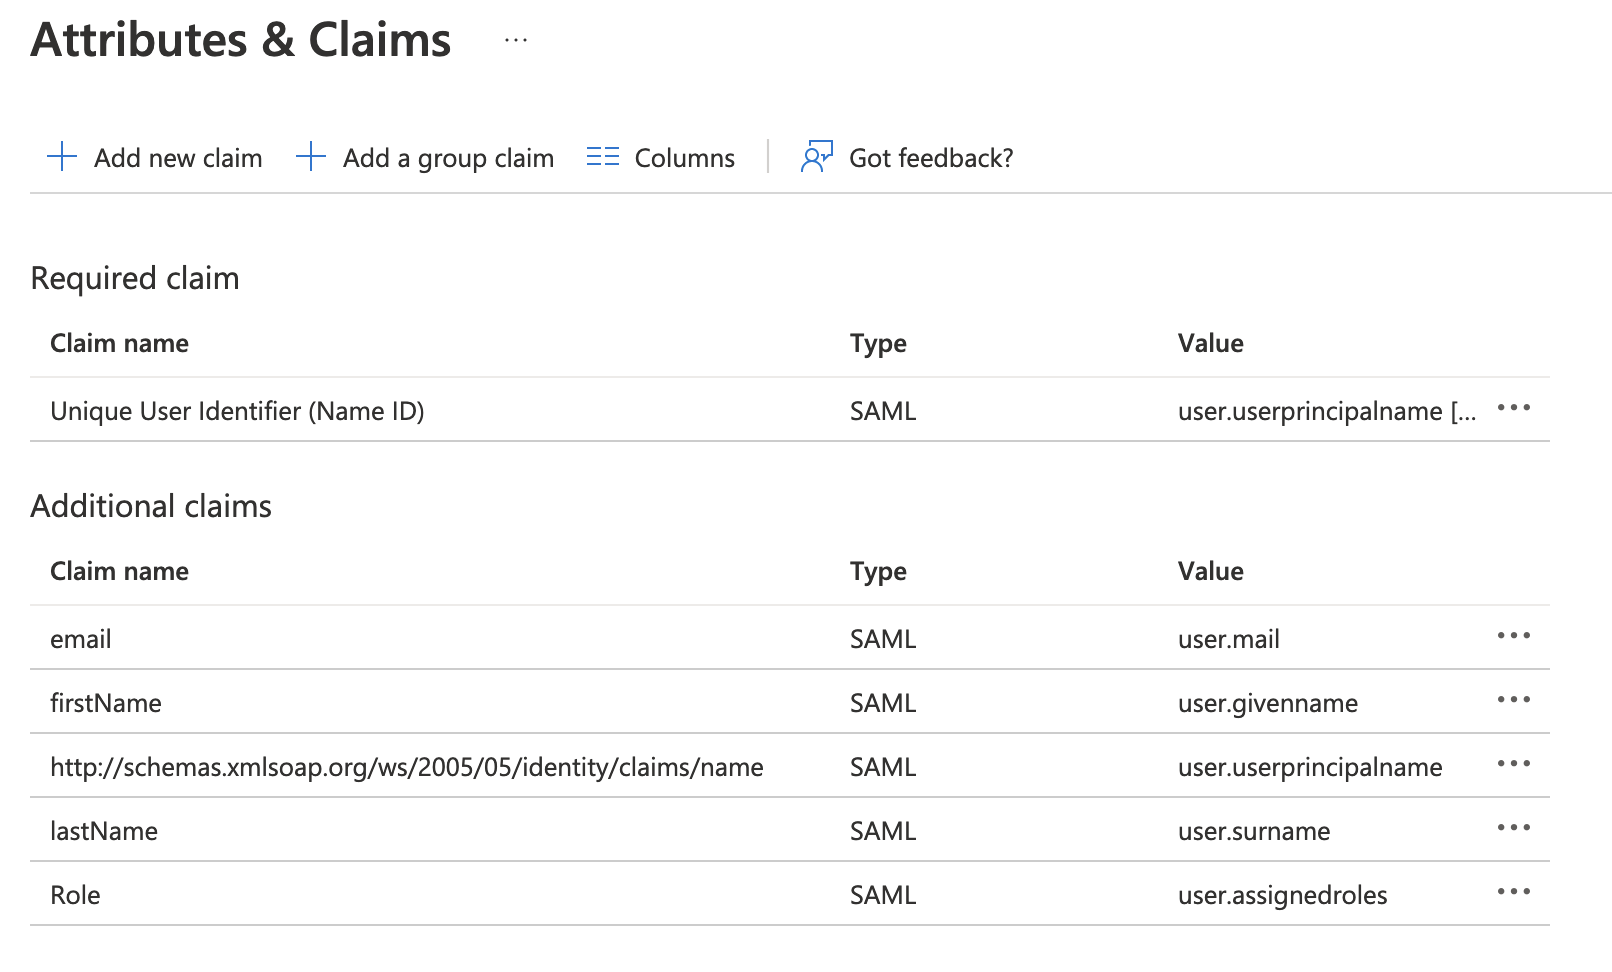
In turn, update each of the Additional claims to match the following configuration and a new claim for "Role":
Claim Name Namespace Source Source attribute email (blank) Attribute user.mail firstName (blank) Attribute user.givenname lastName (blank) Attribute user.surname name http://schemas.xmlsoap.org/ws/2005/05/identity/claims Attribute user.userprincipalname Role (blank) Attribute user.assignedroles Once complete, it should look like:
-
-
Return to the Single sign-on page for the Stax application to complete the configuration. If prompted to test it, choose No
-
In section 3 of the Single sign-on page, download the Federation Metadata XML file
Configure Application Roles
Once you have an Enterprise App configured, you need to configure the application roles that will populate the user.assignedroles attribute.
-
In the Entra ID Portal, from the left-hand navigation pane, choose Identity, then within the Applications section choose App Registrations
-
On the App registration page, choose the All applications tab
-
From the All applications view, select the Stax application you defined
-
From the Application Overview select App roles from the left hand navigation
-
In turn, choose Create app role and match the following configuration:
Display Name Allowed member types Value Description customer_readonly Users/Groups customer_readonly Stax platform read only users customer_user Users/Groups customer_user Stax platform users customer_operations Users/Groups customer_operations Stax platform operations users customer_admin Users/Groups customer_admin Stax platform administrators
Assign Users and Groups
When assigning users to the application, you must ensure that a given user is only associated with a single app role, otherwise the user will be unable to log into Stax. Roles can be associated directly against a user or inherited from a group. If a user is a member of two or more groups, those groups must be associated to the same role, such as customer_admin.
- From the left-hand navigation pane, choose Identity, then within the Applications section choose Enterprise applications
- From the All Applications view, select, select the Stax application you defined
- Select the Users and groups option from the left hand navigation and chose Add user/group
- Select the users and groups you wish to sync and then the desired role and click assign
- Repeat this process for each set of users and or groups that require a different role
Configure Stax to Allow Azure AD Sign-In
Once the enterprise application has been configured, you will need to raise a support case with your Federation Metadata XML and the SAML 2.0 Service URL.
Stax does not support IdP-initiated sign-ins. You must use SP-initiated sign-in to access Stax.
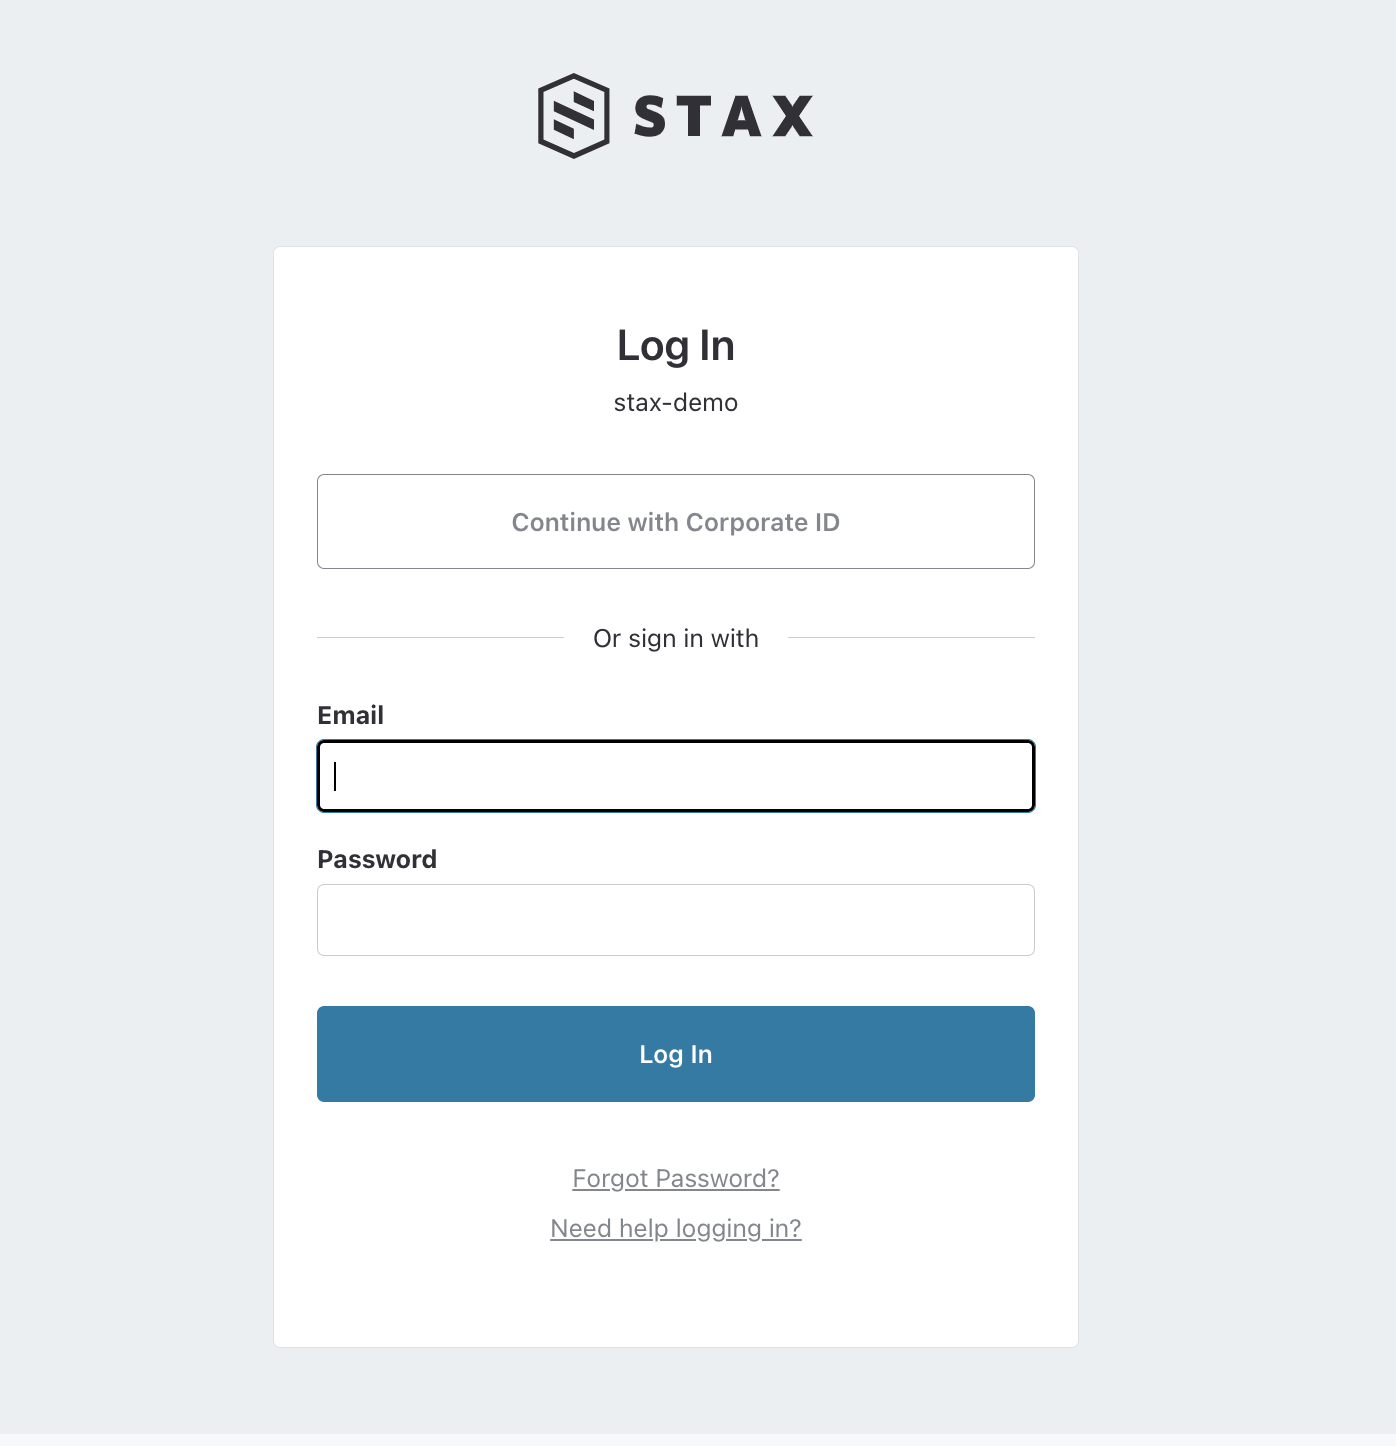
When Stax's support team has completed your request, the next time you navigate to your Stax Console login page, on the top, you'll see a new Continue with Corporate ID button. Clicking this button will take you to your SAML sign-in page. Log in to the IdP and you'll be signed into your Stax tenancy as a federated user.