Configure Single Sign-On
Stax integrates with your Corporate ID using SAML. This allows you to bring your own identities and identity management controls to the Stax platform. Stax supports a few different SAML providers, but it should work with just about any SAML provider using the details below.
See About Identity and Access for more details about the Stax Identity Service.
Choose Your Provider
If you use one of the Identity Providers below, choose detailed instructions that can help you:
- Active Directory Federation Services
- Microsoft Entra ID (formerly Azure Active Directory)
- Google Cloud Identity/Google Workspace
If you don't use one of the providers above, you'll need to work with your identity team and provide them the federation information detailed below.
Before You Begin
- Ensure you are a member of the Admin role in your Stax tenancy
Service URIs
Stax generates your SAML URIs from a well-known format, so you can deduce what they'll be in advance. First, you'll need to determine your organization alias and your short installation ID.
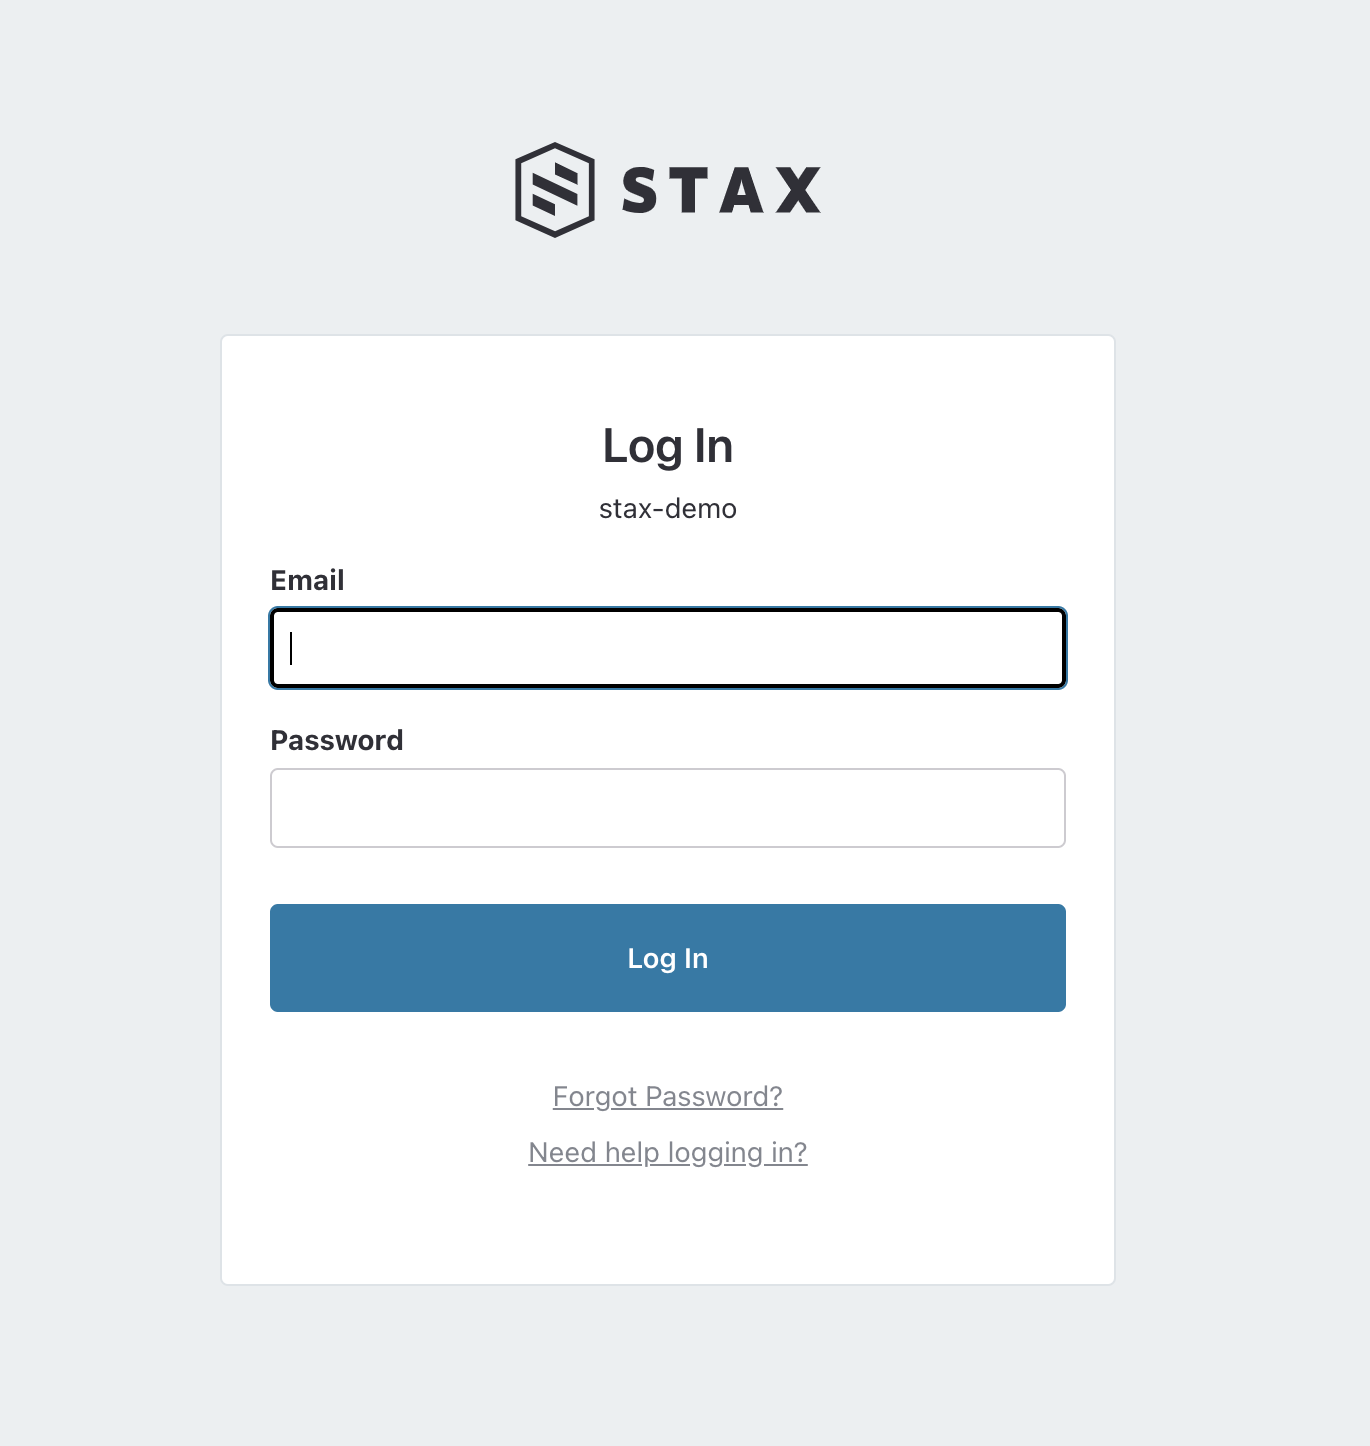
Your organization alias is the same as you enter at the Stax console login page. In the graphic below, the organization alias is stax-demo.
Your short installation ID can be derived from the Stax Installation Region your Stax tenancy is based in. You can see the installation by choosing the drop-down next to your organization alias once logged into the Stax console. From there, review the Stax Installation Region document to determine your short installation ID.
Once you've determined your organization alias and short installation ID, you can form the URIs required for SAML setup:
| URI | Format | Example |
|---|---|---|
| Entity ID | https://id.security.<organization-alias>.<short-installation-id>.staxapp.cloud/auth/realms/master | https://id.security.mega-corp.au1.staxapp.cloud/auth/realms/master |
| SAML 2.0 Service URL | <entity-id>/broker/saml/endpoint | https://id.security.mega-corp.au1.staxapp.cloud/auth/realms/master/broker/saml/endpoint |
Claims
| URI | Template | Example |
|---|---|---|
| NameID | Unique identifier for the user | The NameID claim must contain the Format attribute with a value of urn:oasis:names:tc:SAML:2.0:nameid-format:persistent. See section 8.3 of Assertions and Protocols for SAML 2.0 for more information. |
| Email address of the user | Used for sending notifications and alerts to the user. | |
| firstName | First name of the user | Used for display purposes within the application. |
| lastName | Last name of the user | Used for display purposes within the application. |
| Role | Stax role: customer_admin, customer_operations, customer_user, customer_readonly | The level of access to be granted to the user upon sign-in |
See Permissions in Stax for more information on Stax roles.
Other Information
Your SAML IdP may require some more information:
- Token Signing Hash Algorithm: SHA-256
- Token Encrypting Certificate: Not required
Configuring Stax to allow SAML Sign In
When you're ready to have Stax configured, you will need to raise a support case with either your SAML metadata file or ACS URL of your SAML IdP, as well as your SAML 2.0 Service URL.
Once SAML is configured on your Stax tenancy, the support team will be in touch to let you know that it's ready to be tested.
How do you know this worked?
At this time, Stax does not support IdP-initiated sign-ins. You must use SP-initiated sign-in to access Stax.
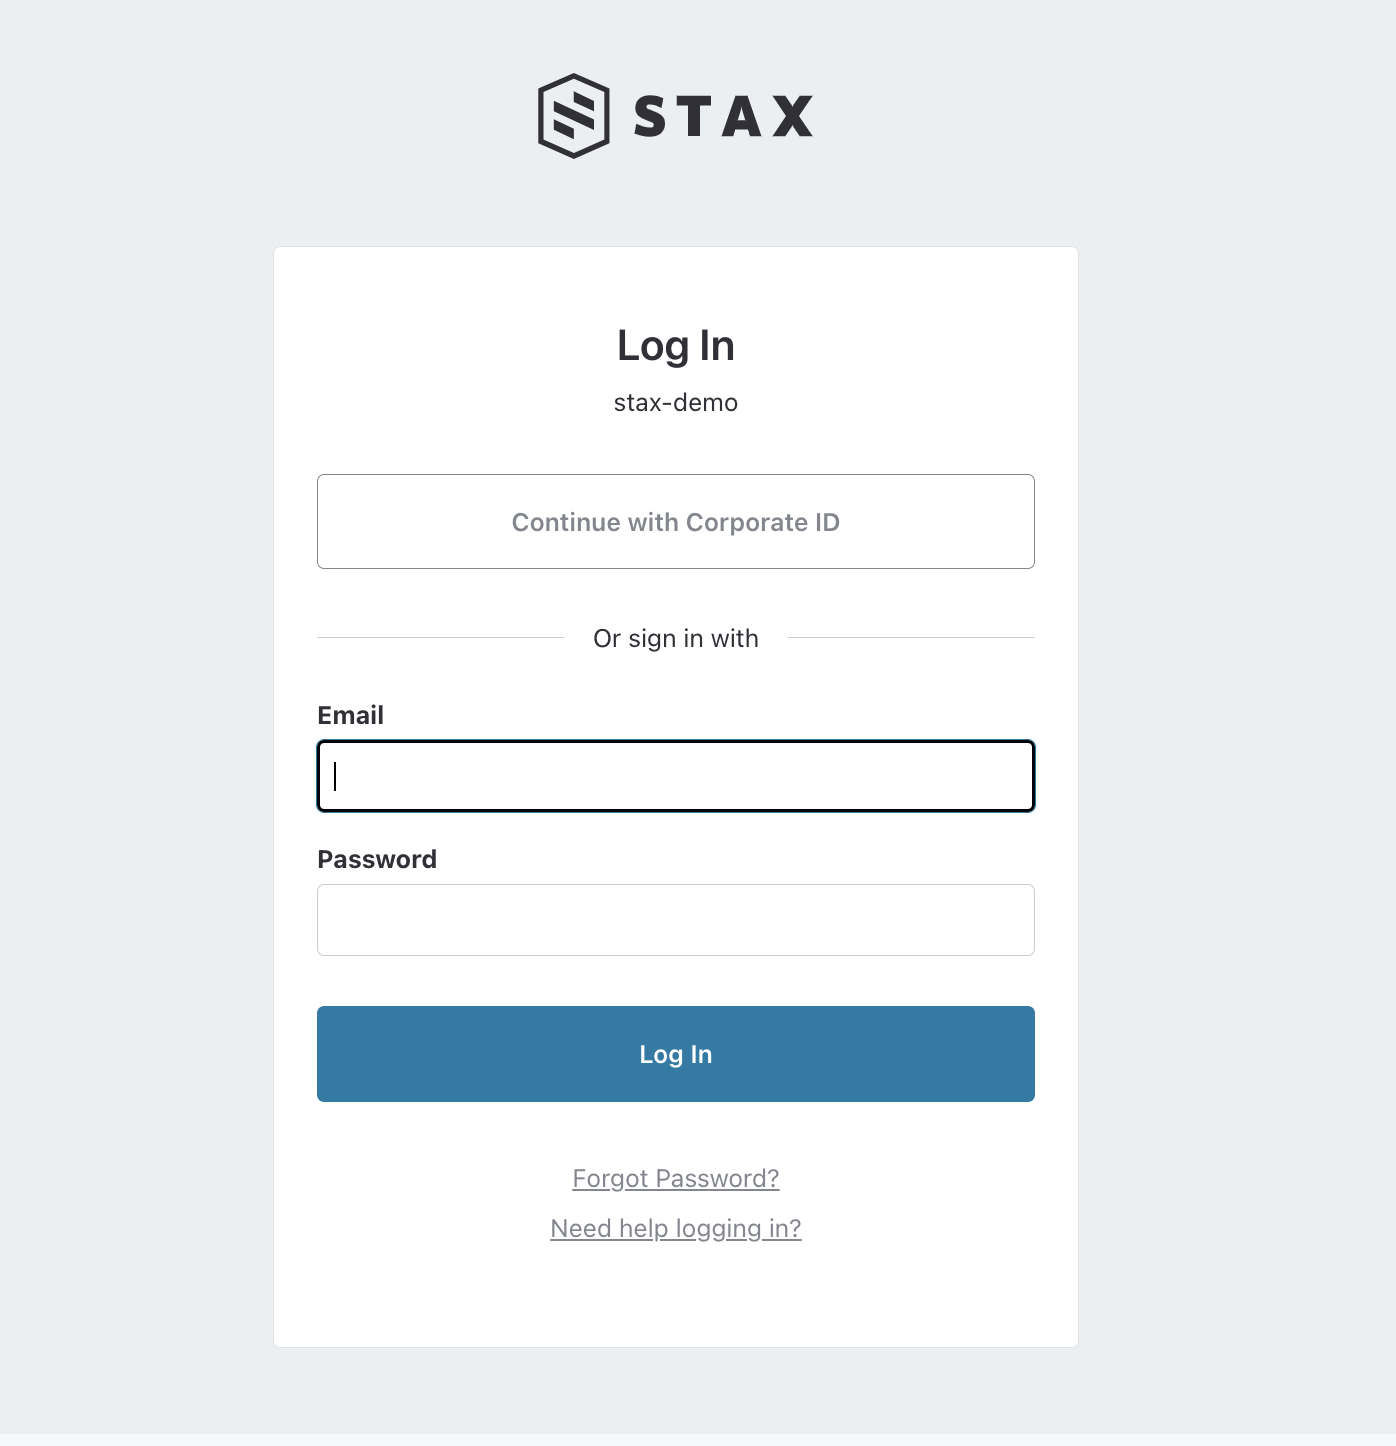
Next time you navigate to your Stax Console login page, on the top, you'll see a new Continue with Corporate ID button. Clicking this button will take you to your SAML sign-in page. Log in to the IdP and you'll be signed into your Stax tenancy.

