Create a Networking Hub
Networks is an opt-in feature. To enable this feature for your Stax tenancy, please raise a support case.
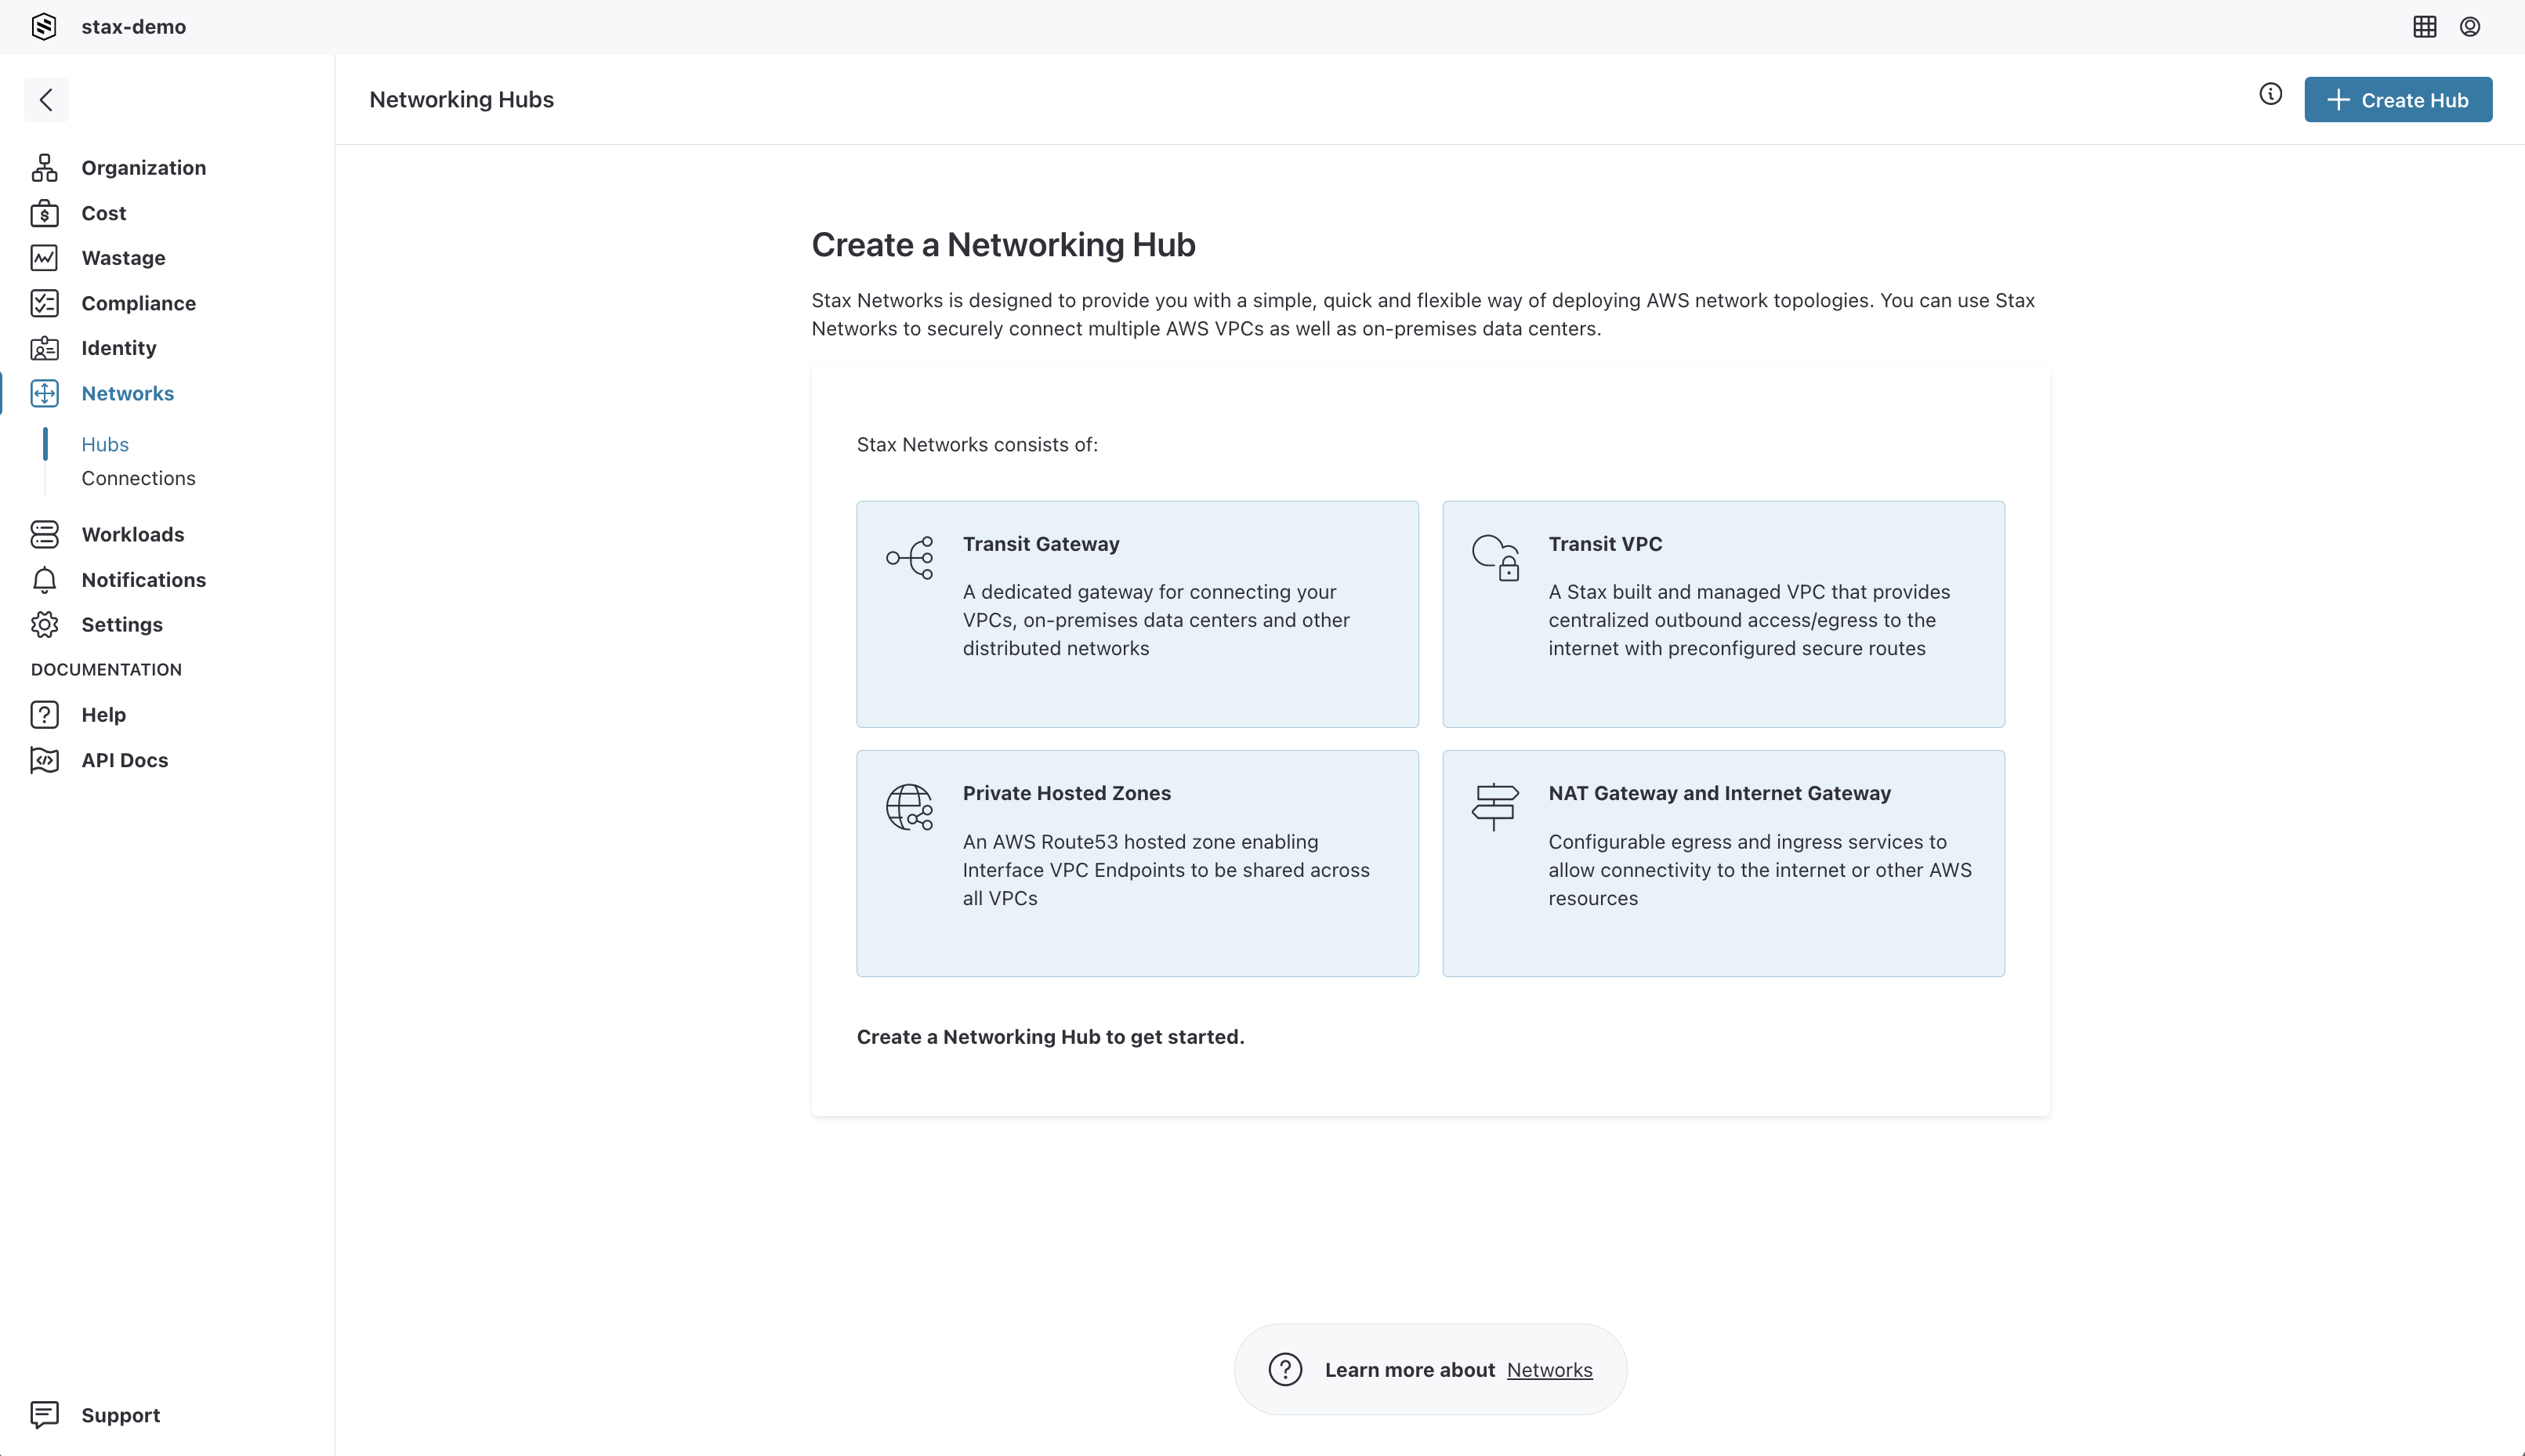
The Stax Networking Hub forms the basis of a Stax Network and is the first step to establishing any connections. The Hub centrally manages the traffic and connectivity between AWS resources, AWS VPCs and external resources. By creating a Stax Networking Hub, you will be deploying the below resources:
- AWS Transit Gateway: A dedicated gateway for connecting your VPCs, on-premises data centers and other distributed networks.
- Transit VPC: A Stax built and managed VPC that provides centralized outbound access/egress to the internet with preconfigured secure routes.
- Private Hosted Zones: An AWS Route53 hosted zone enabling Interface VPC Endpoints attached to the Stax Transit VPC to be shared across all VPCs within a Networking Hub.
Should you need internet access, you can choose to also deploy:
- AWS NAT Gateway: A gateway that allows resources in the private subnet of the Stax Transit VPC to connect to the internet or other AWS resources.
- Internet Gateway: A VPC component that allows communication between your VPC and the internet.
Before You Begin
- Estimated time to complete: 15-20 minutes
- Ensure you are a member of the Admin role in your Stax tenancy
- Ideally, you would have an intermediate/advanced understanding of networking or have spoken to your networks administrator about making these changes
- It would be good to have an intermediate understanding of AWS
You will need to have:
- Decided on the CIDR Range you want your Networking Hub to reside in (Tips on choosing a CIDR Range)
- Set up the account in which you want to deploy your Hub (Learn how to create an account)
- Decided on the AWS Gateway VPC Endpoints you want to attach to your Transit VPC (see Which VPC Endpoints should I enable?)
As well as, optionally:
- Decide on an Autonomous System Number (ASN) you want to use. If left blank, Stax will set a default for you. This cannot be changed later
- Decide on a Private Hosted Zone (PHZ) Suffix you want to use. This can be added later but once set, you cannot change it
- Decide if your network requires internet access
- Decide on the AWS Interface VPC Endpoints you want to attach to your Transit VPC (See Which VPC Endpoints should I enable?)
- Decide on any CIDR Range Exclusions that you want to reserve to avoid conflicts with already utilized network addresses
- Decide if you will enable CloudWatch Logs for VPC Flow Logs for your Hub's Transit VPC
Get Started
-
Log in to the Stax Console
-
Select Networks in the left-hand nav
-
Click + Create Hub to get started
-
Provide Networking Hub details
Field Contents Example Networking Hub name Provide a name for your Networking Hub prod-apse2 Description Provide a readable description of your Networking Hub Production Networking Hub in ap-southeast-2 CIDR Range name Provide a name for the first CIDR Range in the Networking Hub prod-apse2-cidr CIDR Range Provide the first CIDR range for the Networking Hub to utilize 10.100.0.0/16 Account Choose the account the Networking Hub should be deployed into. This account must not be a foundation account. network-prod Region Choose the region the Networking Hub and its associated VPCs should be deployed into Asia Pacific (Sydney) ASN If you need to specify a custom ASN for the Hub, enter it here. The value must be between 64512 and 65534 and cannot be changed after creation 64521 PHZ Suffix This is the internally-resolvable private hosted zone/domain name for your VPCs and cannot be changed later. While this domain does not need to be publicly resolvable, and should not be in use elsewhere, Stax recommends using a domain you own to prevent complications in future mycompany.cloud -
Provide Transit VPC configuration options. Choose the appropriate checkboxes to configure the Transit VPC based on your networking requirements. You can change these settings later from within your Transit VPC's details drawer.
- NAT Gateway
- Internet Gateway
- CloudWatch VPC Flow Logs
- Virtual Private Gateway
- Virtual Private Gateway ASN (Optional: If you need to specify a custom ASN for the Virtual Gateway, you can do so here)
- The Transit VPC's Virtual Private Gateway ASN must be between 64512-65534 or 4200000000-4294967294
- If an ASN is not set, Stax will allocate the next available ASN, between 64512-65534
- You can change the Virtual Private Gateway ASN to another available ASN later by editing your Transit VPC.)
-
Enable ECMP Support: VPN Equal Cost Multi-Path (ECMP) support is enabled by default. This routing protocol allows Stax Transit Gateways to utilize ECMP when routing traffic over multiple VPNs. This setting cannot be changed later
-
If you require Transit VPC endpoints, choose Configure Now from the Configure endpoints for Interface and Transit VPCs section
8. Select Continue to proceed to the next page.


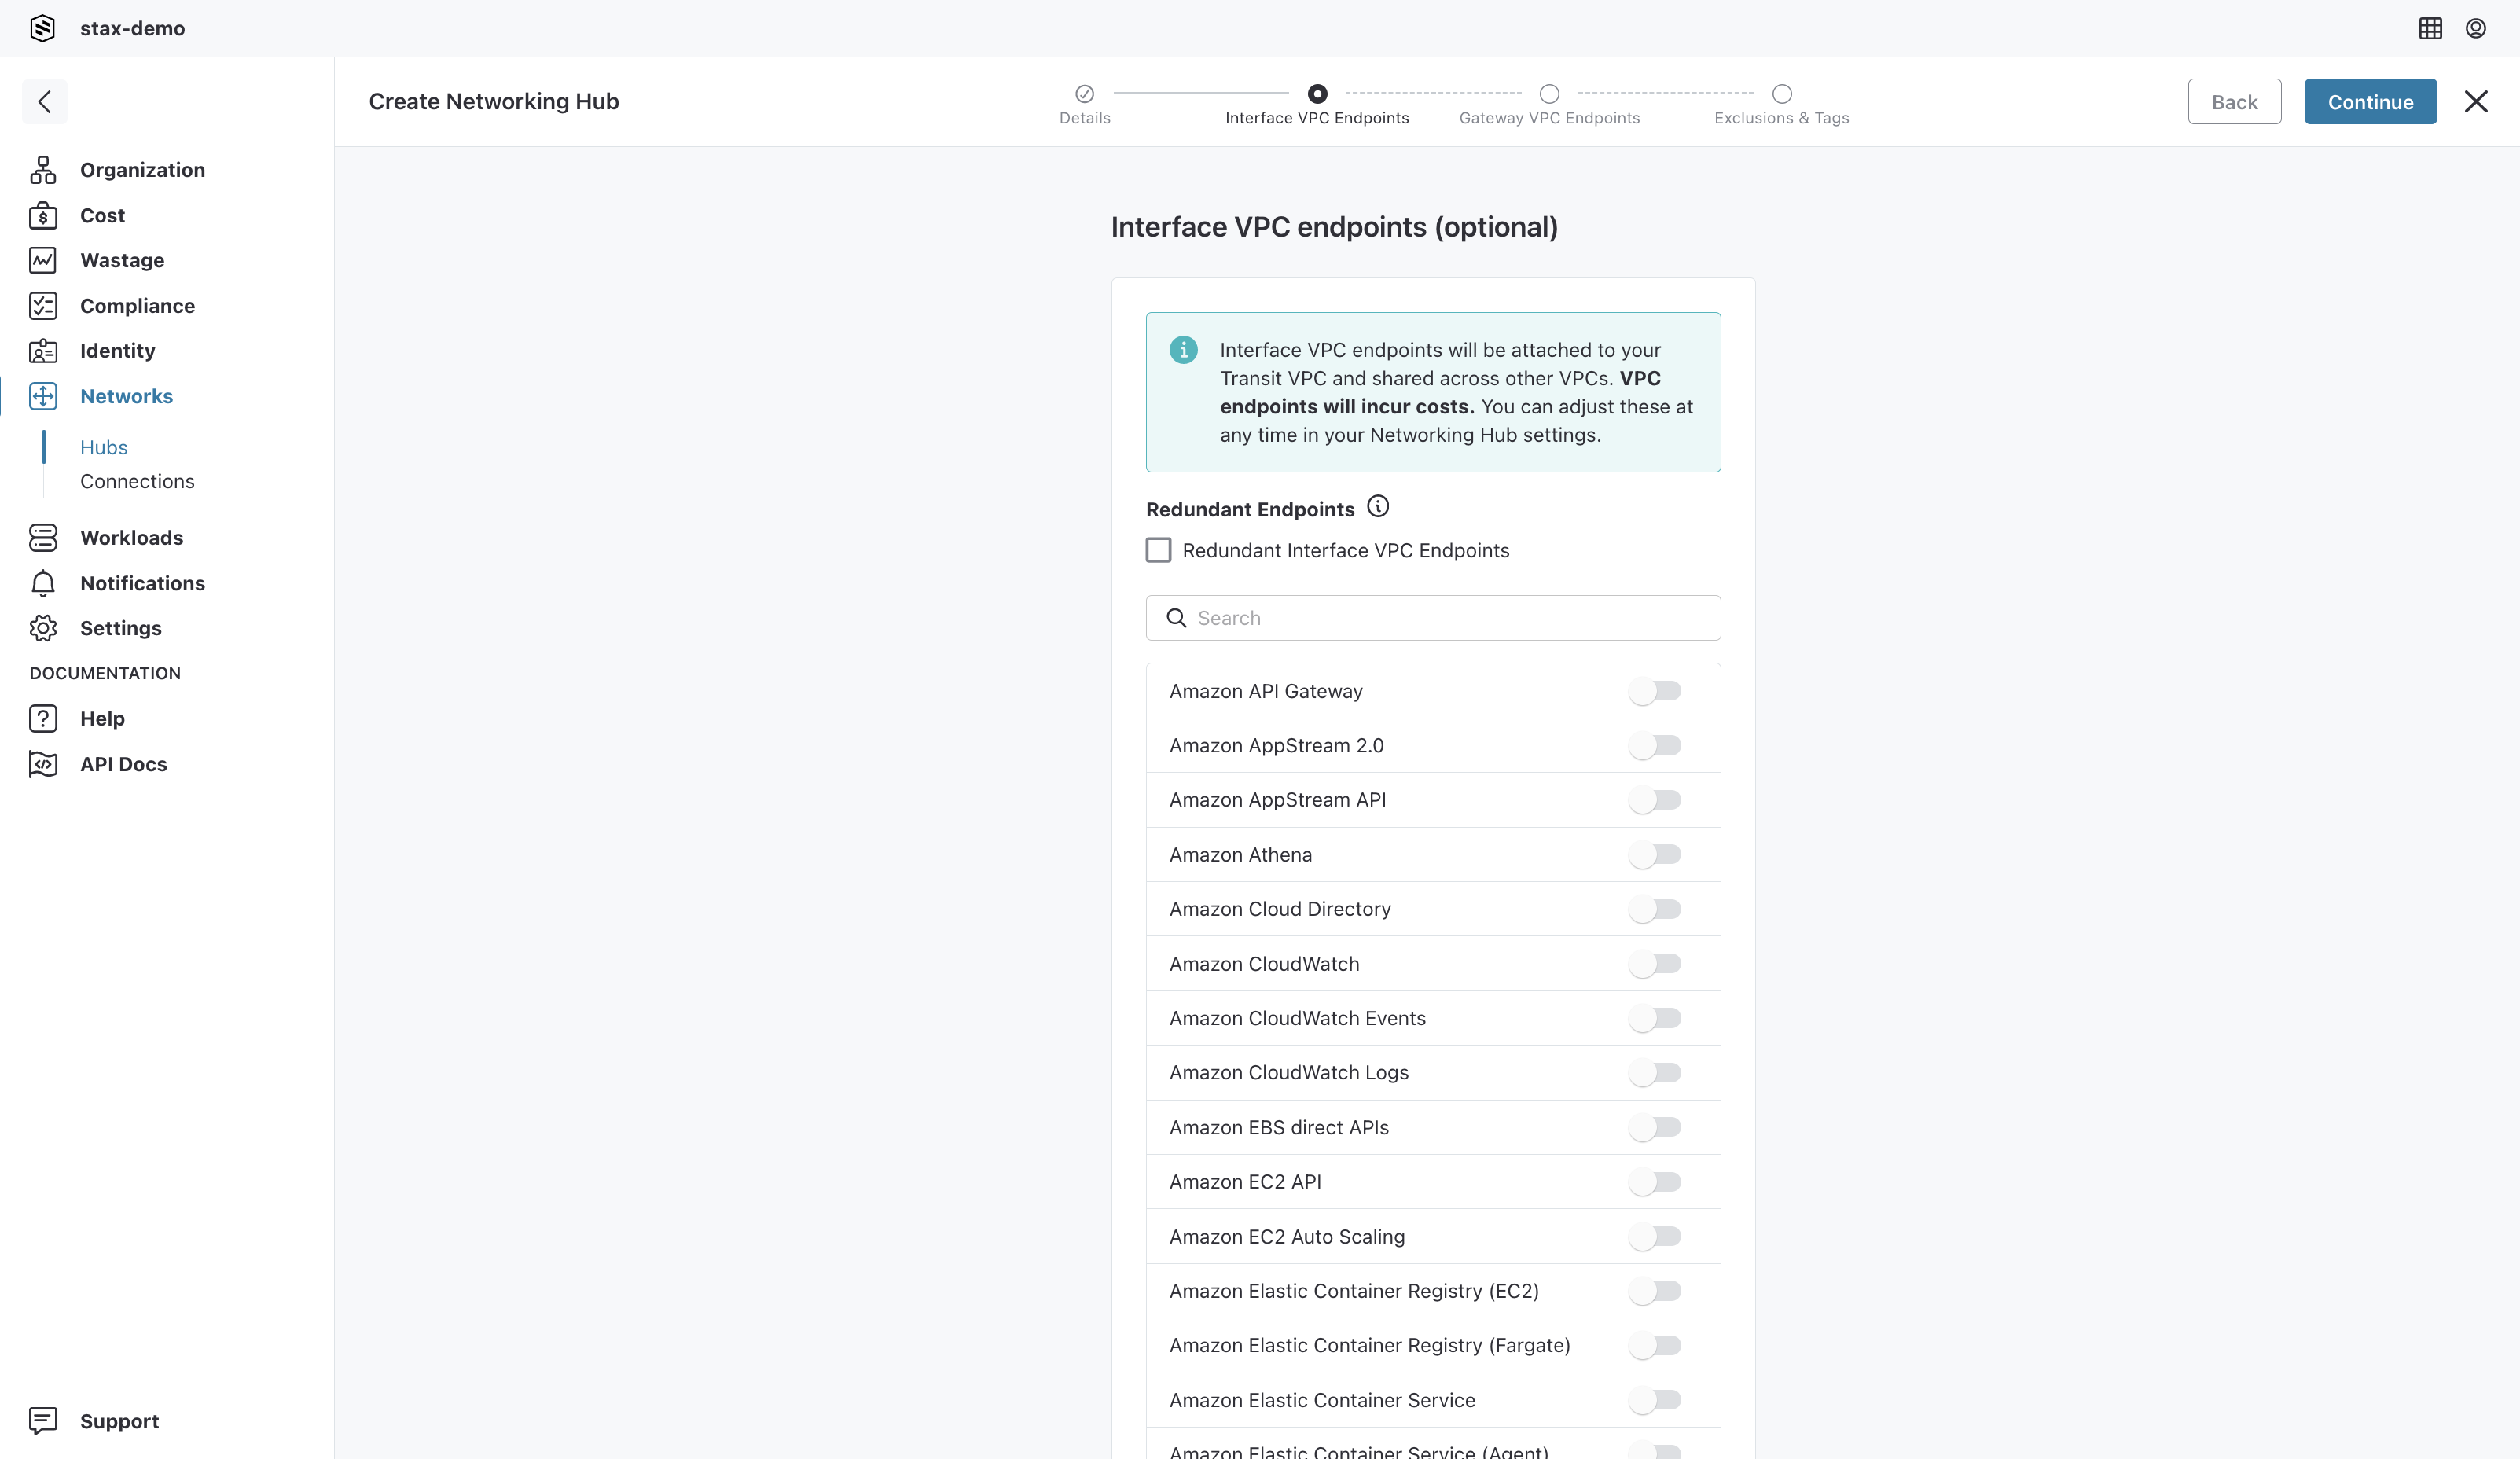
Choose VPC Endpoints
If you chose to configure any Interface VPC Endpoints, you'll be presented with the Interface VPC endpoints page. Enable the appropriate endpoints in the list, then select Continue.
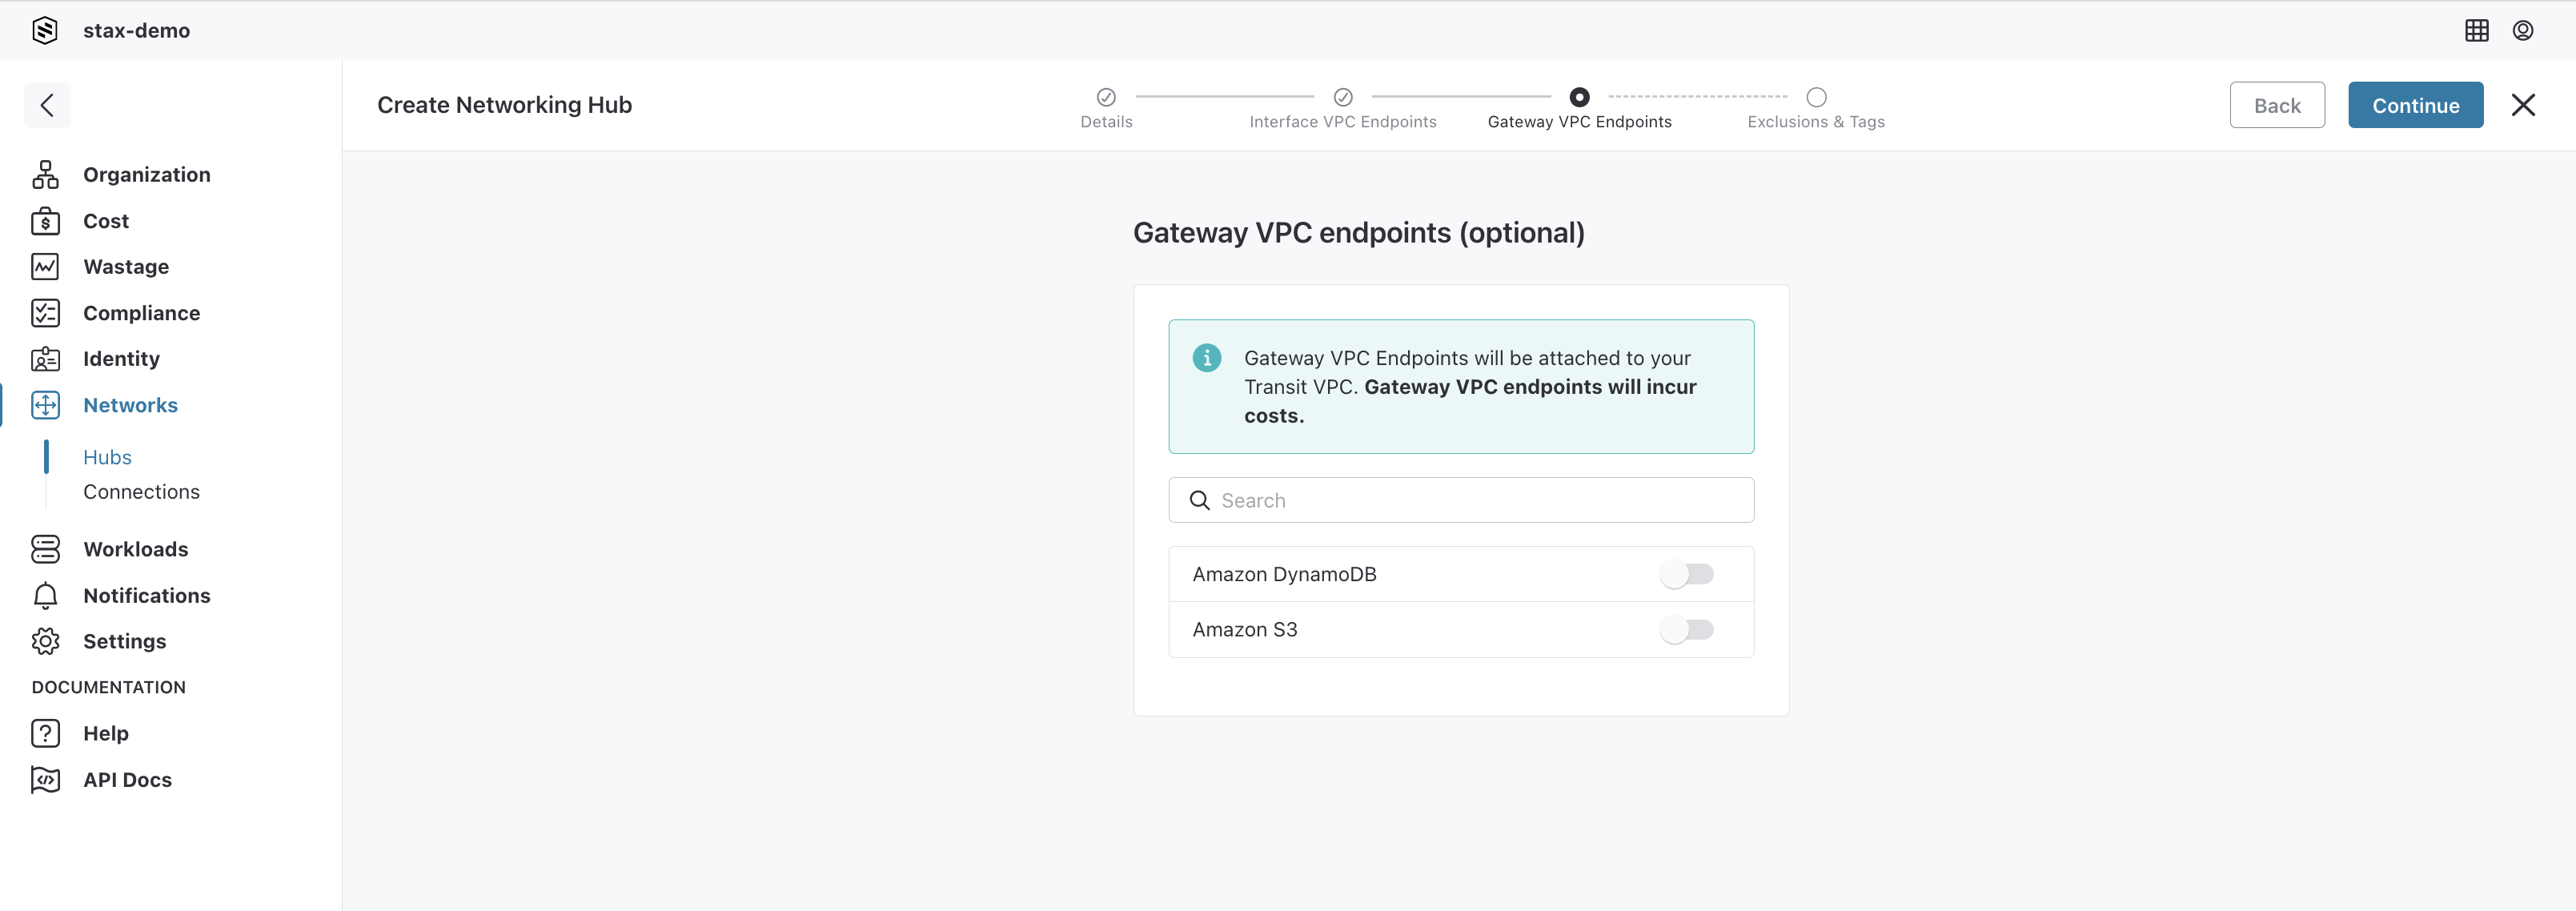
Choose Gateway VPC Endpoints
If you need to configure any Gateway VPC Endpoints, you can do so when creating the Networking Hub. Changing your selection later is possible by Editing your Transit VPC.
Choose Continue after making your selection.
Add CIDR Range Exclusions and Hub Tags
If there are any CIDR ranges within the Networking Hub CIDR range that you wish to exclude from provisioning because of existing/future user, you can do so by adding a CIDR exclusion.
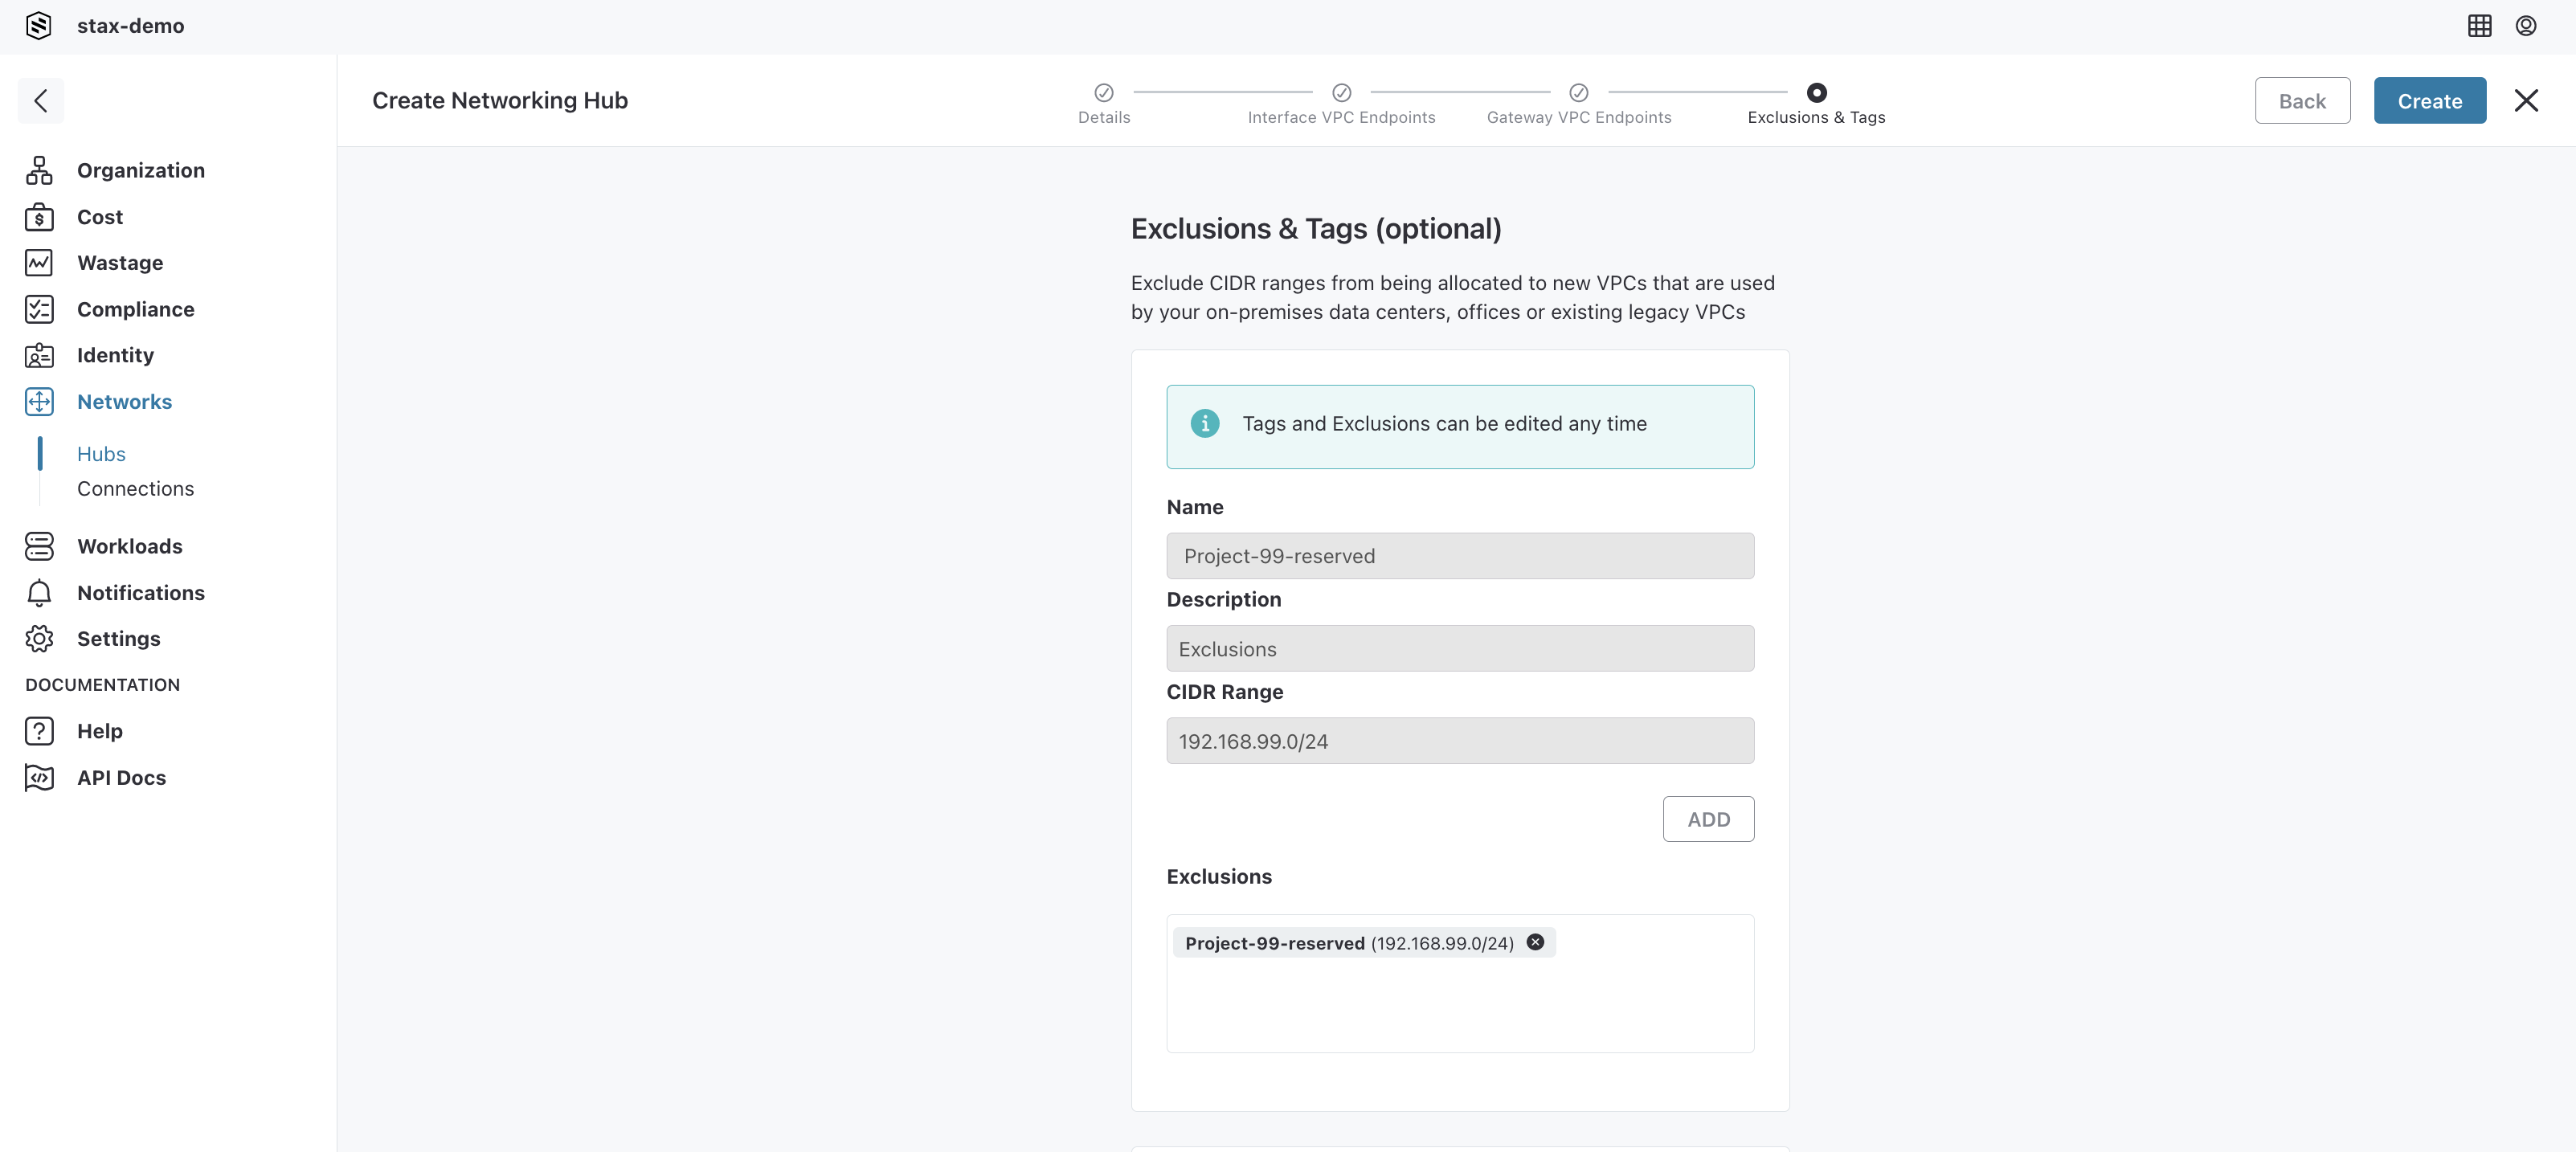
Additionally, you can add tags to your Networking Hub, Transit VPC, and Transit Gateway.

Create Your Networking Hub
Once all details are entered into the form, select Create to commence the creation of the Networking Hub. View the progress of the Hub's creation on the Hub's main page or select the vertical ellipsis (⋮) on the top right of the page to open the Hub details drawer.
View Your Networking Hub
Once your networking resources have been deployed, your Networking Hub will be available on the Networks page. Select your Networking Hub to view your Hub's CIDR Ranges, VPCs and Exclusions. For further details about your Networking Hub, click the vertical ellipsis (⋮) on the top right of the Networking Hub
