Manage Networking Hubs
Networks is an opt-in feature. To enable this feature for your Stax tenancy, please raise a support case.
After a Networking Hub has been created, you can make changes to it through the Stax Console or API. Most components of a Networking Hub can be changed after creation, though some are only able to be configured when the Networking Hub is first created.
Before You Begin
- Estimated time to complete: 15 minutes
- Ensure you are an Admin in your Stax tenancy
- Ideally, you would have an intermediate/advanced understanding of networking or have spoken to your network administrator about making these changes.
- It would be good to have an intermediate understanding of AWS.
What Can You Edit
The following values for a Networking Hub can be updated:
- Networking Hub name
- Description
- Private Hosted Zone (PHZ) suffix (if this has already been set, you cannot edit this)
- Interface VPC Endpoints (see warning below)
- Tags (see warning below)
Interface VPC Endpoint and Tag changes will apply not only to your Networking Hub, but also to your Transit Gateway and Transit VPC. Updating these items for your Transit Gateway or Transit VPC must be done by editing your Networking Hub.
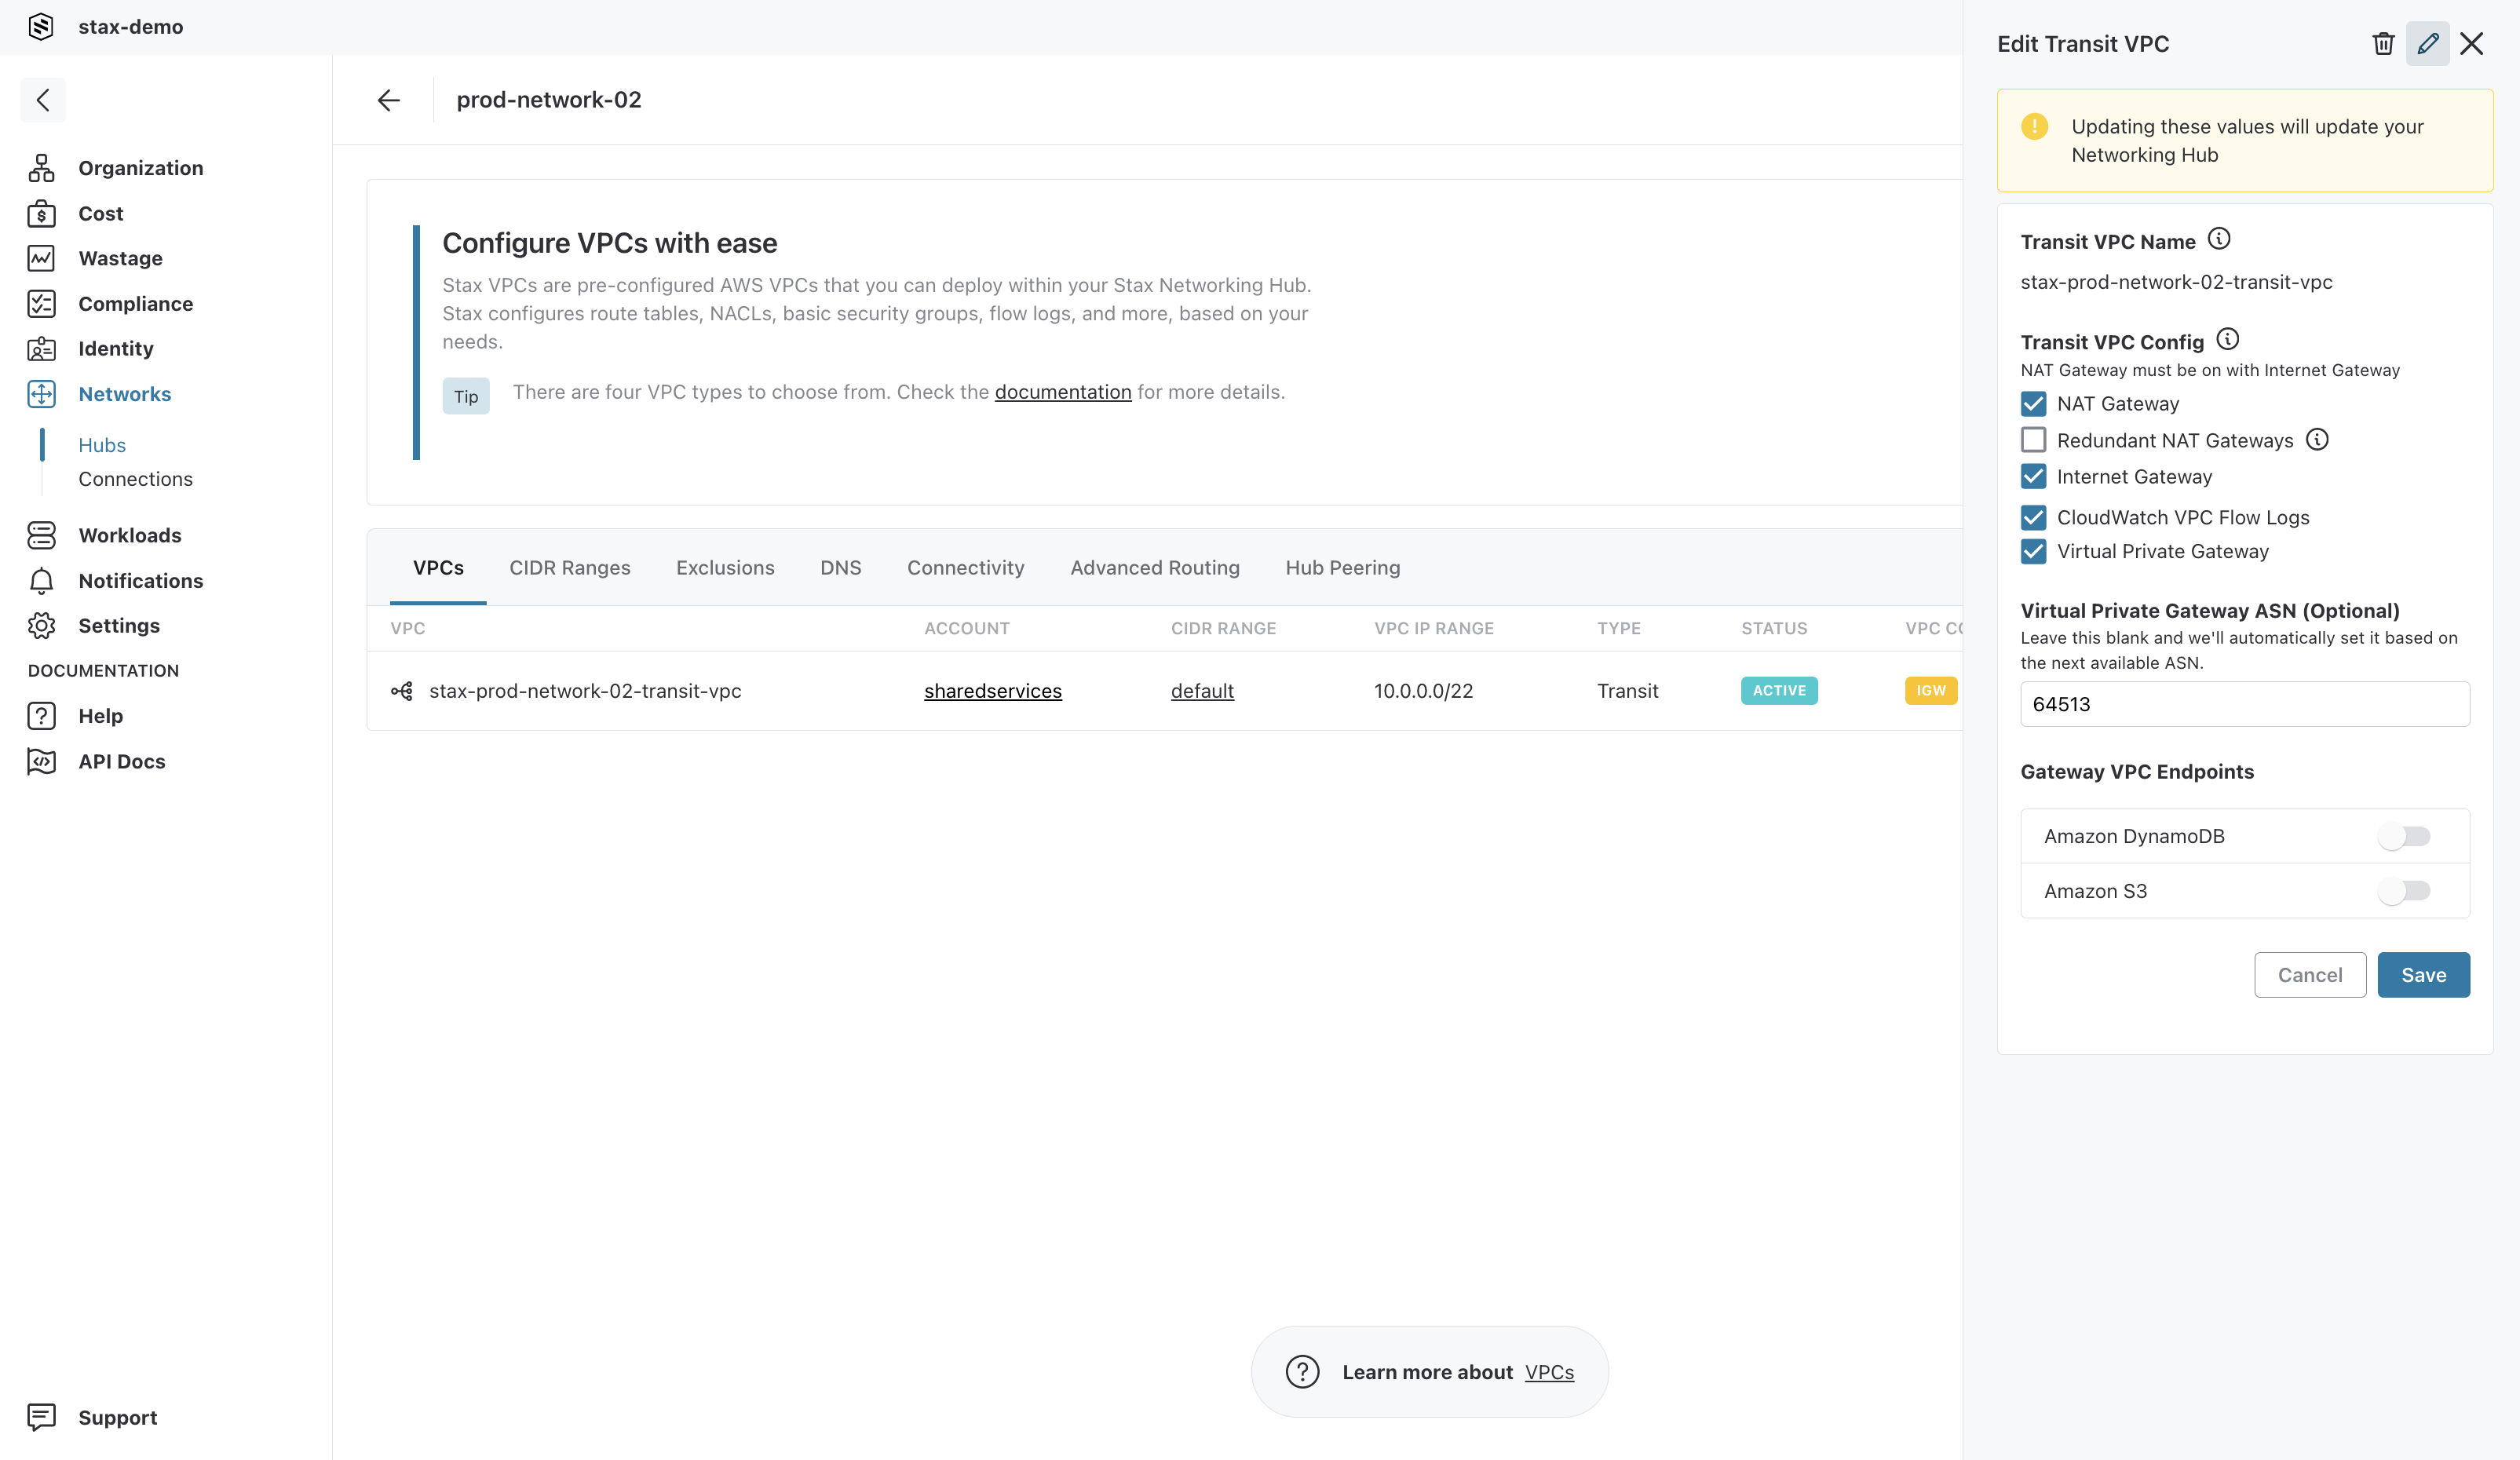
The following values can be modified from your Hub's Transit VPC only:
- Transit VPC Config
- NAT Gateway and/or Internet Gateway
- Cloudwatch VPC Flowlogs
- Virtual Private Gateway
- Gateway VPC Endpoints
Edit a Networking Hub
-
Log in to the Stax Console
-
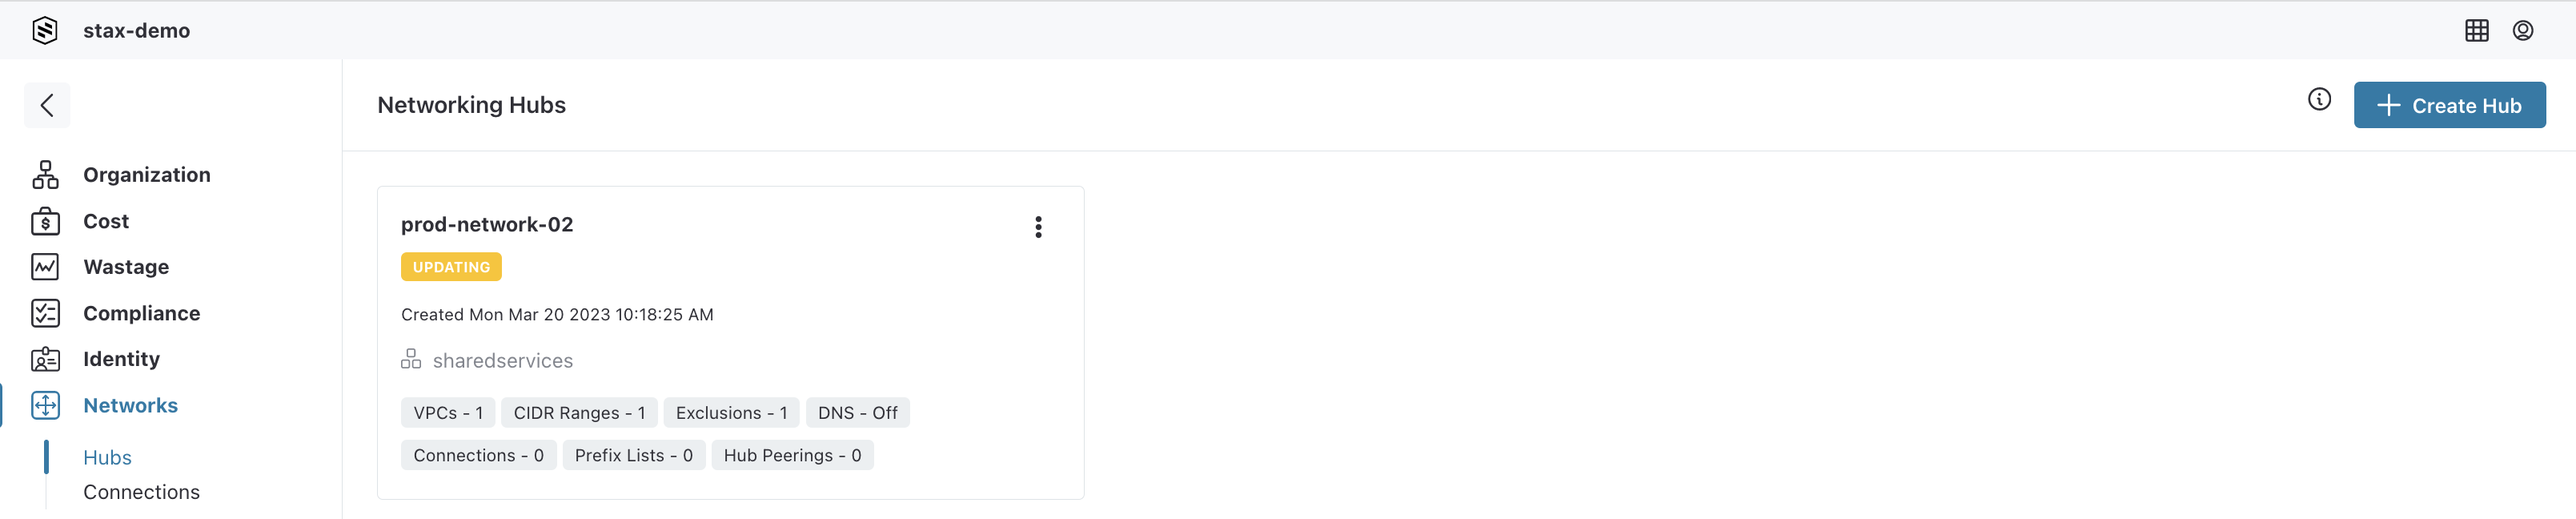
Select Networks in the left-hand nav. Your Networking Hubs are listed on the Networks page
-
Select the desired Networking Hub 4. To edit the details of your Networking Hub, click the vertical ellipsis (⋮) on the top right of the Networking Hub, then select Edit Hub
-
Make the required changes to the Networking Hub's name, description, Interface VPC Endpoints and/or tags
-
Select the Save button


The Networking Hub will show a status of UPDATE_IN_PROGRESS until the changes are complete.
View Your Updates
Changes will be reflected in the drawer as soon as you've made them. If you have made updates to the tags on your Hub, these will also be reflected on your Transit VPC. To view tag updates to your Transit VPC:
- Navigate to your Hub's main page
- Select the VPC tab on the main window
- Select the Transit VPC from your list of VPCs
- The Transit VPC details drawer will open on the right
- Review the changes under TAGS
Edit Your Transit VPC
-
Navigate to the Hub's main page
-
Select the VPC tab on the main window
-
Click the vertical ellipsis (⋮) on the right of the Transit VPC, then select Edit from the list
-
Make the required changes to the Transit VPC Config and/or Gateway VPC Endpoints Enabling NAT Gateway in a Transit VPC requires that Internet Gateway also be enabled. If you try to enable NAT Gateway for a Transit VPC in the Stax Console, Internet Gateway will automatically be enabled.
-
Select the Save button