Manage Site-to-Site VPN
Networks is an opt-in feature. To enable this feature for your Stax tenancy, please raise a support case.
Stax supports the creation of either Virtual Private Gateway or Transit Gateway Site-to-Site VPN Connections. You can create and manage your Site-to-Site VPN Connections in Stax by provisioning an AWS Customer Gateway. Currently, only dynamic routing is supported with Stax Site-to-Site VPN Connections.
Before You Begin
- Estimated time to complete: 15 minutes
- Ensure you are a member of the Admin role in your Stax tenancy
- You must already have created a Networking Hub. If not, you'll need to create one first
You will need to have:
- Provisioned your Customer Gateway device or software device on your remote (on-premises) side of the VPN Connection
- Decided on a private ASN to assign to your network for BGP. It should be in the range of 64512 to 65534. Refer to the AWS VPN FAQs for more details.
- The internet-routable IP address (static) of the external interface of your on-premises Customer Gateway device
Create a VPN Customer Gateway
When you create a Site-to-Site VPN Connection in Stax, an AWS Customer Gateway is deployed to your AWS account. This resource provides information about your on-premises device to AWS.
-
Log in to Stax customer console
-
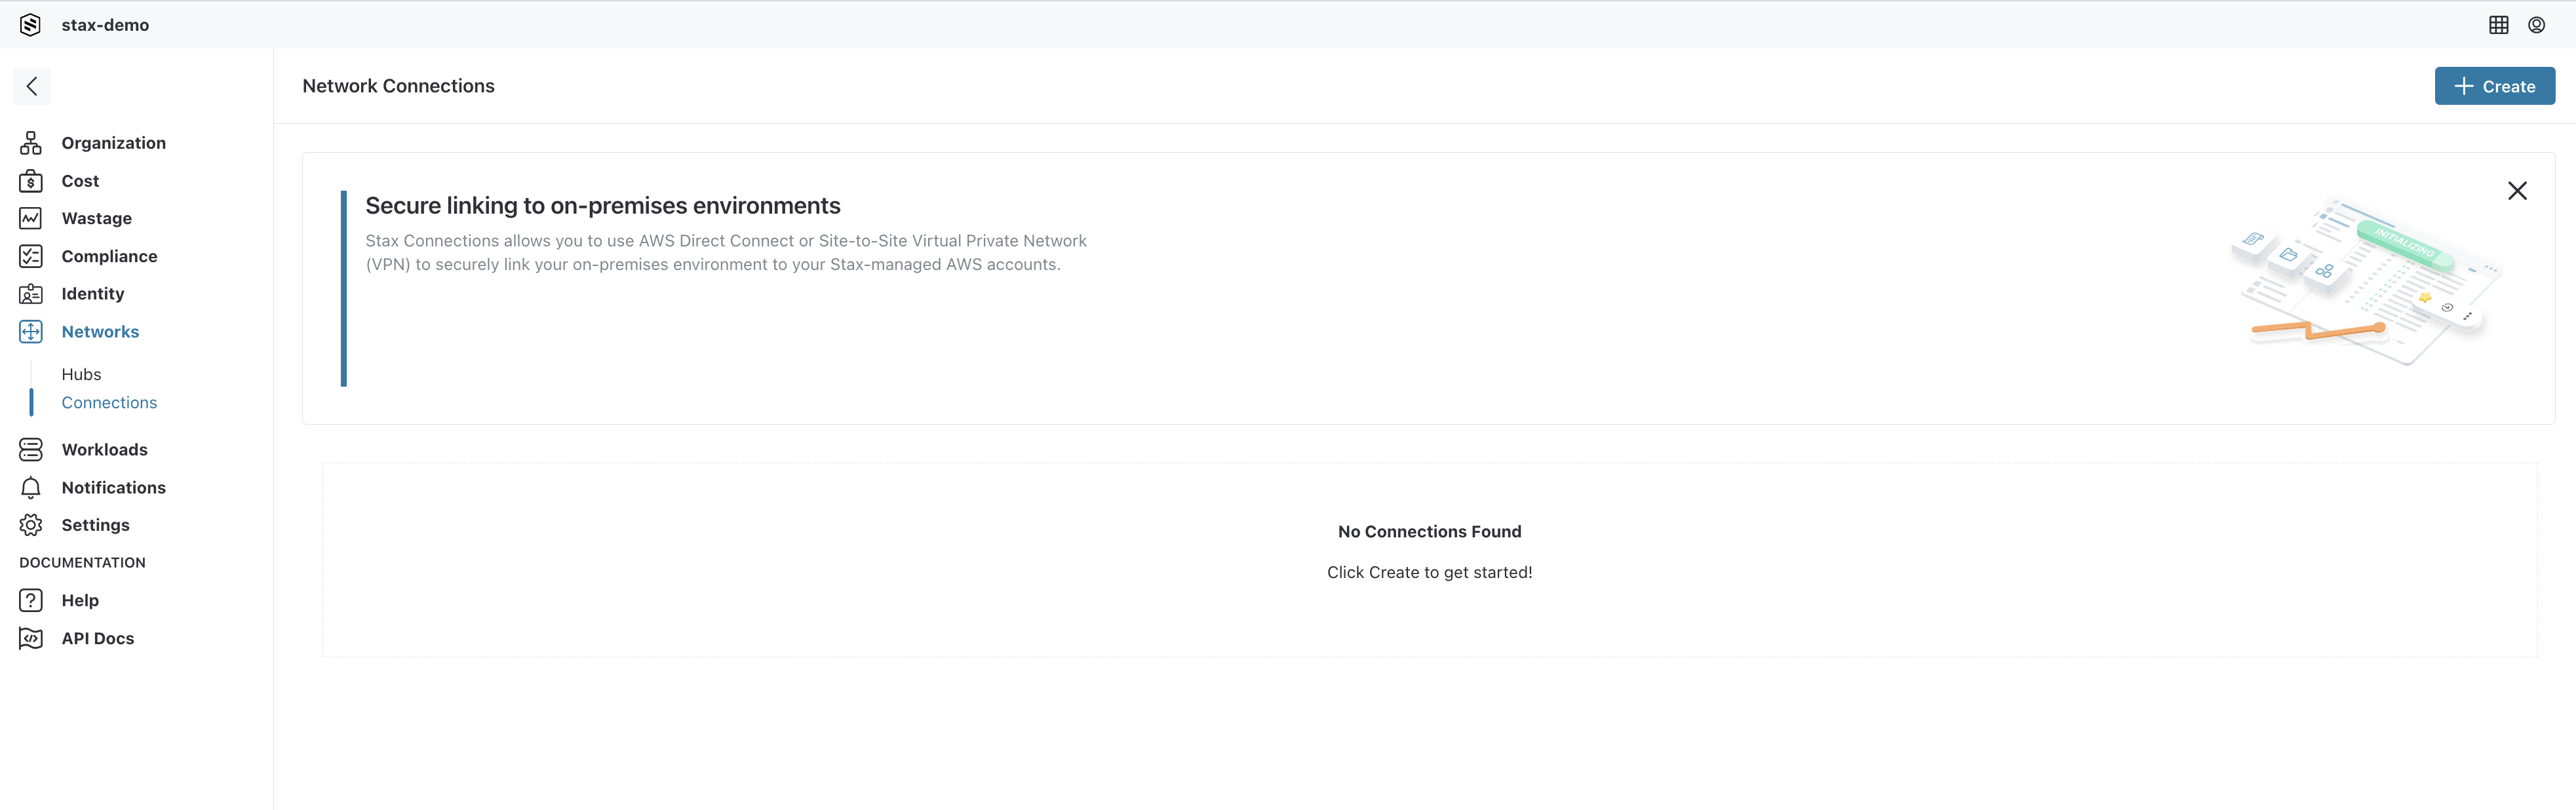
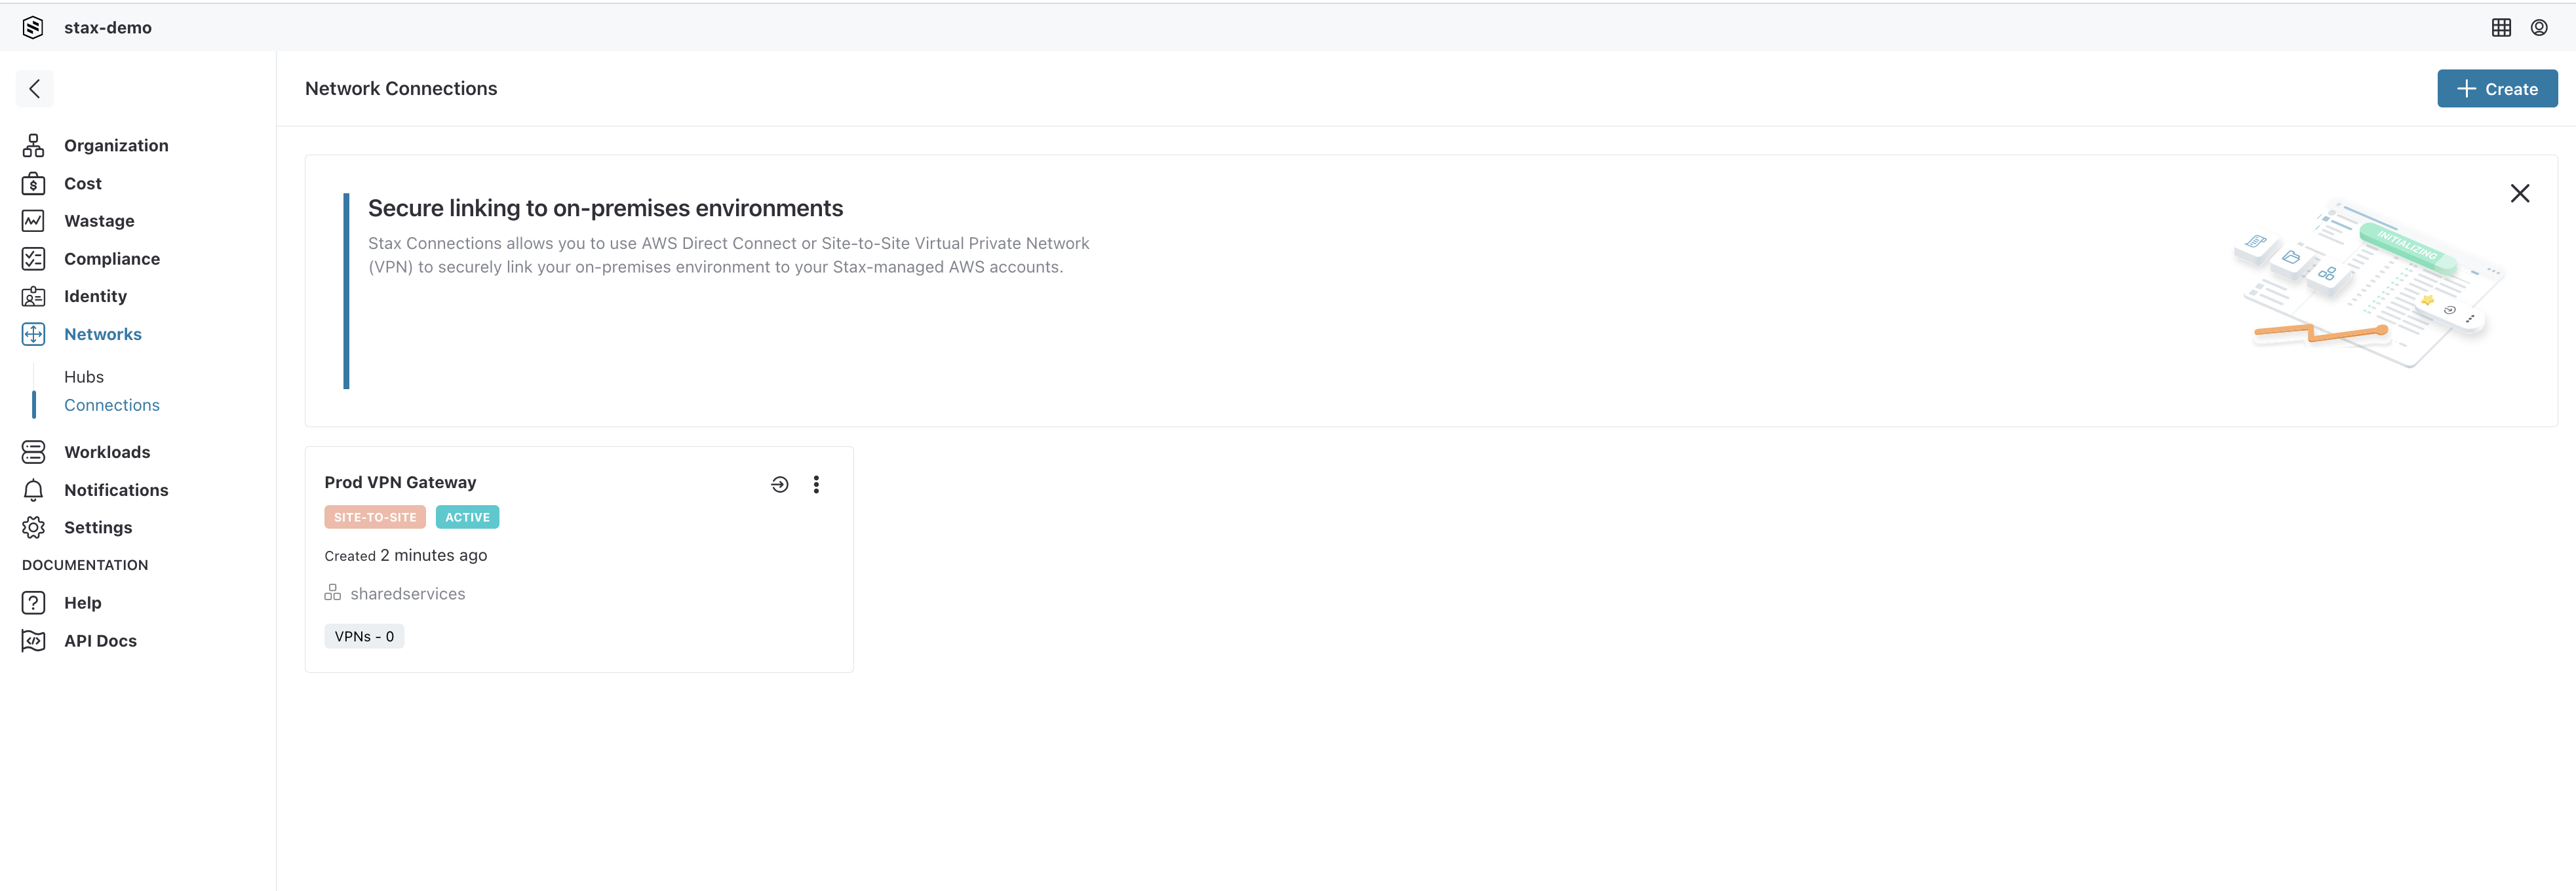
Select Networks in the left-hand nav
-
Select Connections in the Networks menu
-
On the Connections page, click + Create, then select Create VPN Customer Gateway
-
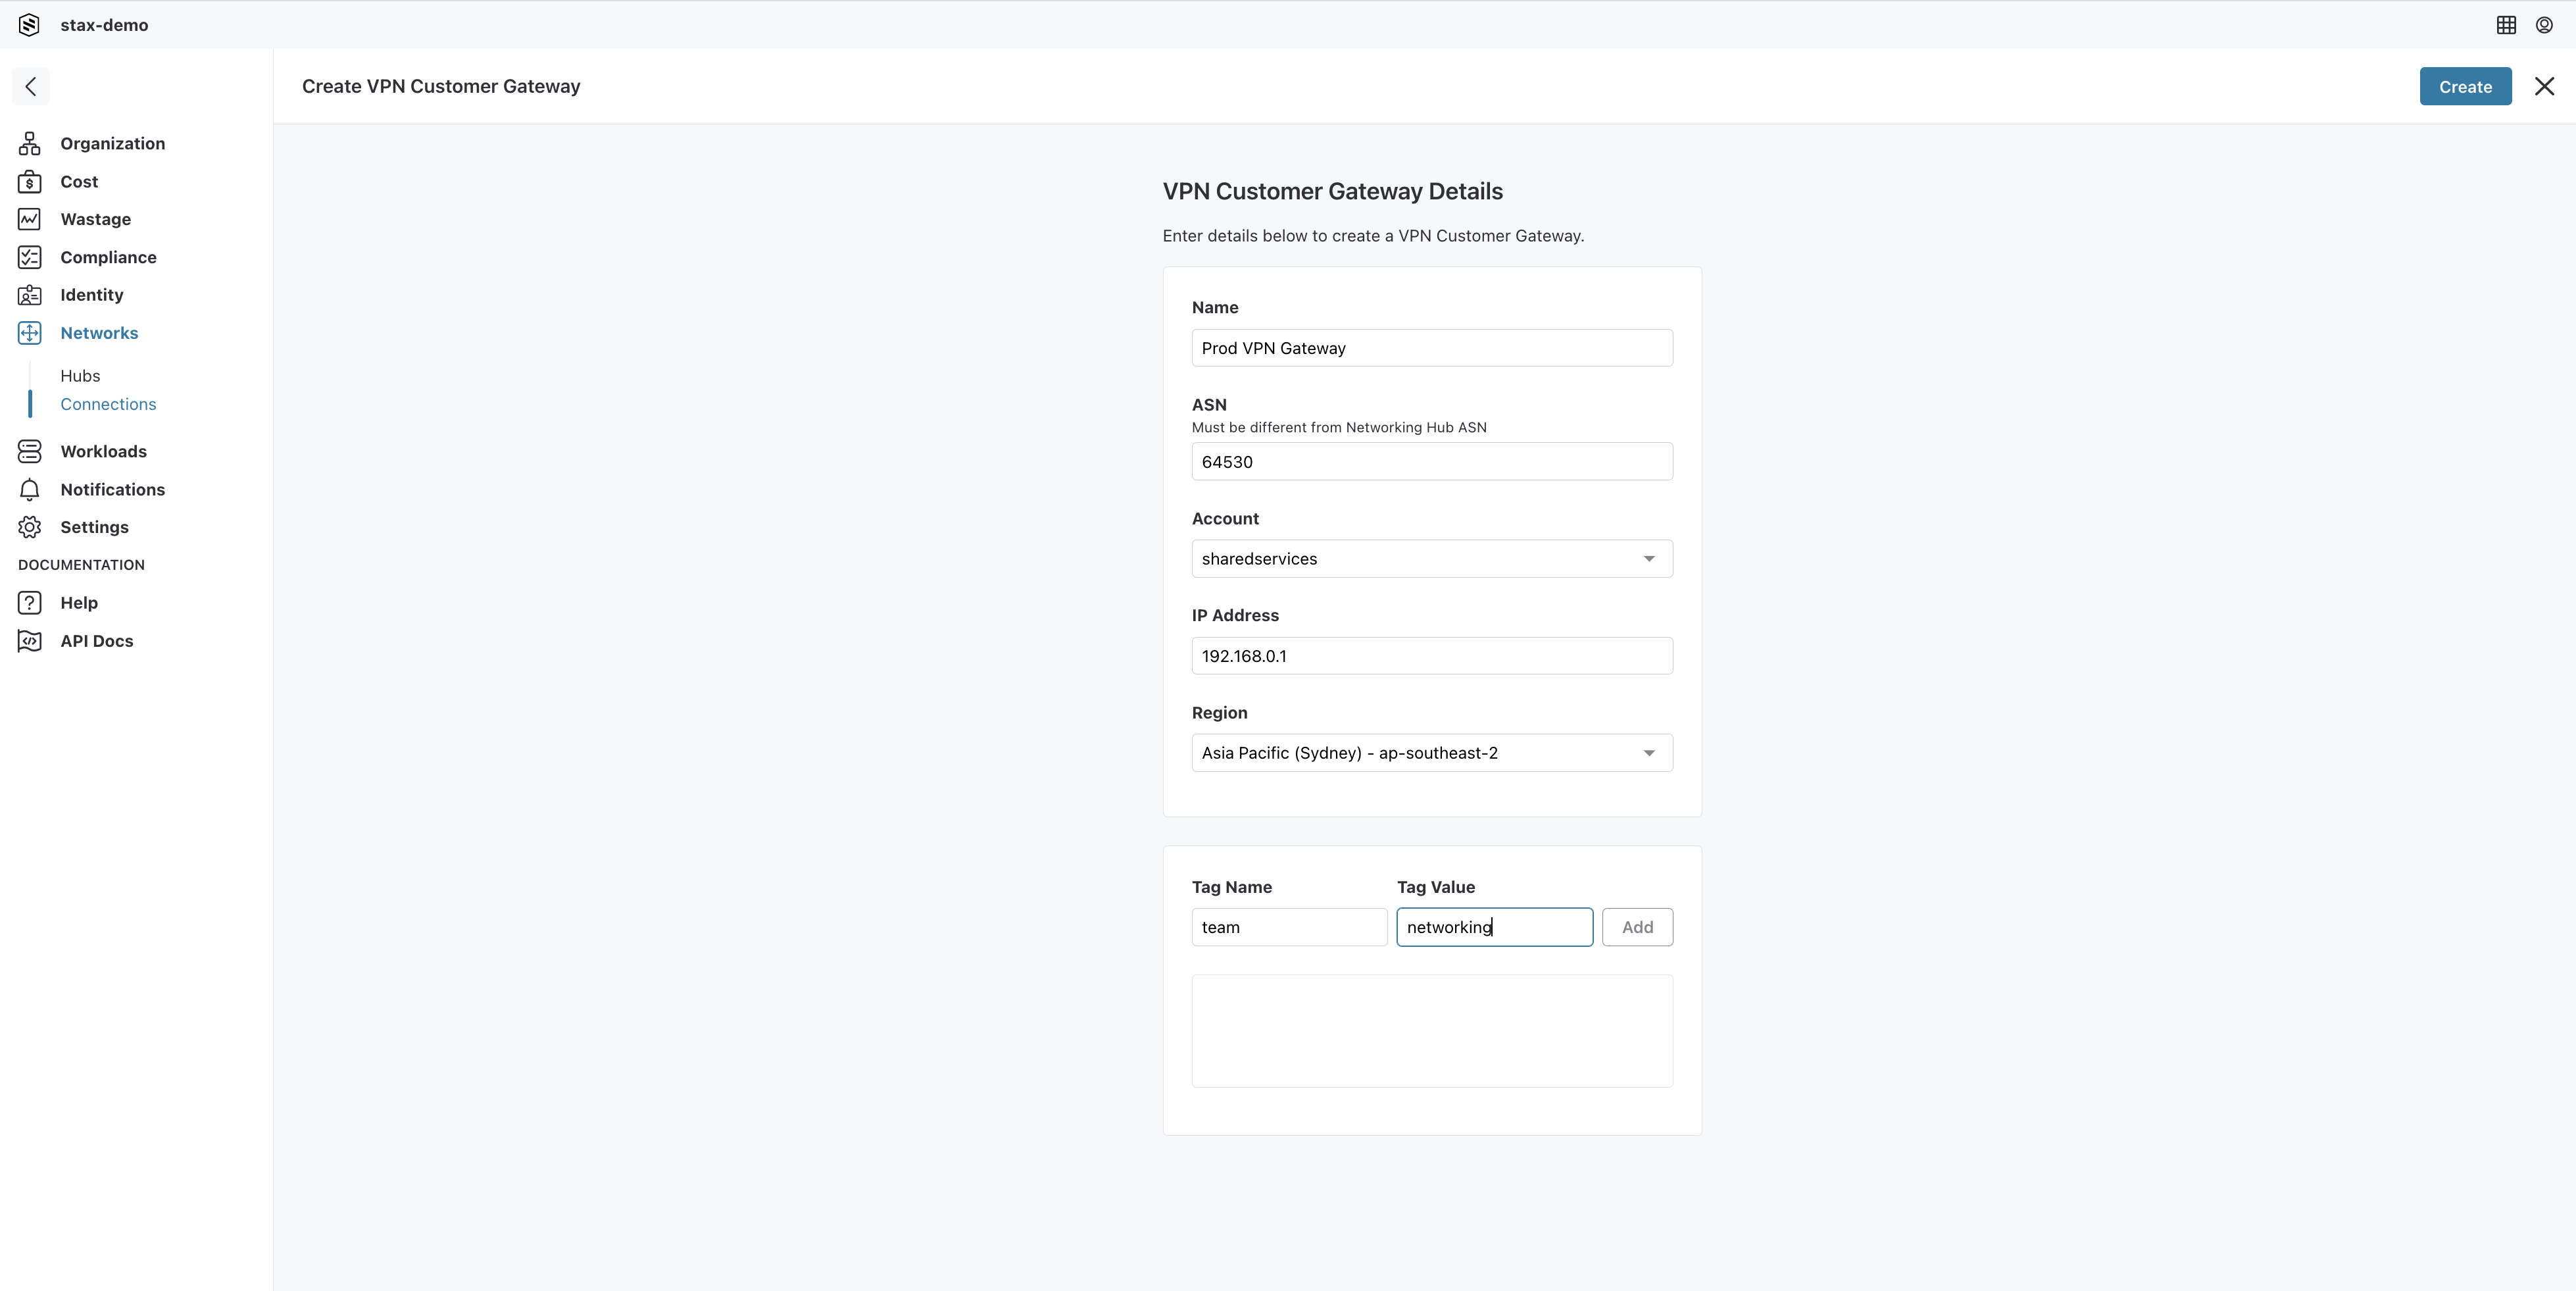
In the VPN details form, provide the following information:
- Name: Enter a name for your VPN Customer Gateway
- ASN: Input an ASN between 64512-65534. This ASN must differ from your Networking Hub's ASN
- Account: Select the account, where the Customer Gateway will be created, from the drop-down list. This Customer Gateway can only be connected to Hubs in the same account
- Region: The AWS Region where the Customer Gateway will be created
- Customer IP Address: The internet routable IP address for the Customer Gateway's remote interface. This address must be static
- Tags: Optionally, add tags to your VPN Customer Gateway
-
Click Create to create the VPN Customer Gateway. Once your Customer Gateway has completed initialization, it will be displayed on the Connections page
Once you have created your Stax VPN Customer Gateway, you must navigate to Site-to-Site VPN Connections in the Amazon VPC console and download the configuration file. Provide this file to your network administrator as it includes the information needed to configure your on-premises Customer Gateway device or software application to work with your new Stax Site-to-Site VPN Connection. For more information, refer to the AWS documentation.
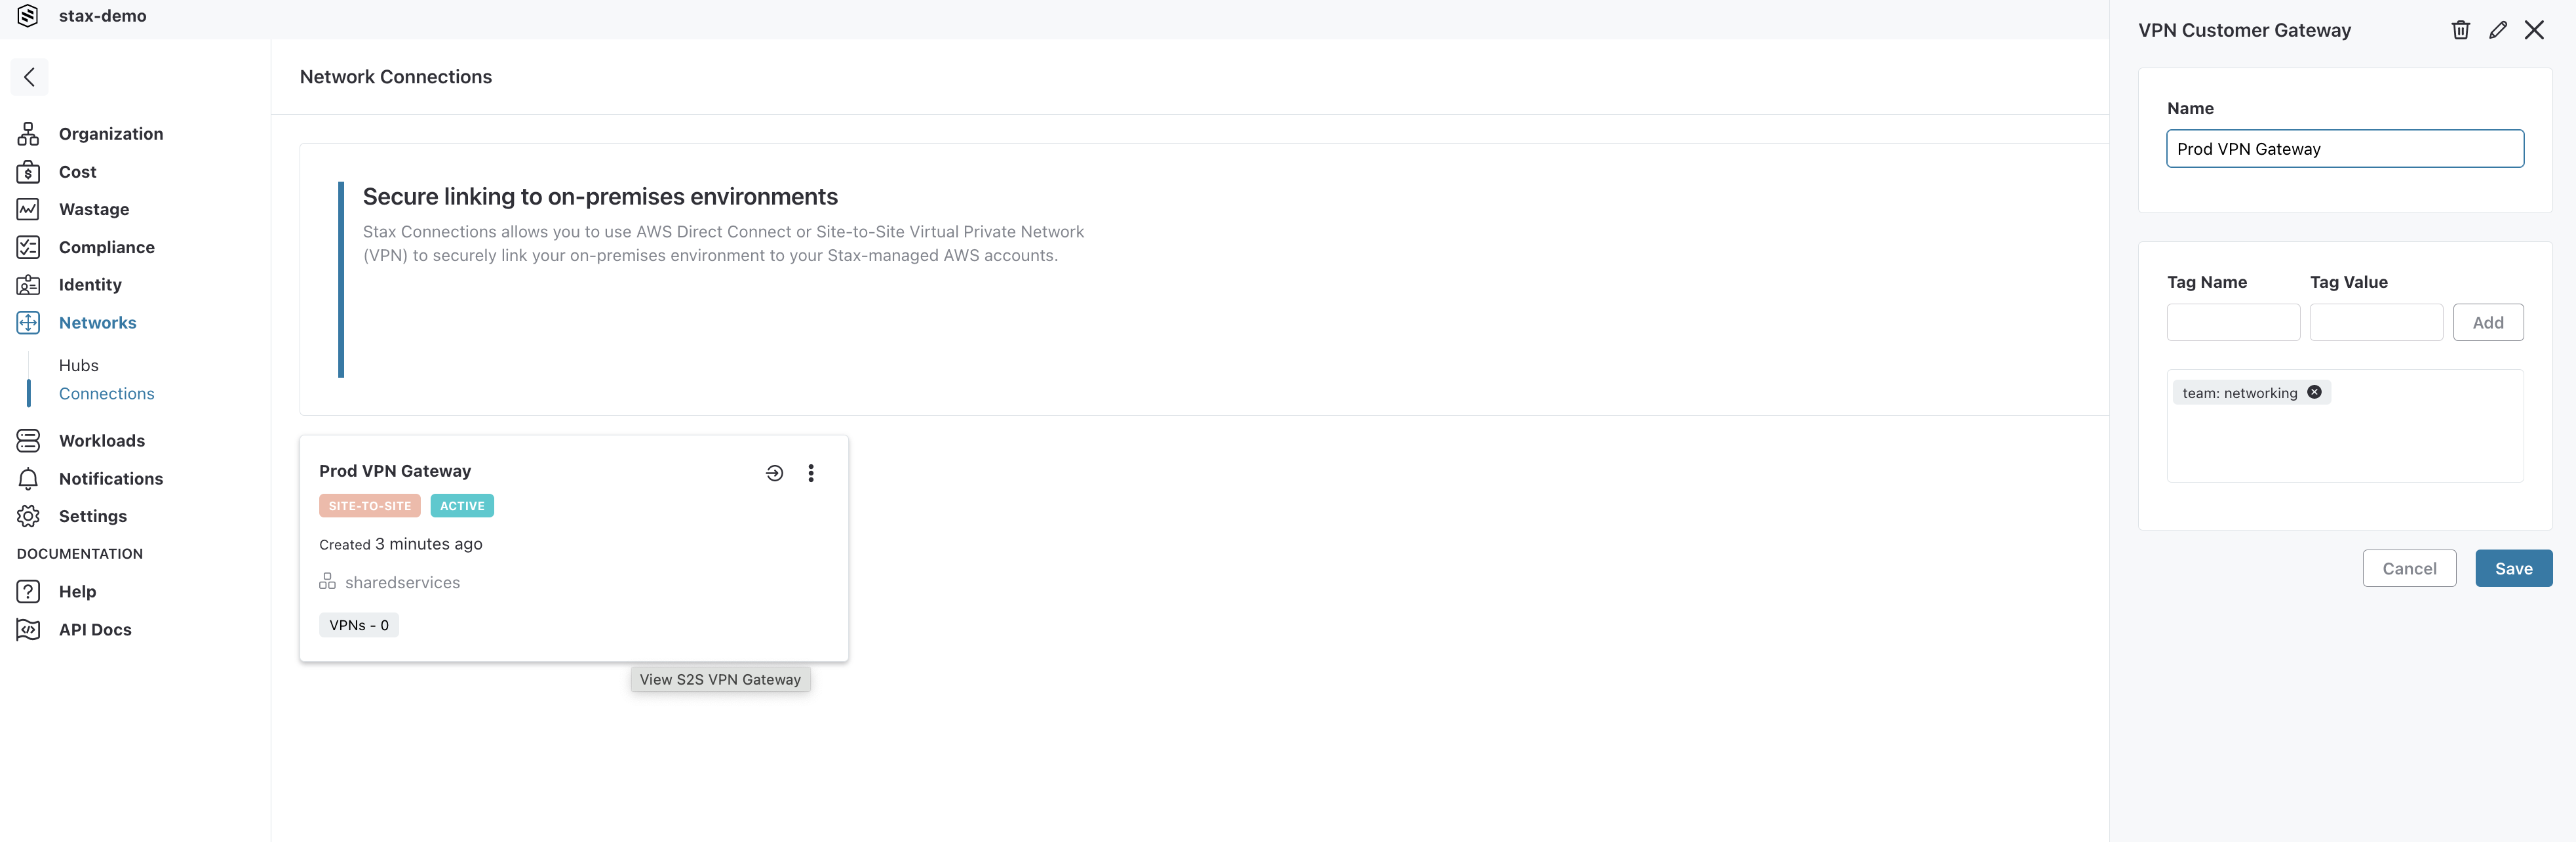
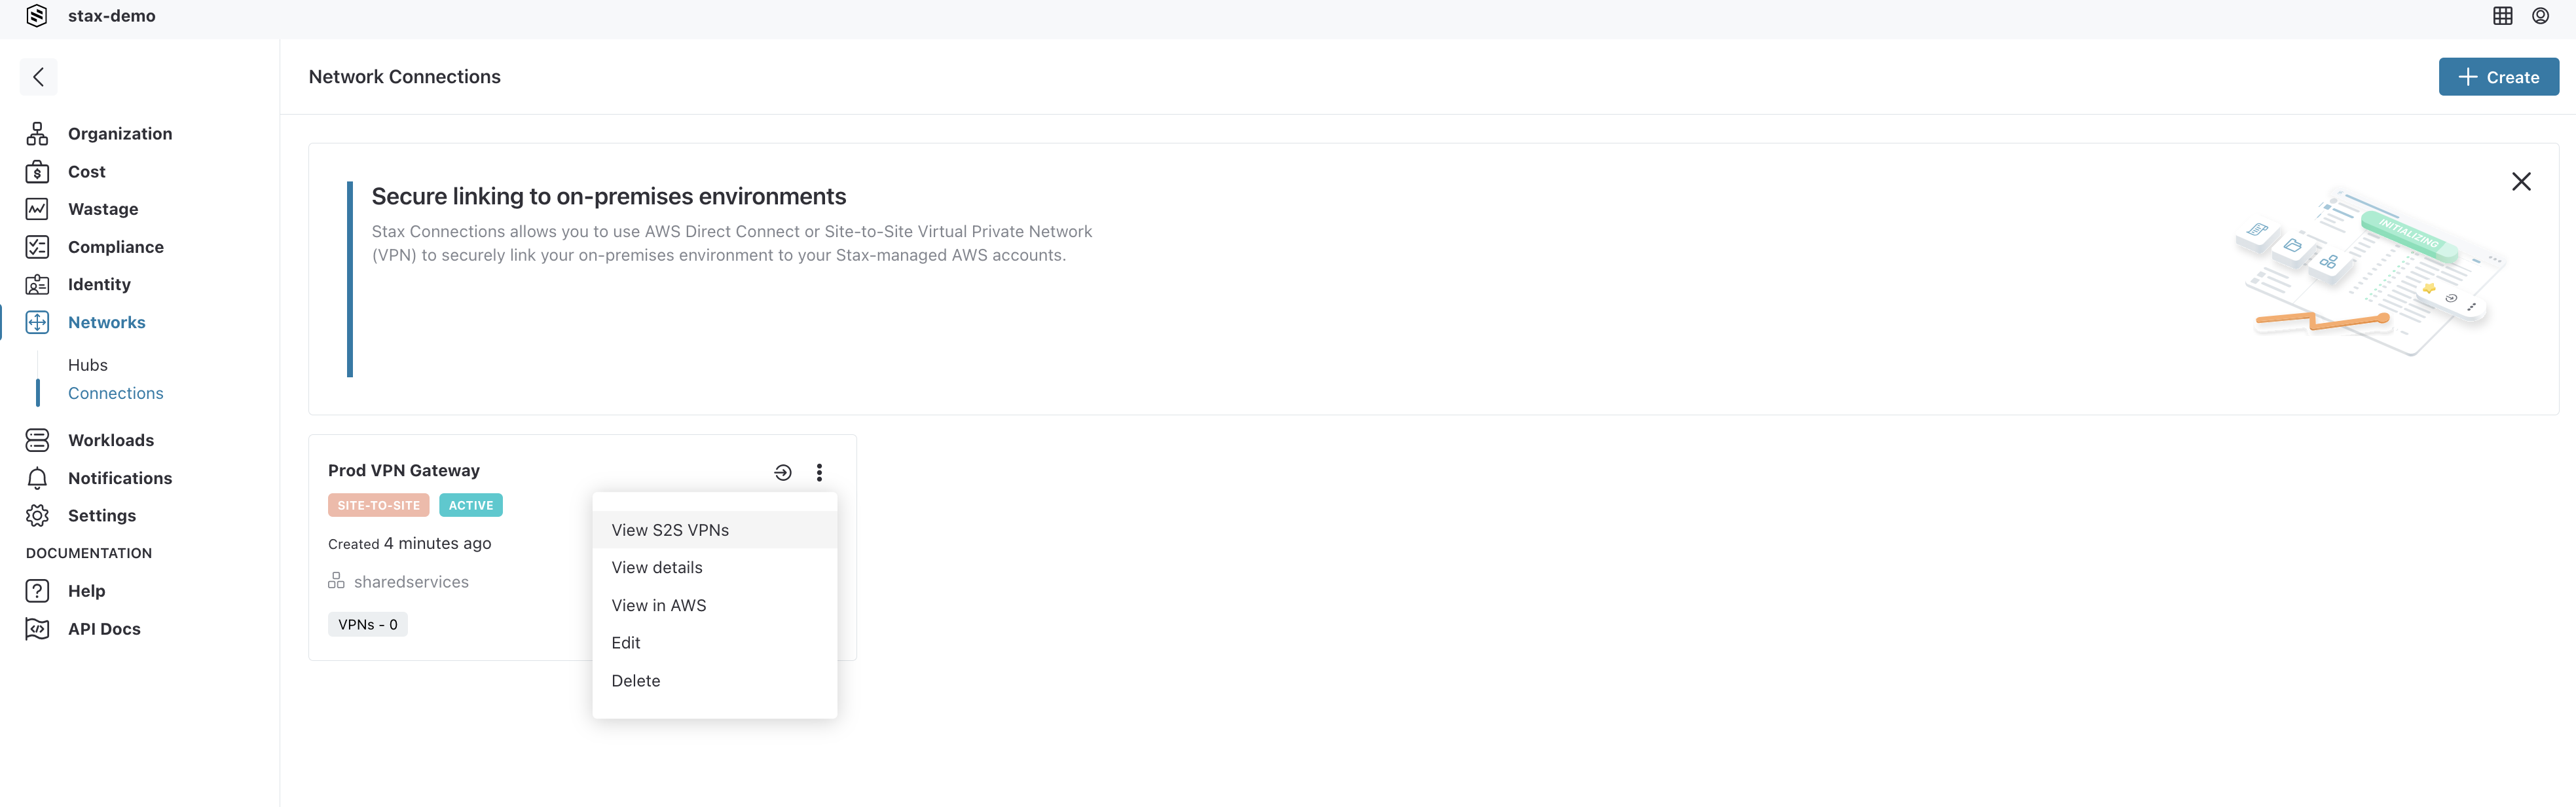
Edit a VPN Customer Gateway
Only your VPN Customer Gateway's name and tags can be edited after creation. If you need to make a change to the configuration of your Gateway, it must be deleted and then recreated.
From the Connections main page:
-
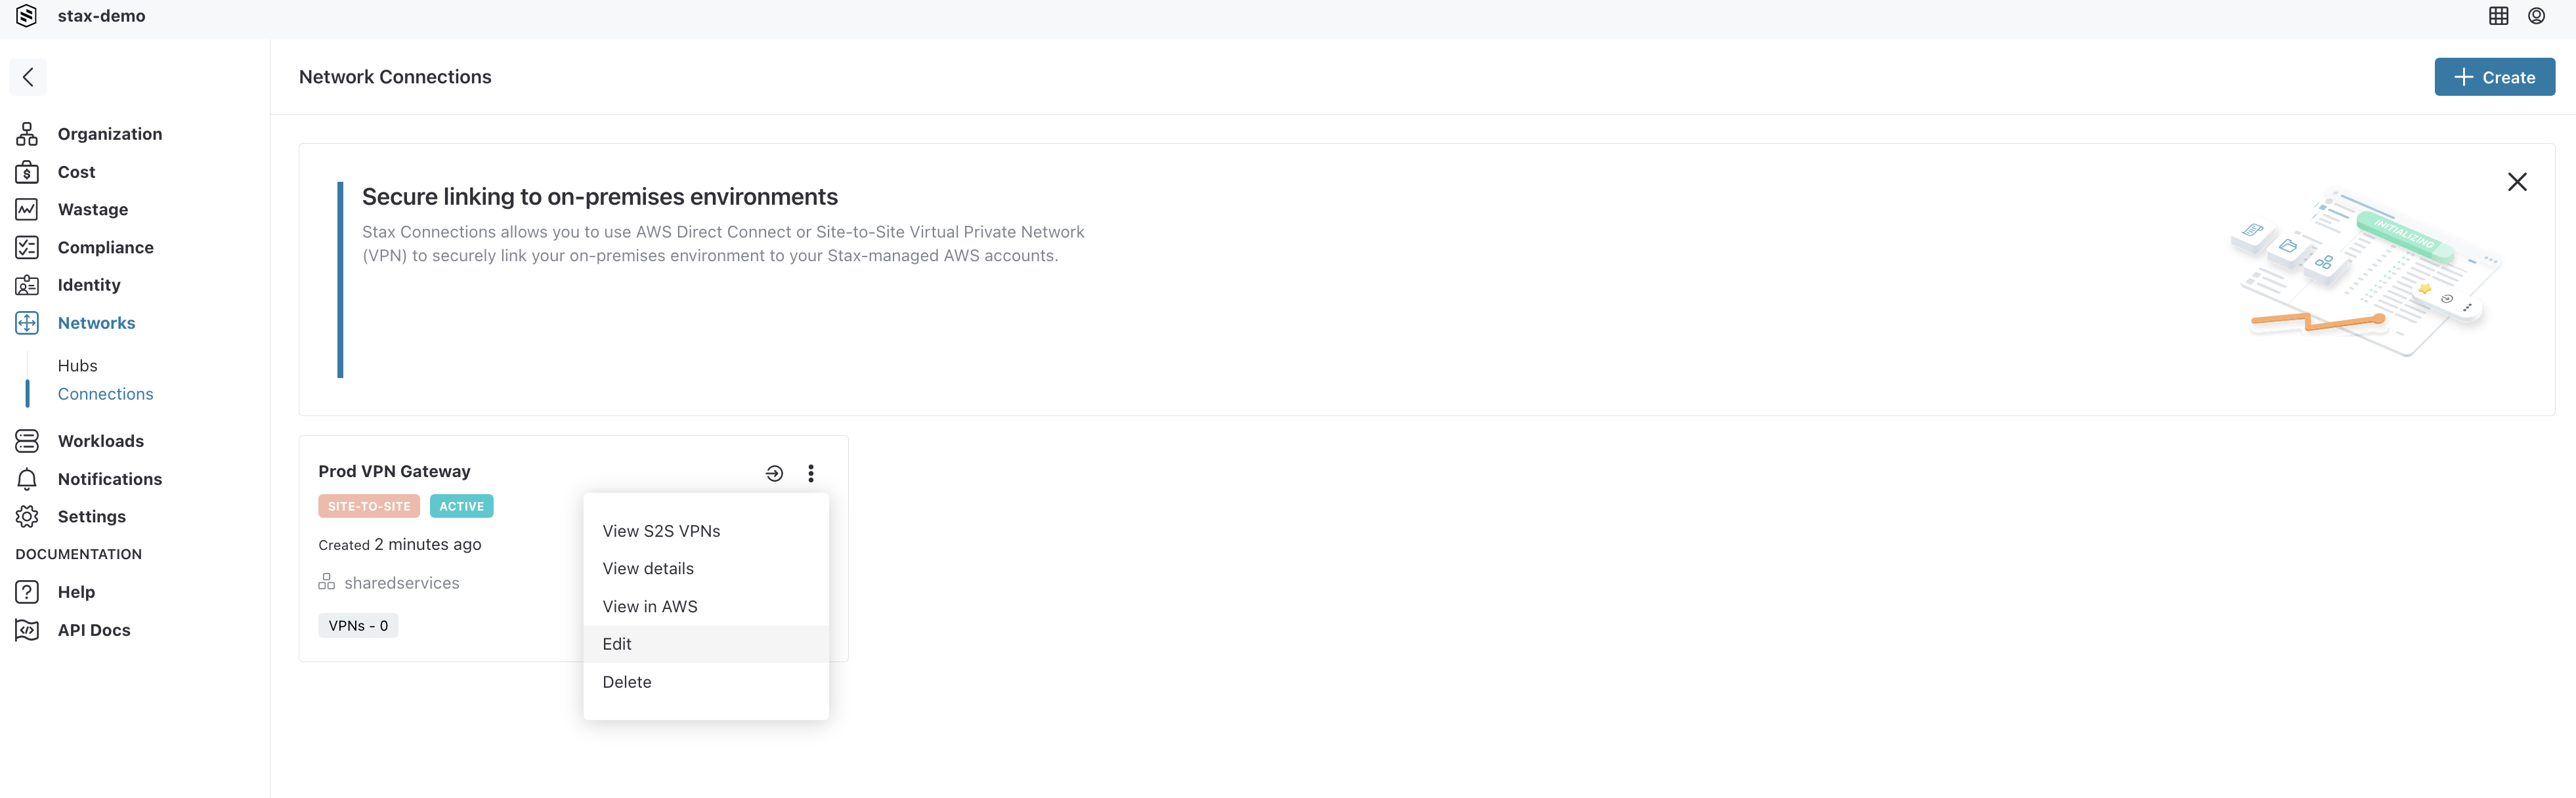
Click the vertical ellipsis (⋮) to the right of the VPN Customer Gateway, then select Edit from the list
-
Make the required changes to the Gateway's name and/or tags, then click Save
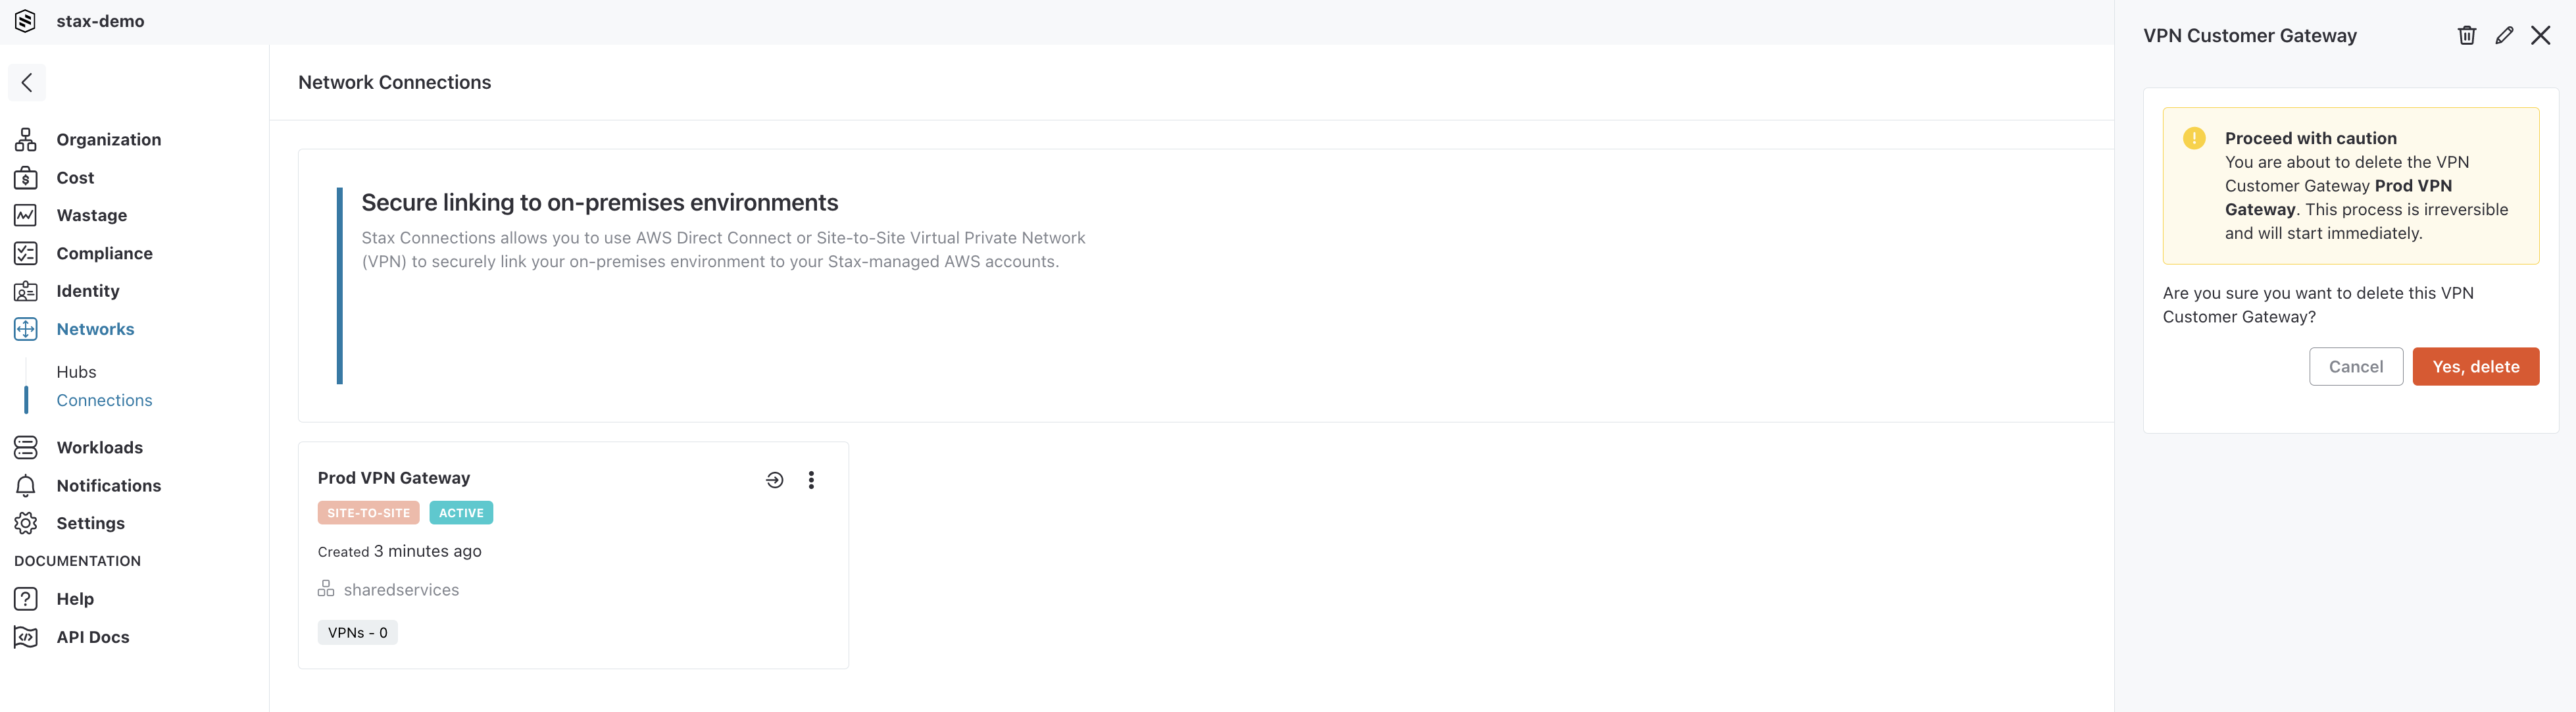
Delete a VPN Customer Gateway
To delete a VPN Customer Gateway, any associated Hub or VPC Connections must first be removed.
From the Connections main page:
-
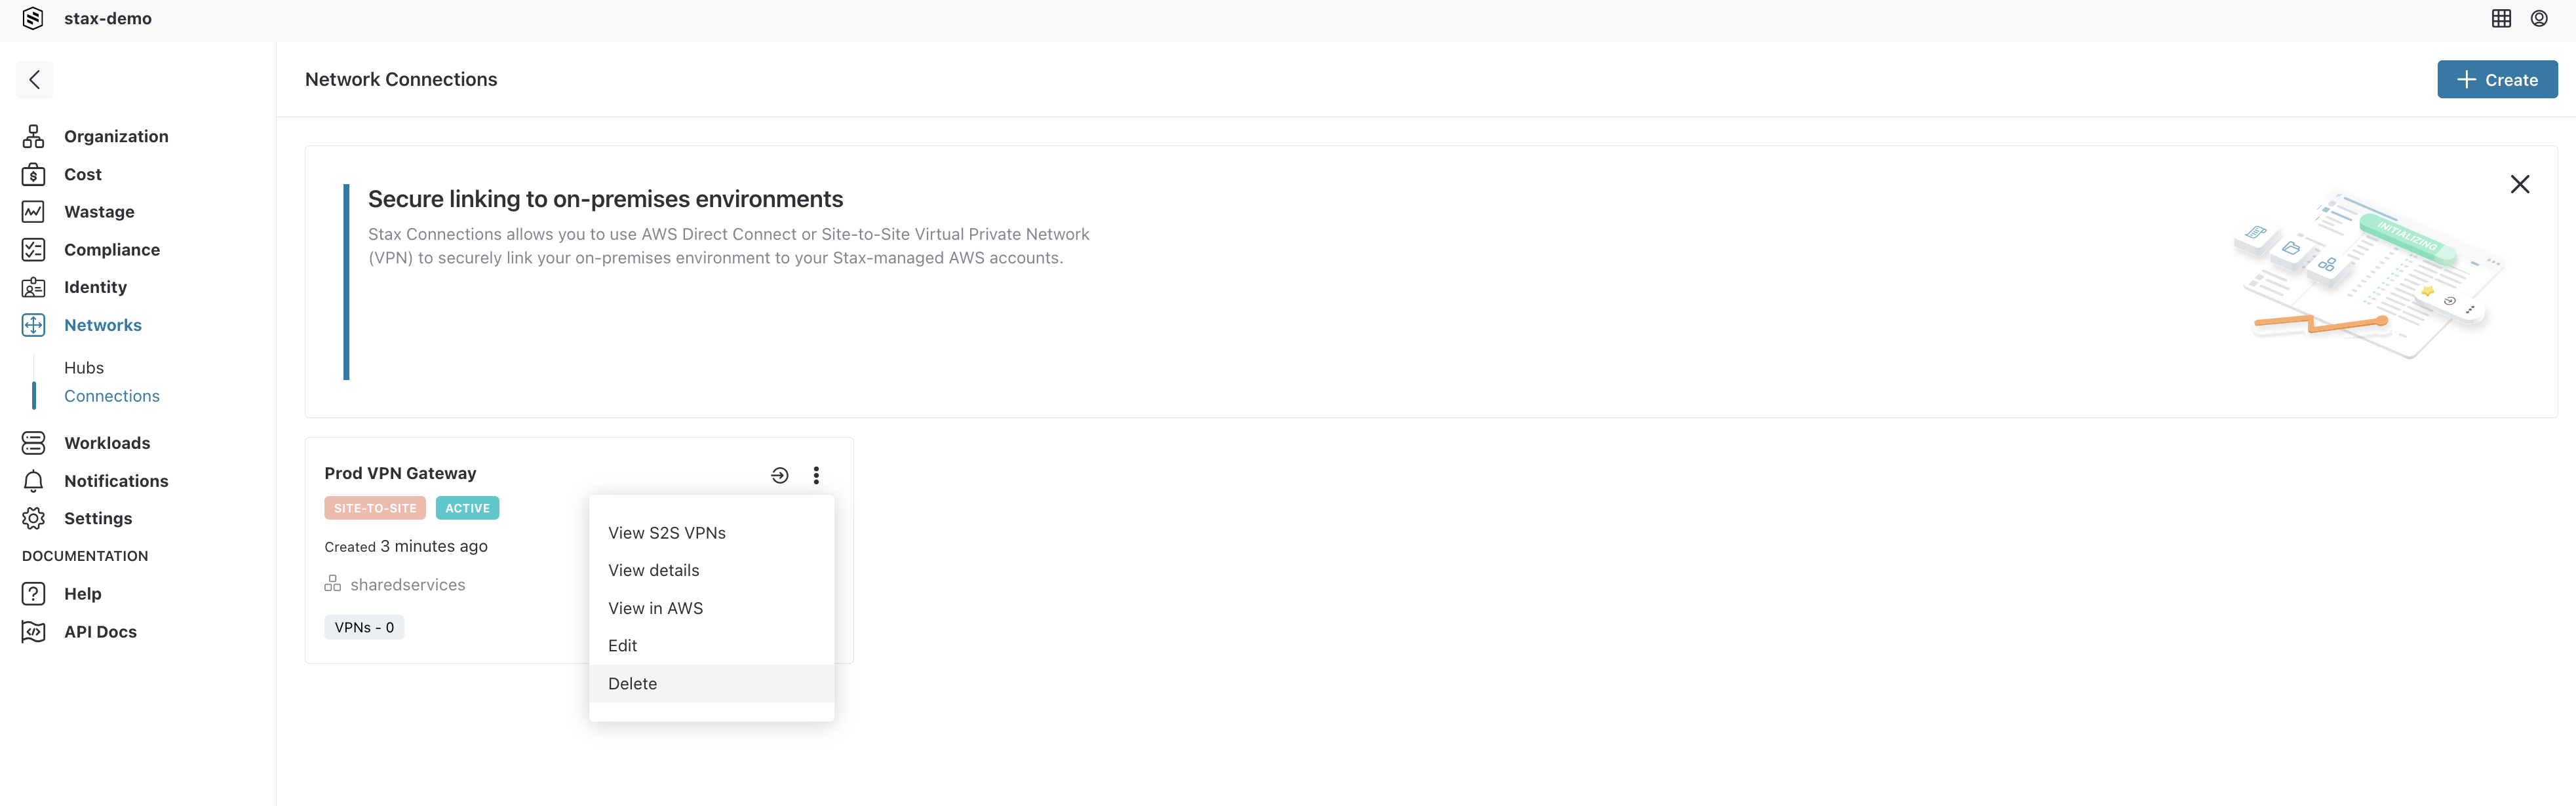
Click the vertical ellipsis (⋮) to the right of the VPN Customer Gateway, then select Delete from the list
-
Select the Yes, delete button to confirm the VPN Customer Gateway's deletion
Connect Site-to-Site VPN to Hub
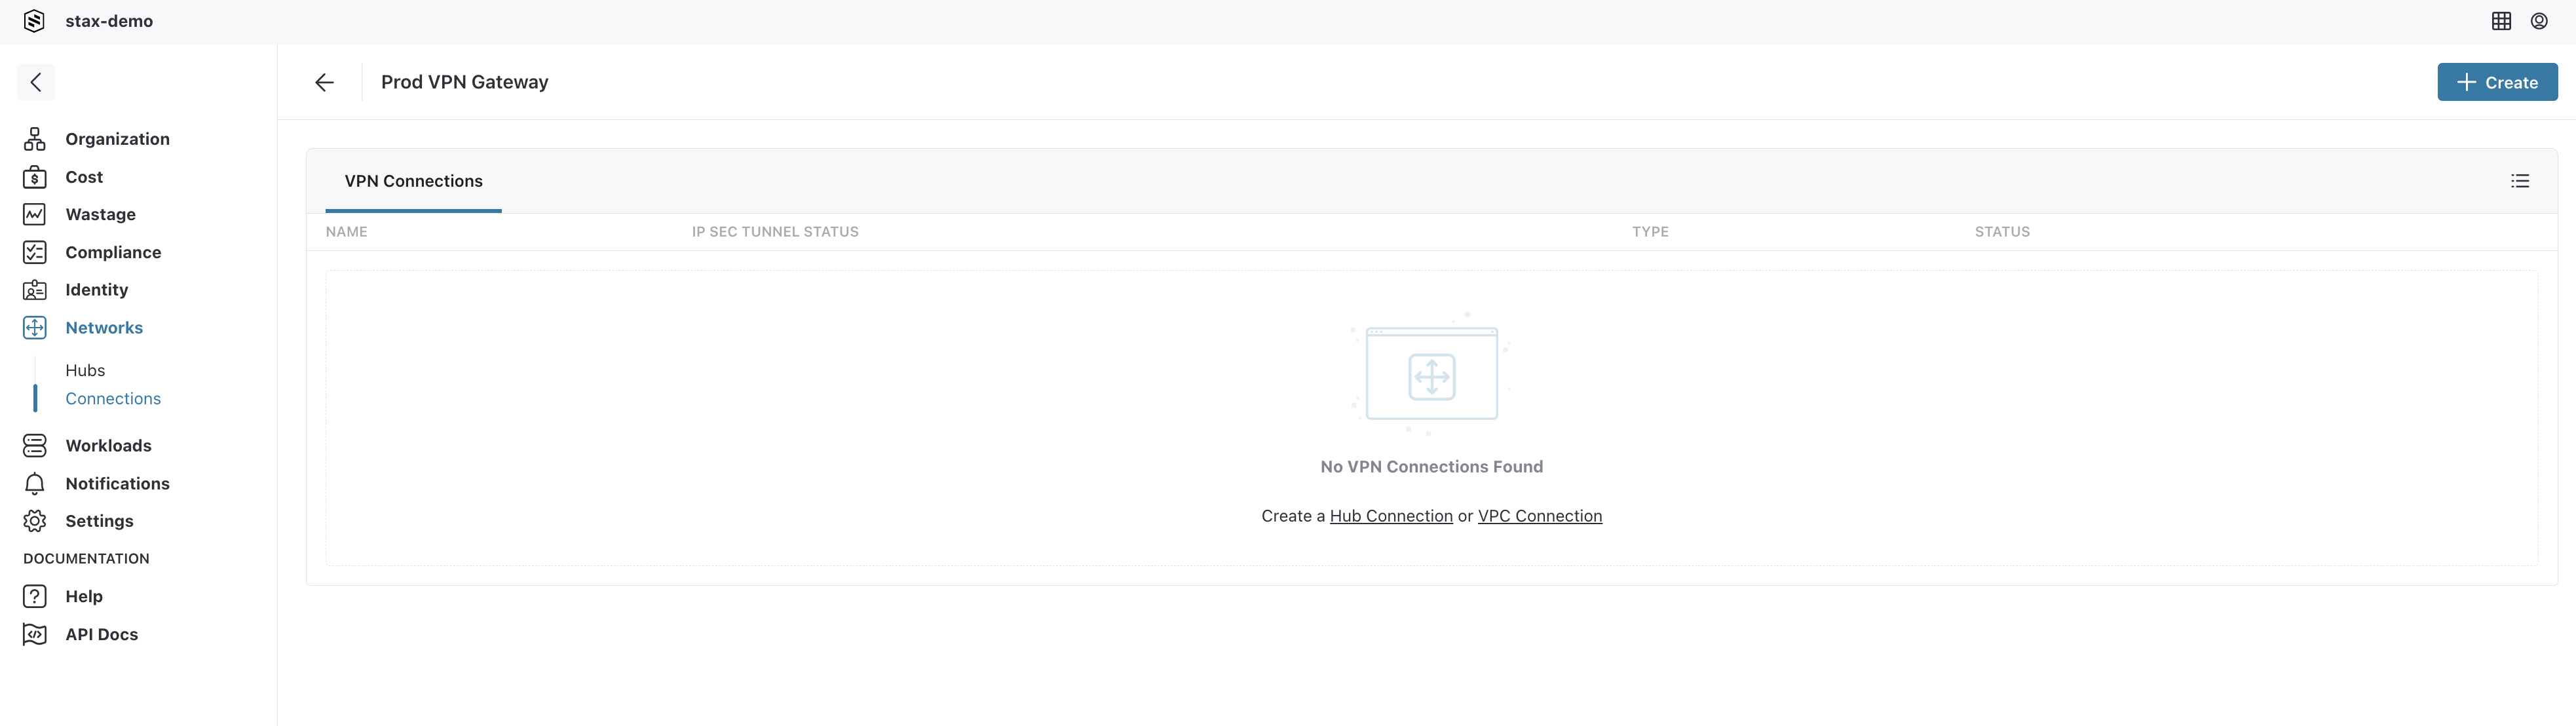
You can connect your VPN Customer Gateway to your Stax Networking Hub's Transit Gateway by creating a Hub Connection. You must already have created a Stax Networking Hub before proceeding.
From the Connections main page:
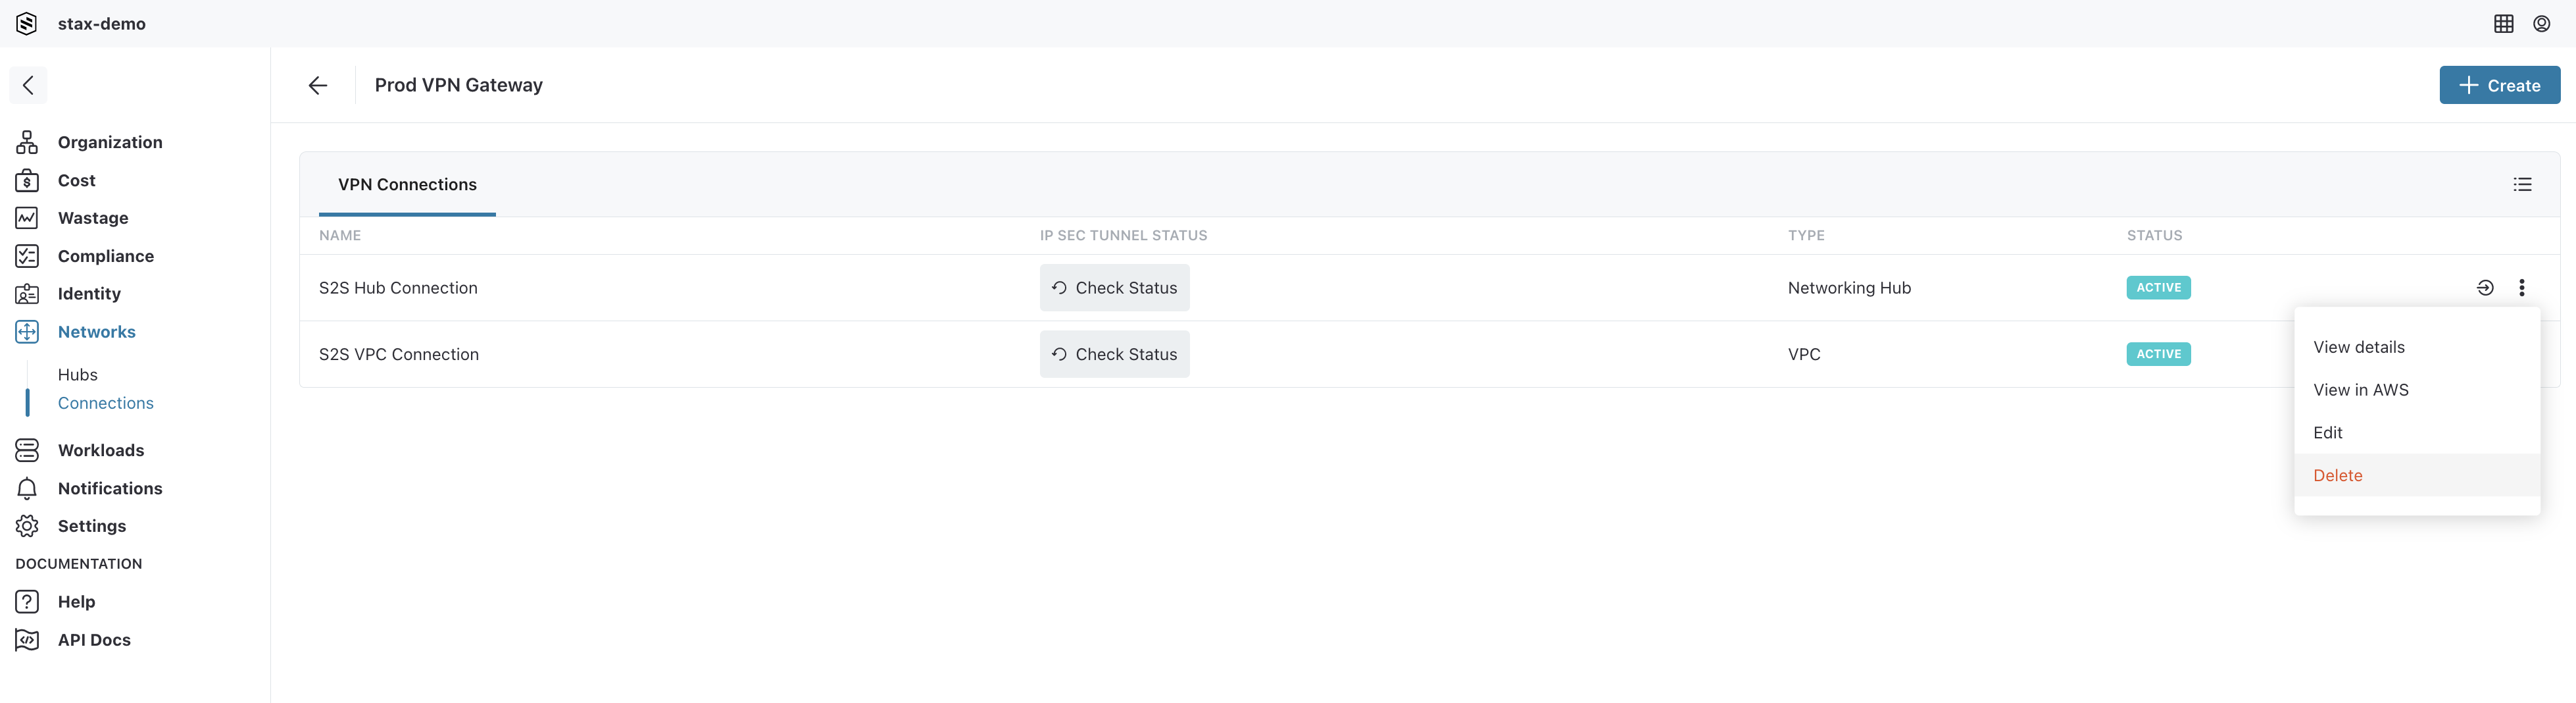
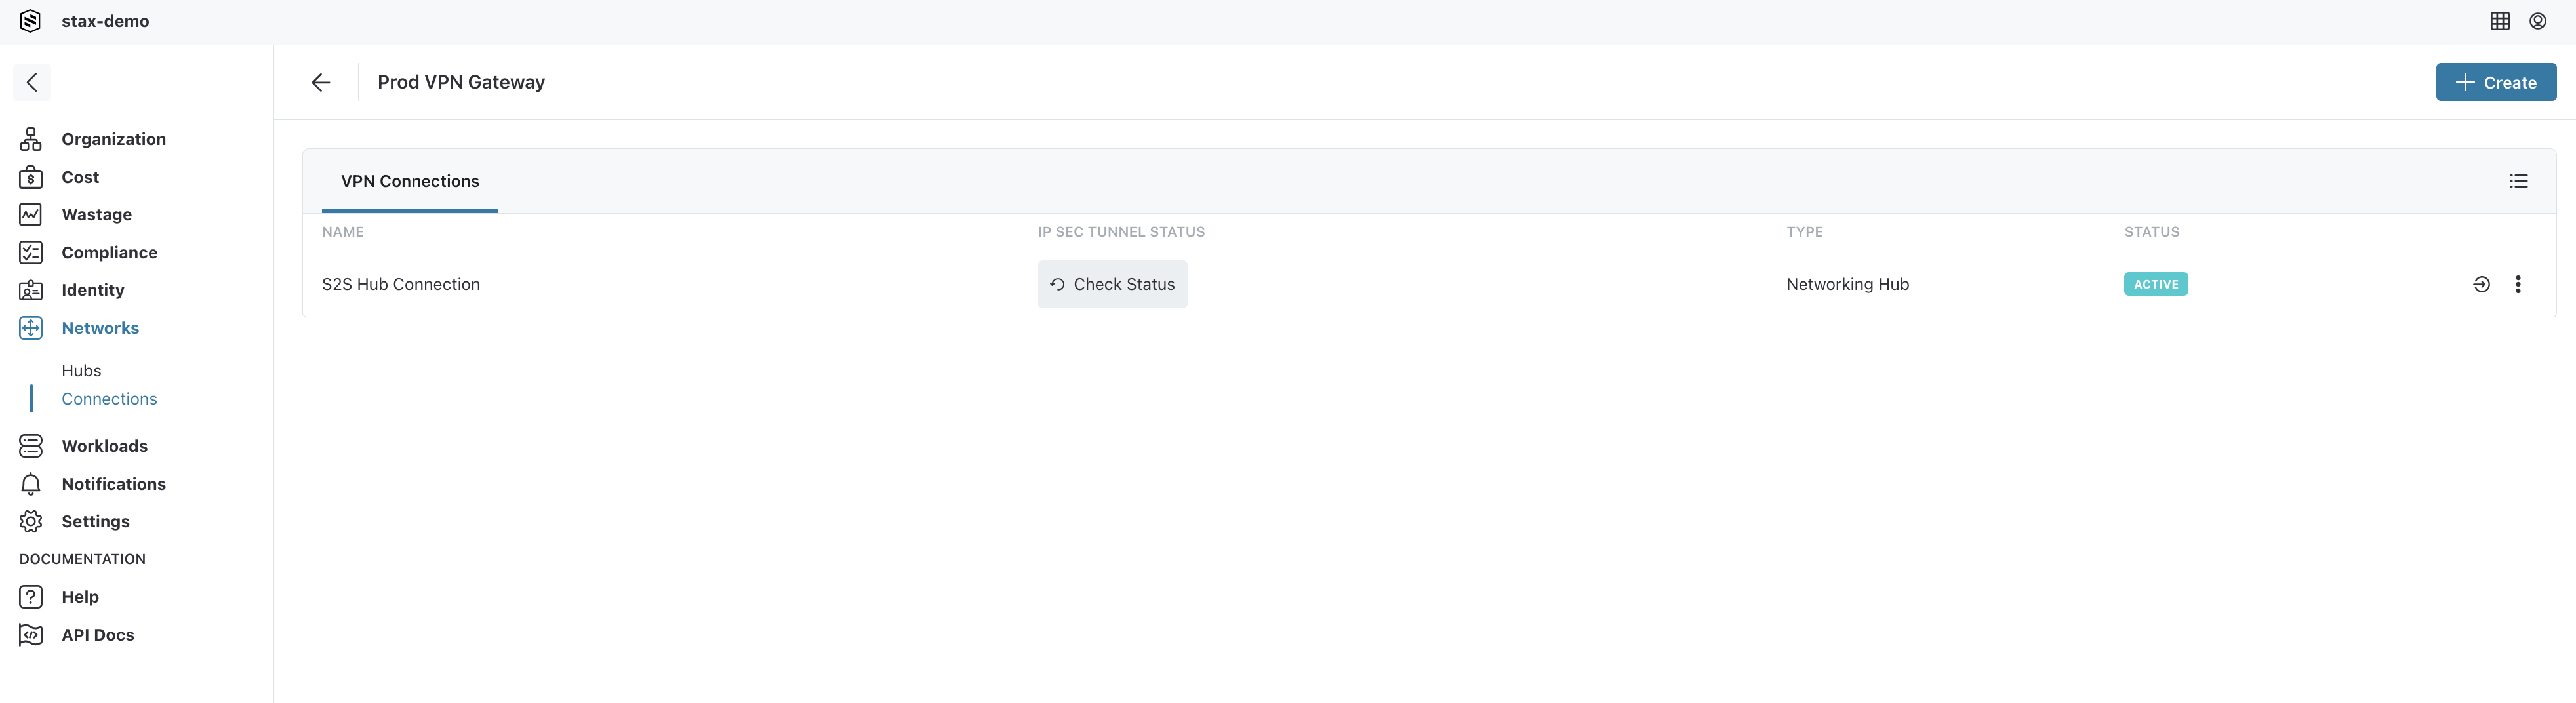
- Click the vertical ellipsis (⋮) to the right of the VPN Customer Gateway, then select View S2S VPNs from the list
-
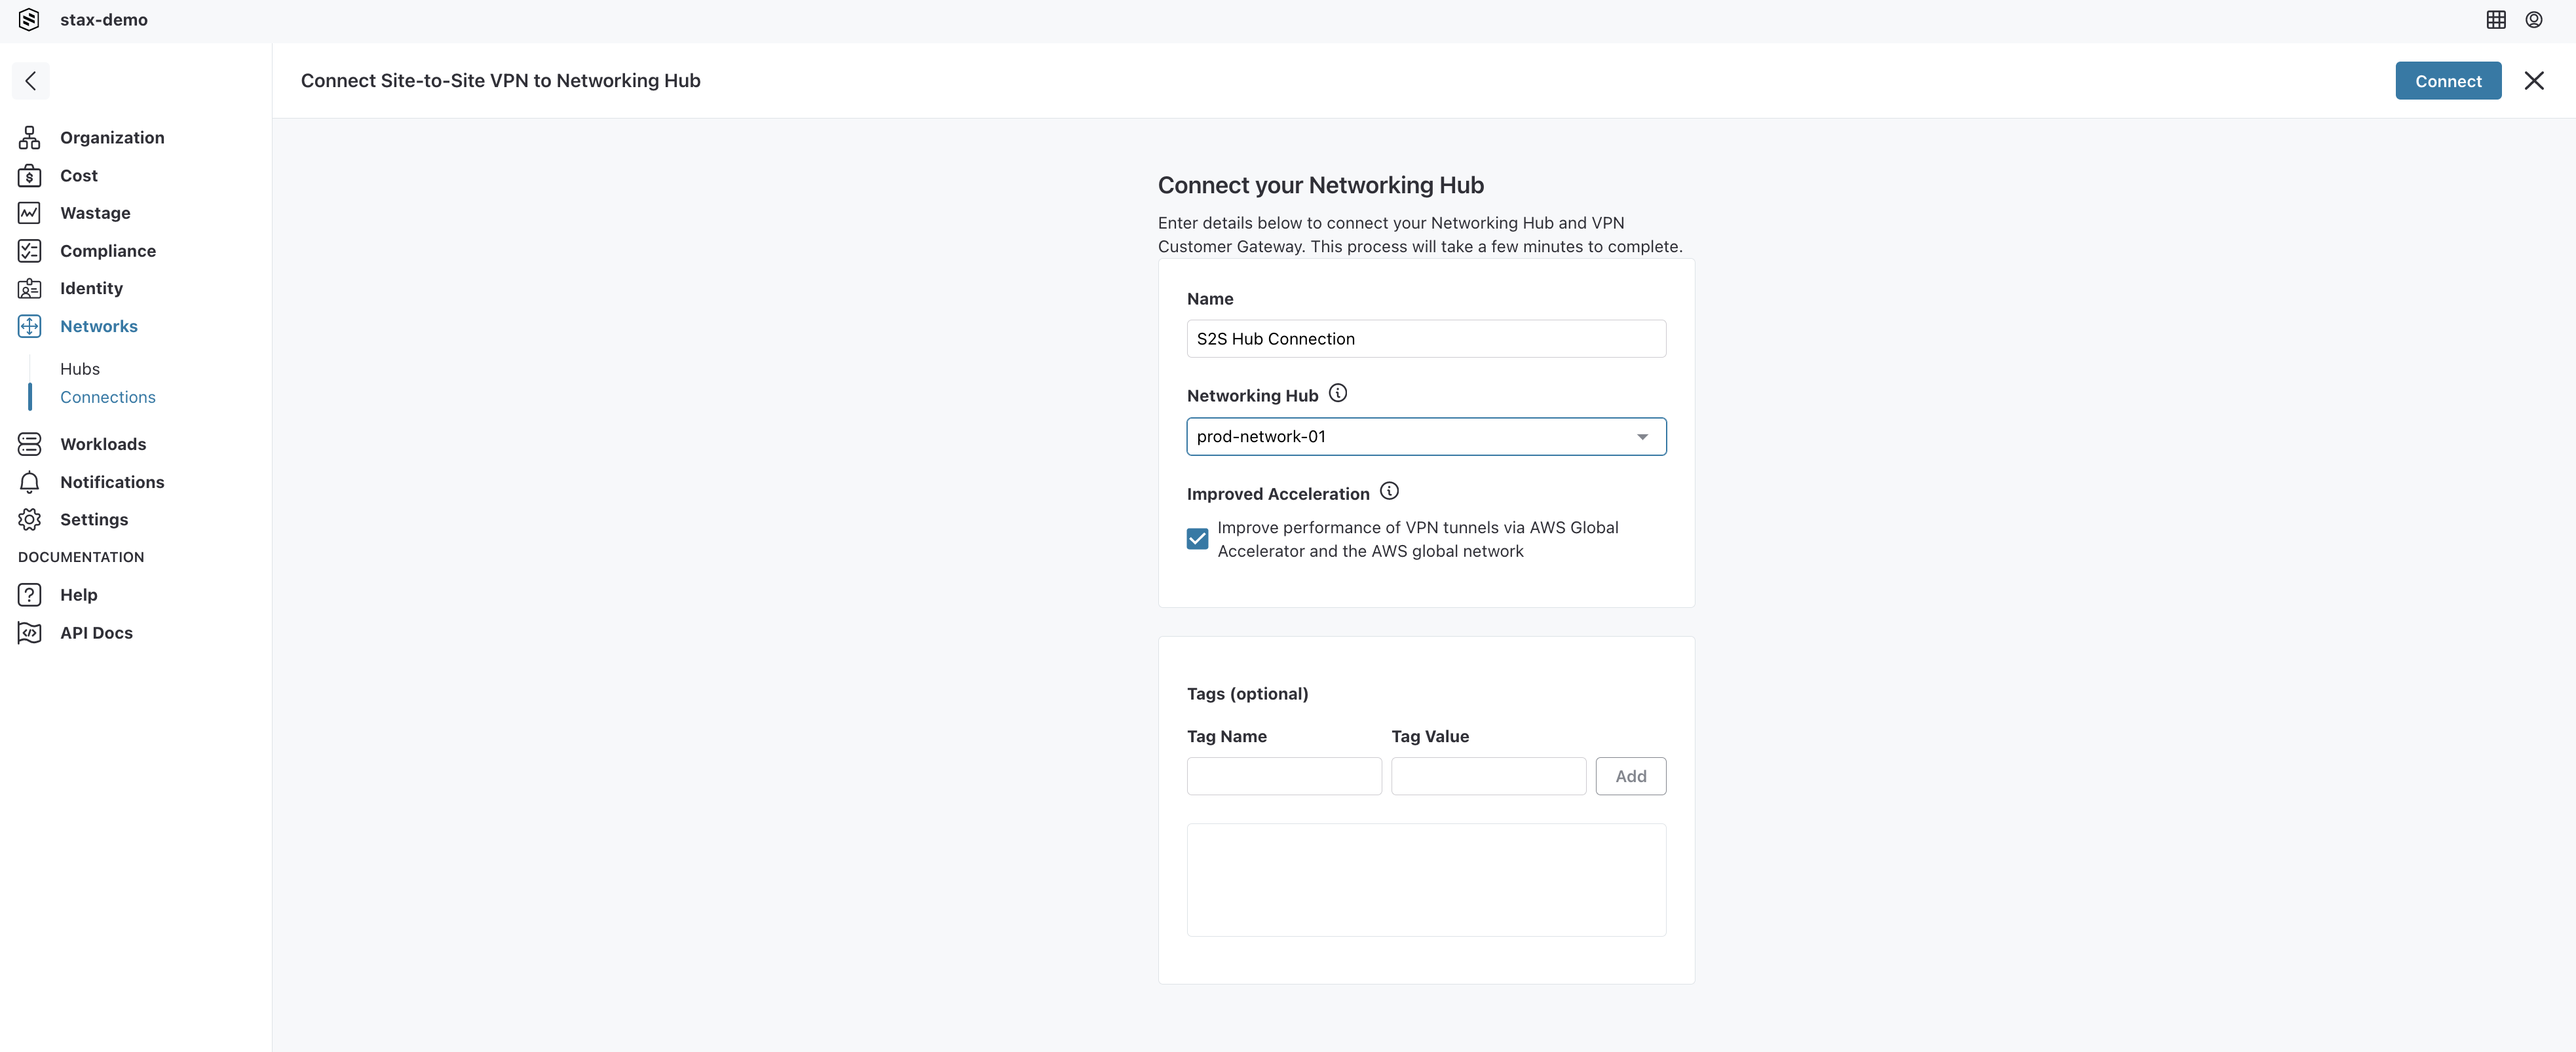
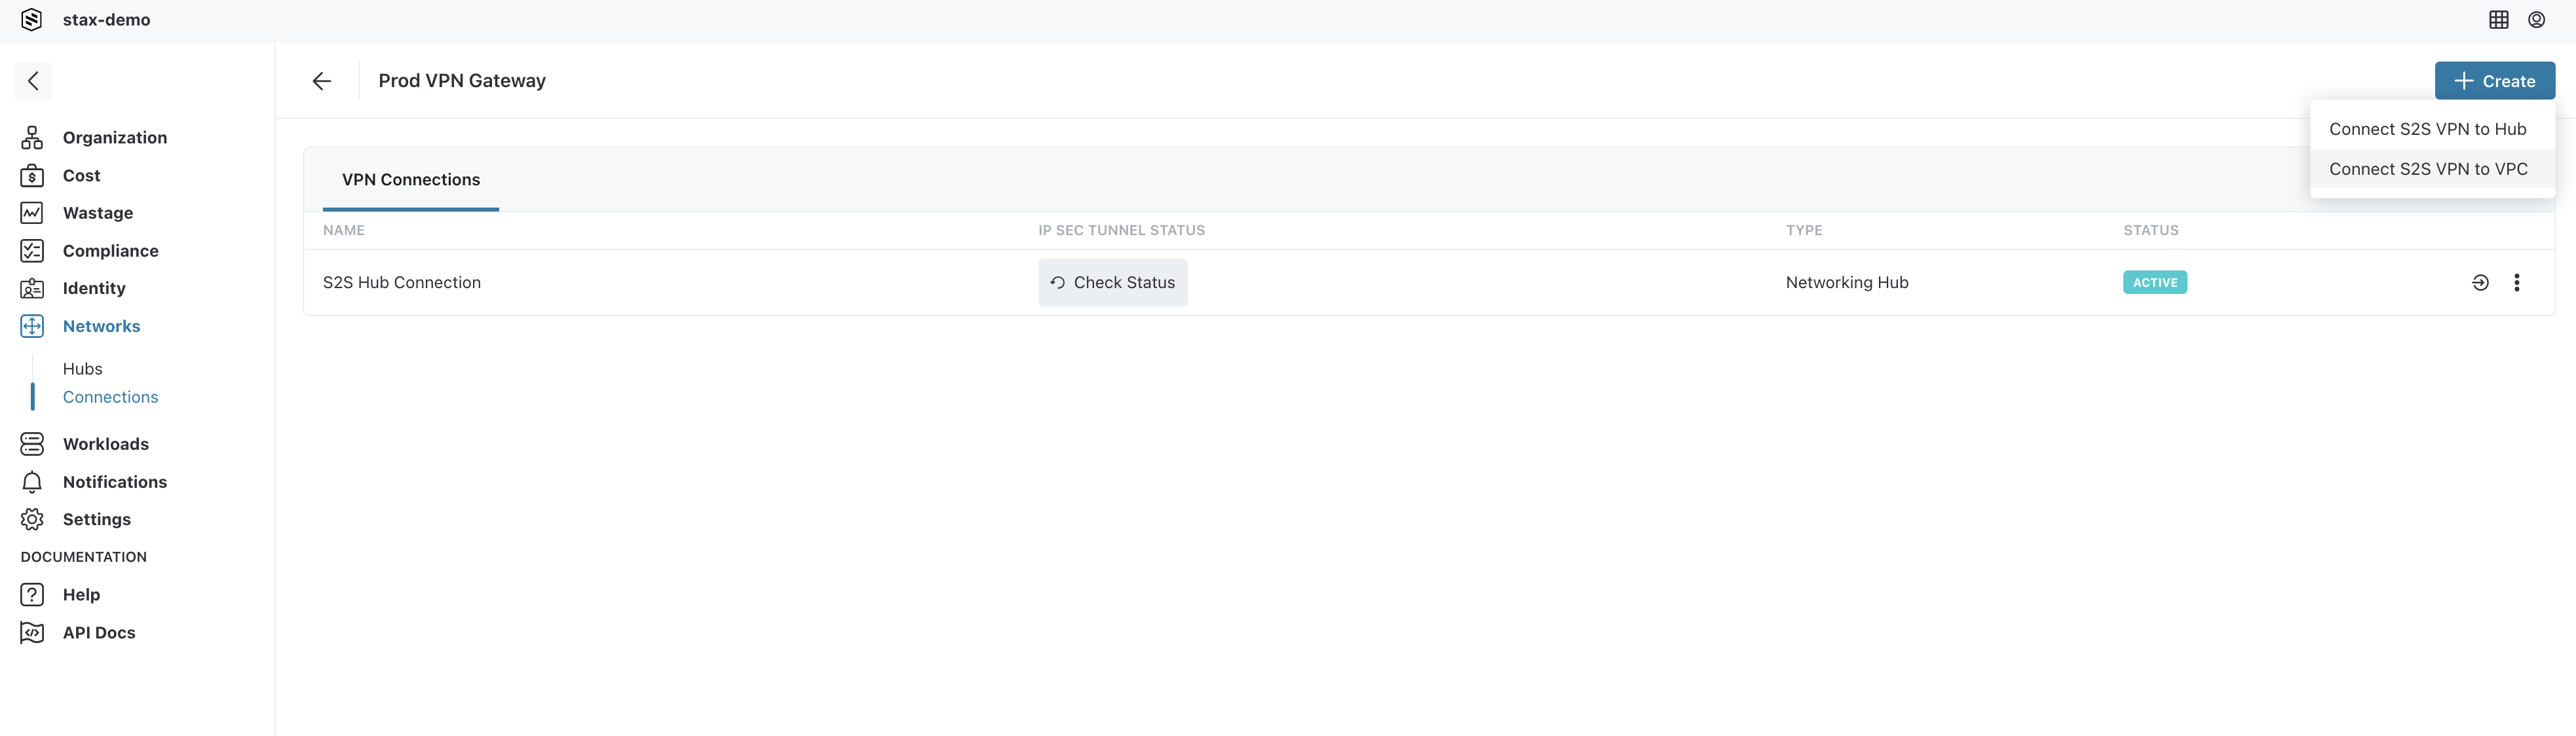
Click + Create, then select Connect S2S VPN to Hub
-
In the Connect your Hub details form, provide the following information:
- Hub: Select from the list of Hubs to connect to your Customer Gateway
- VPN Connection Name: Enter a name for your VPN Connection
- Improved Acceleration: Select to enable AWS Accelerated Site-to-Site VPN Connections
- Tags: Optionally, add tags to your VPN Connection
-
Click Connect to connect your Networking Hub and VPN Customer Gateway. This process could take a few minutes to complete.
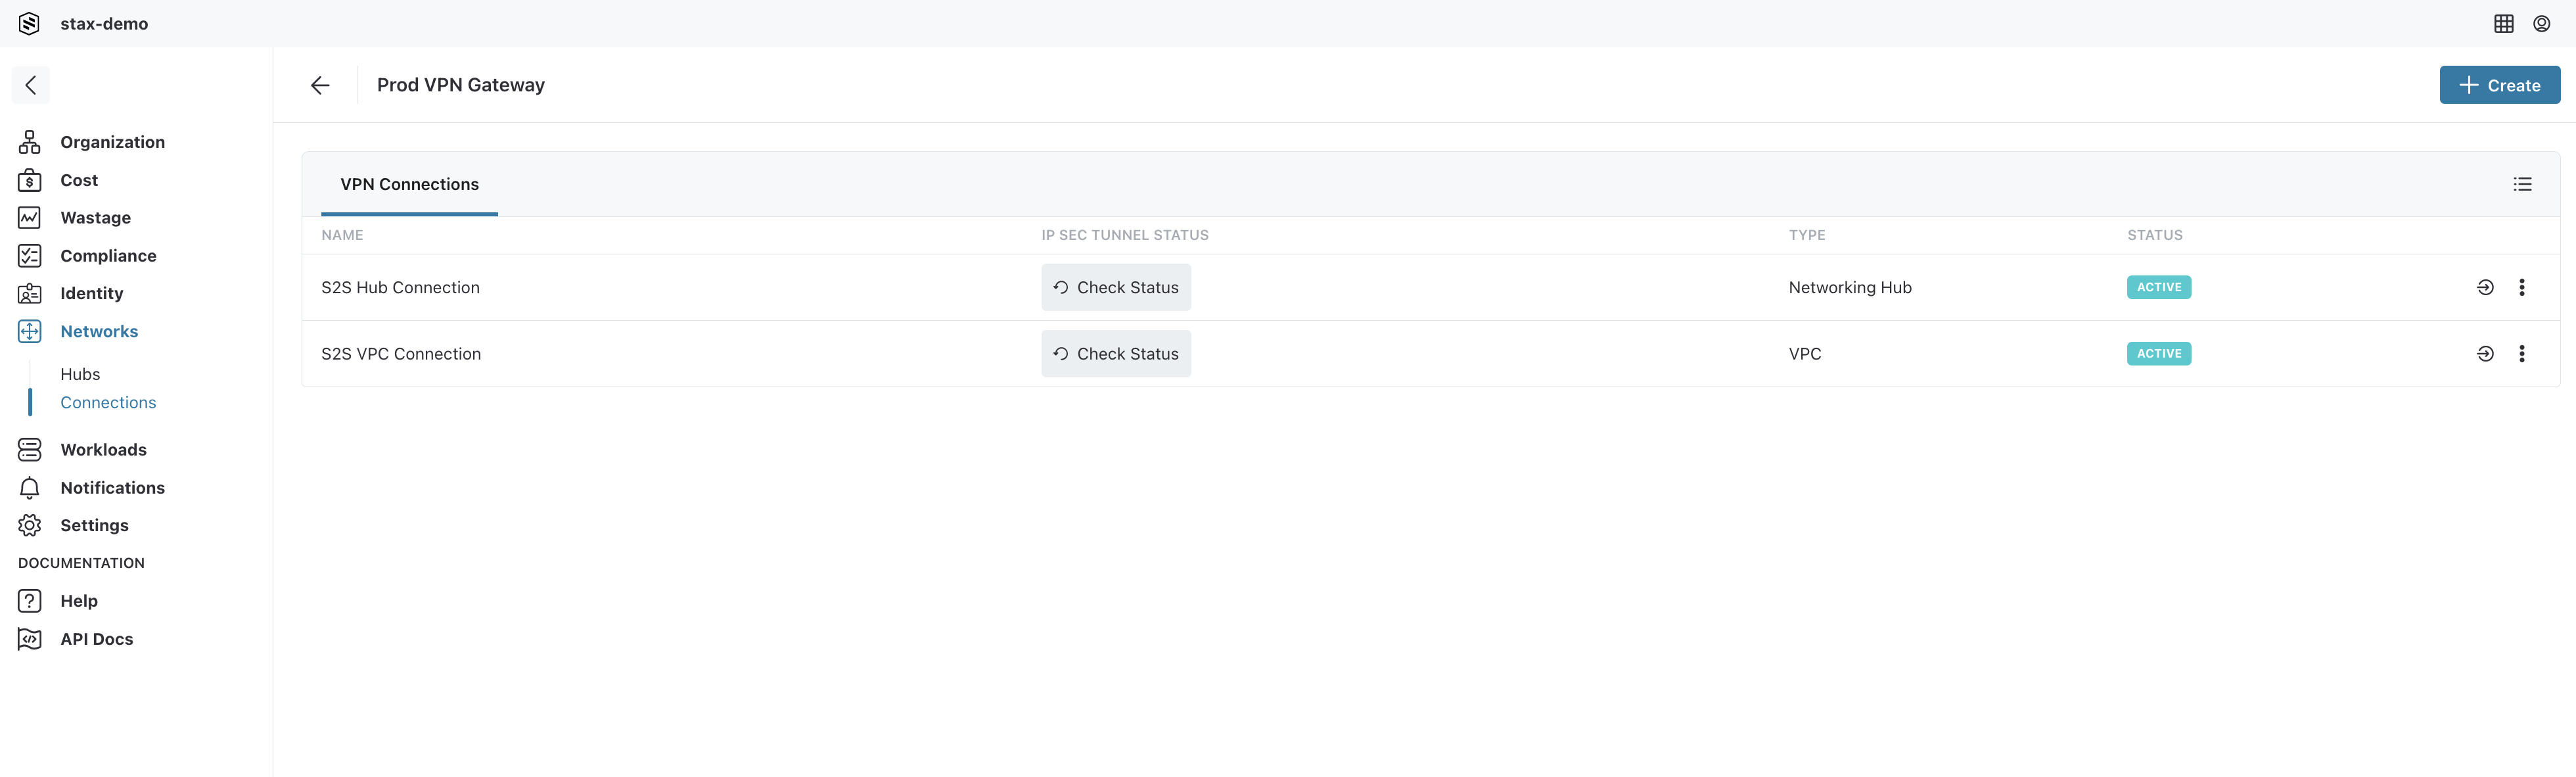
Once your VPN Connection has been created, you can check the status of the IP Sec tunnel by clicking the Check Status button shown against your connection.
There are three potential states for the IP Sec Status:
- Pending: IP Sec status is being retrieved
- Up: IP Sec is available
- Down: IP Sec is unavailable
Connect Site-to-Site VPN to a VPC
You can connect your VPN Customer Gateway to your VPCs in Stax by creating a Stax Connection. You must already have created a Stax VPC with a Virtual Private Gateway before proceeding.
From the Connections main page:
-
Click the vertical ellipsis (⋮) to the right of the VPN Customer Gateway, then select View S2S VPNs from the list
-
Click + Create, then select Connect S2S VPN to VPC
-
In the Connect your VPC details form, provide the following information:
- Name: Enter a name for your VPN Connection
- VPC: Select from a list of VPCs that can be connected to the VPN Customer Gateway
- Tags: Optionally, add tags to your VPN Connection
-
Click Connect to connect your VPC and VPN Customer Gateway. This process could take a few minutes to complete.

Once your VPN Connection has been created, you can check the status of the IP Sec tunnel by clicking the Check Status button shown against your connection.
There are three potential states for the IP Sec Status:
- Pending: IP Sec status is being retrieved
- Up: IP Sec is available
- Down: IP Sec is unavailable
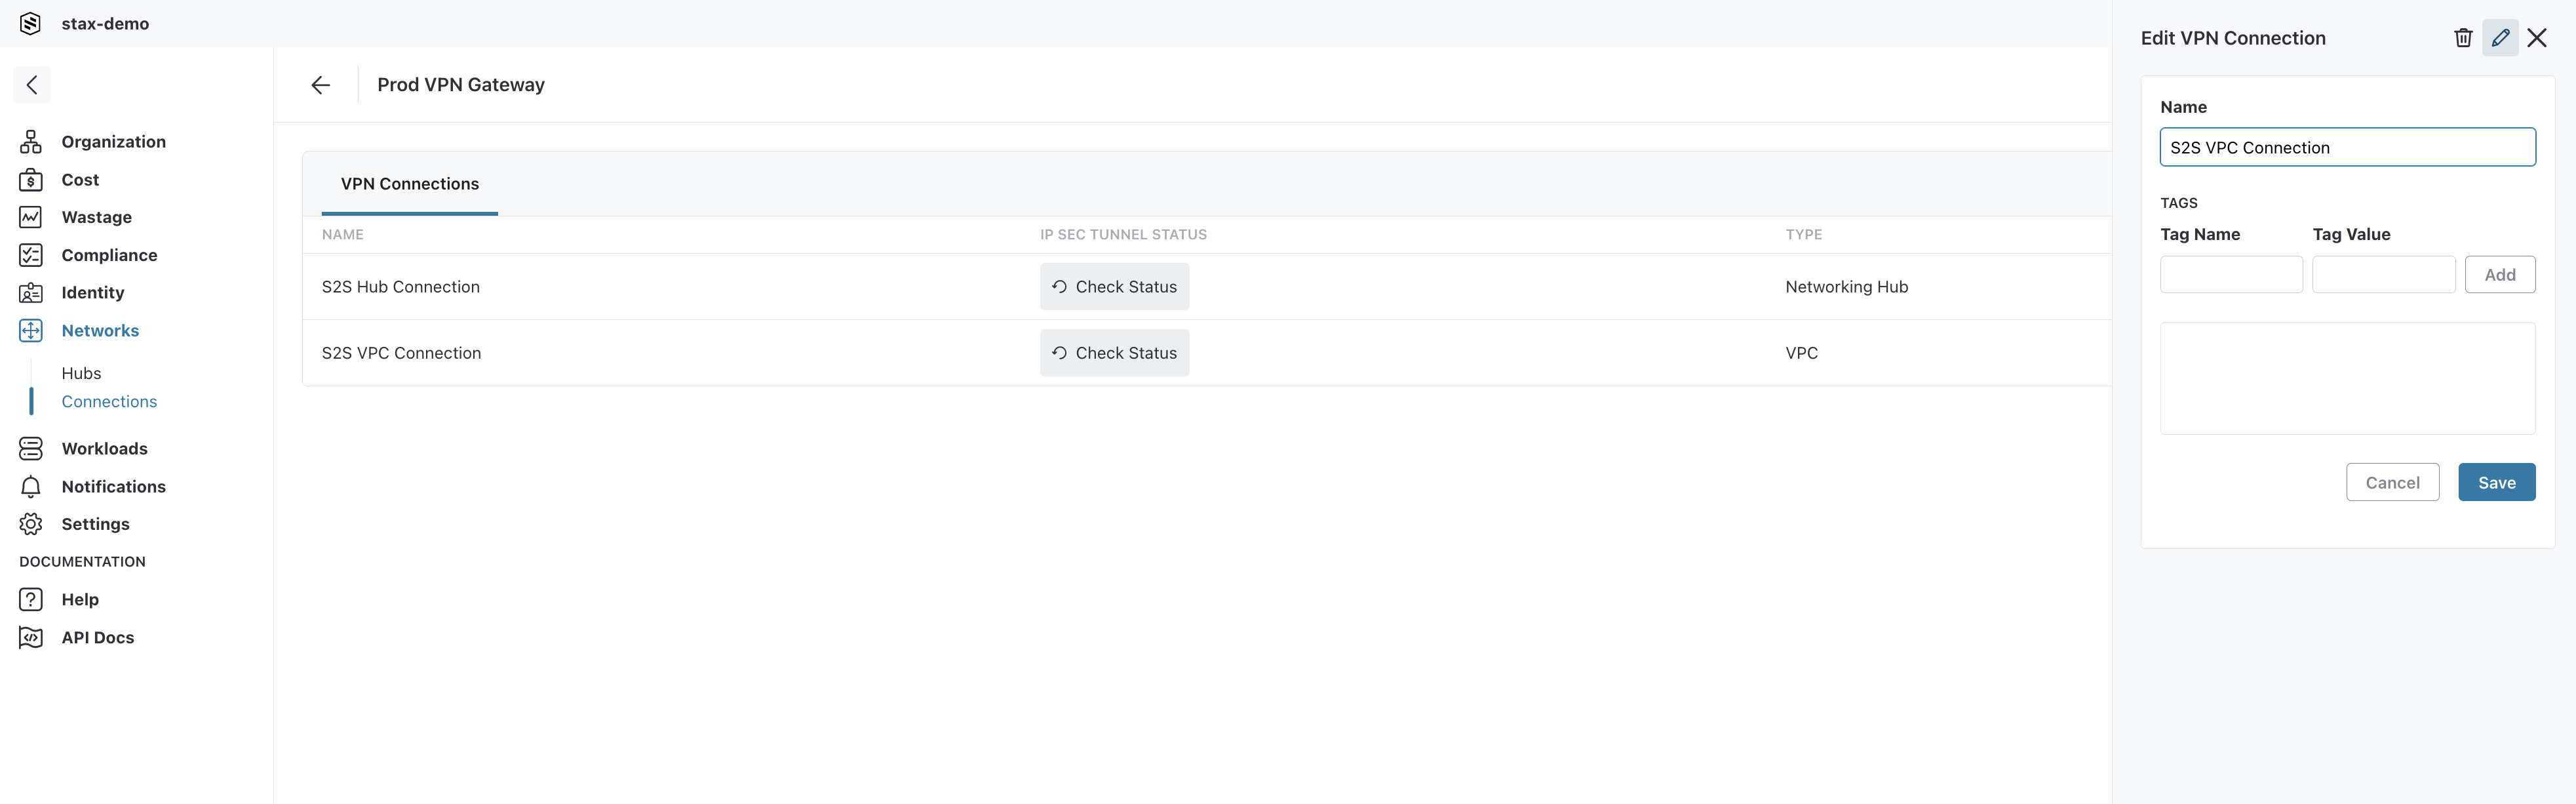
Edit a VPN Connection
From the Connections main page:
-
Click the vertical ellipsis (⋮) to the right of the Site-to-Site VPN Connection, then select View S2S VPNs from the list
-
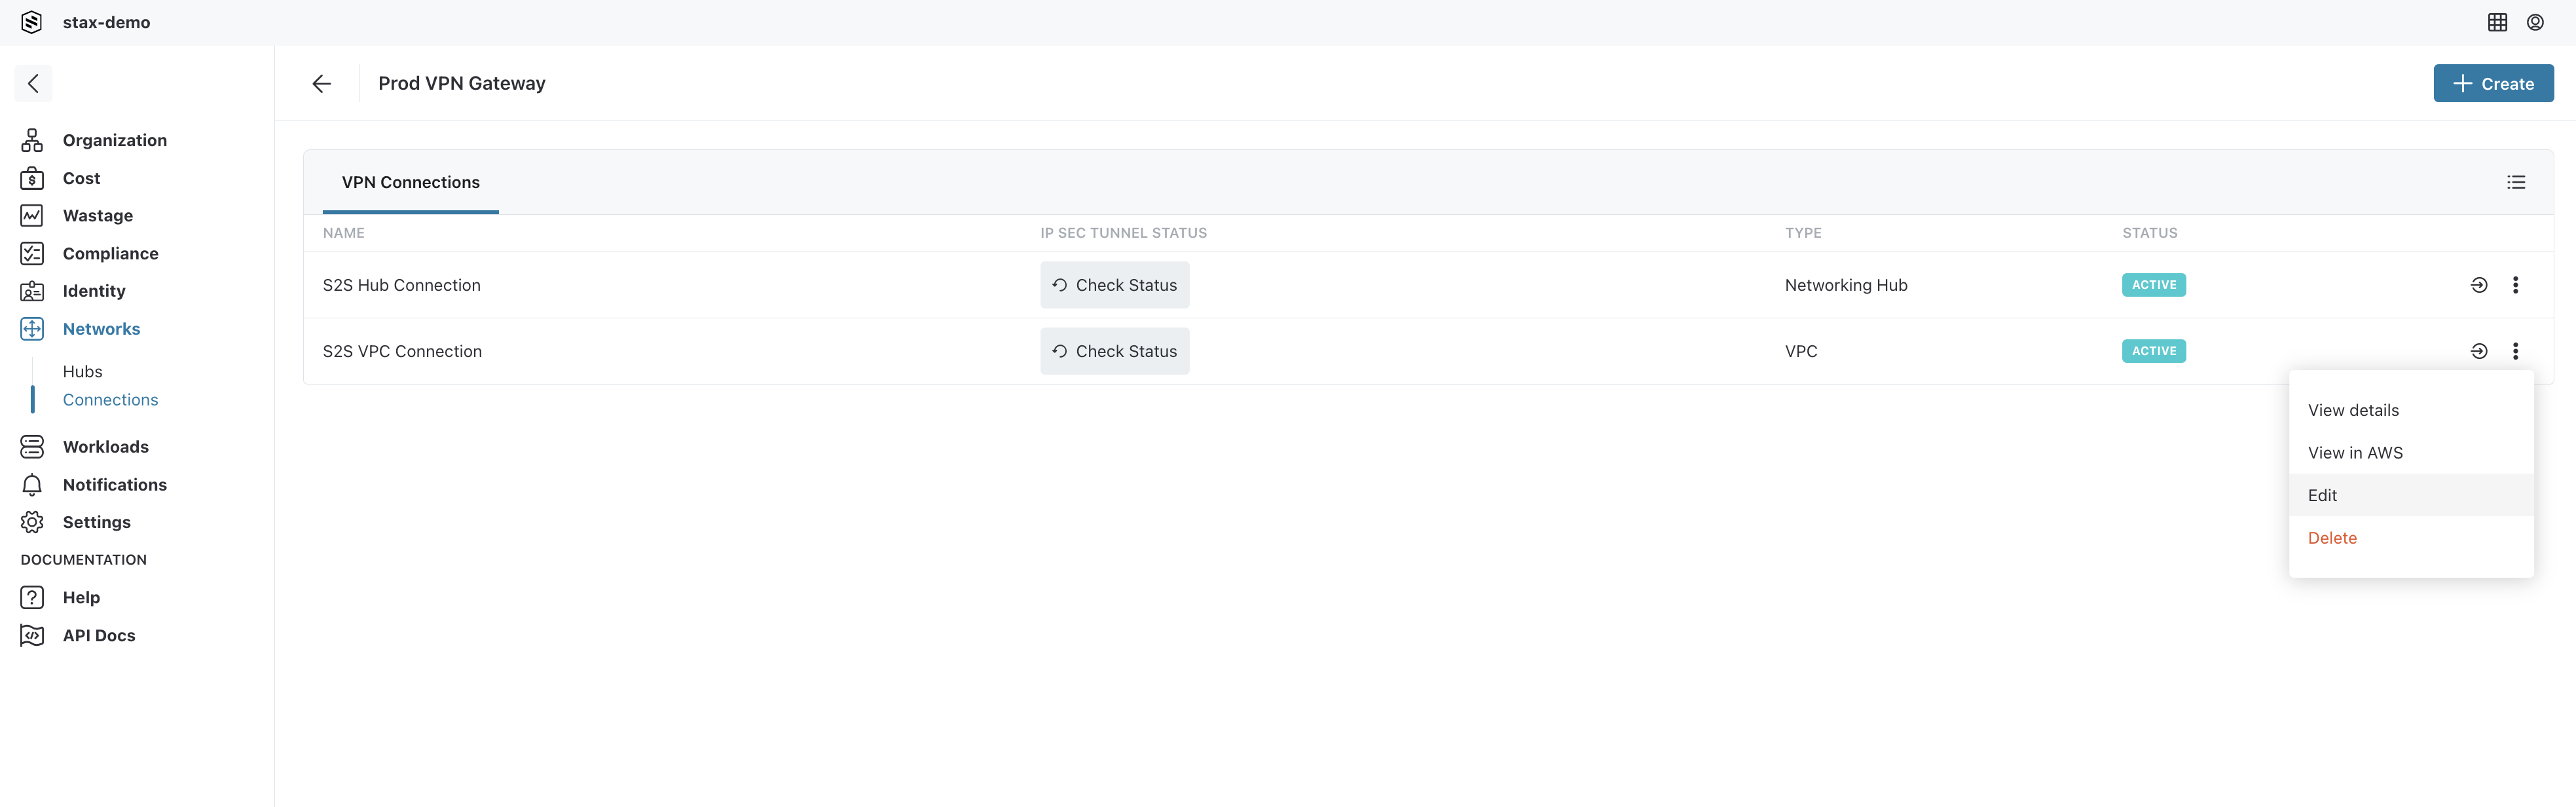
To edit the details of a specific connection, select the vertical ellipsis (⋮) located to the right of the connection's name
-
Select Edit from the list
-
Make the required changes to the VPN Connection's name and/or tags, then click Save
Delete a VPN Connection
From the Connections main page:
-
Click the vertical ellipsis (⋮) to the right of the VPN Customer Gateway, then select View S2S VPNs from the list
-
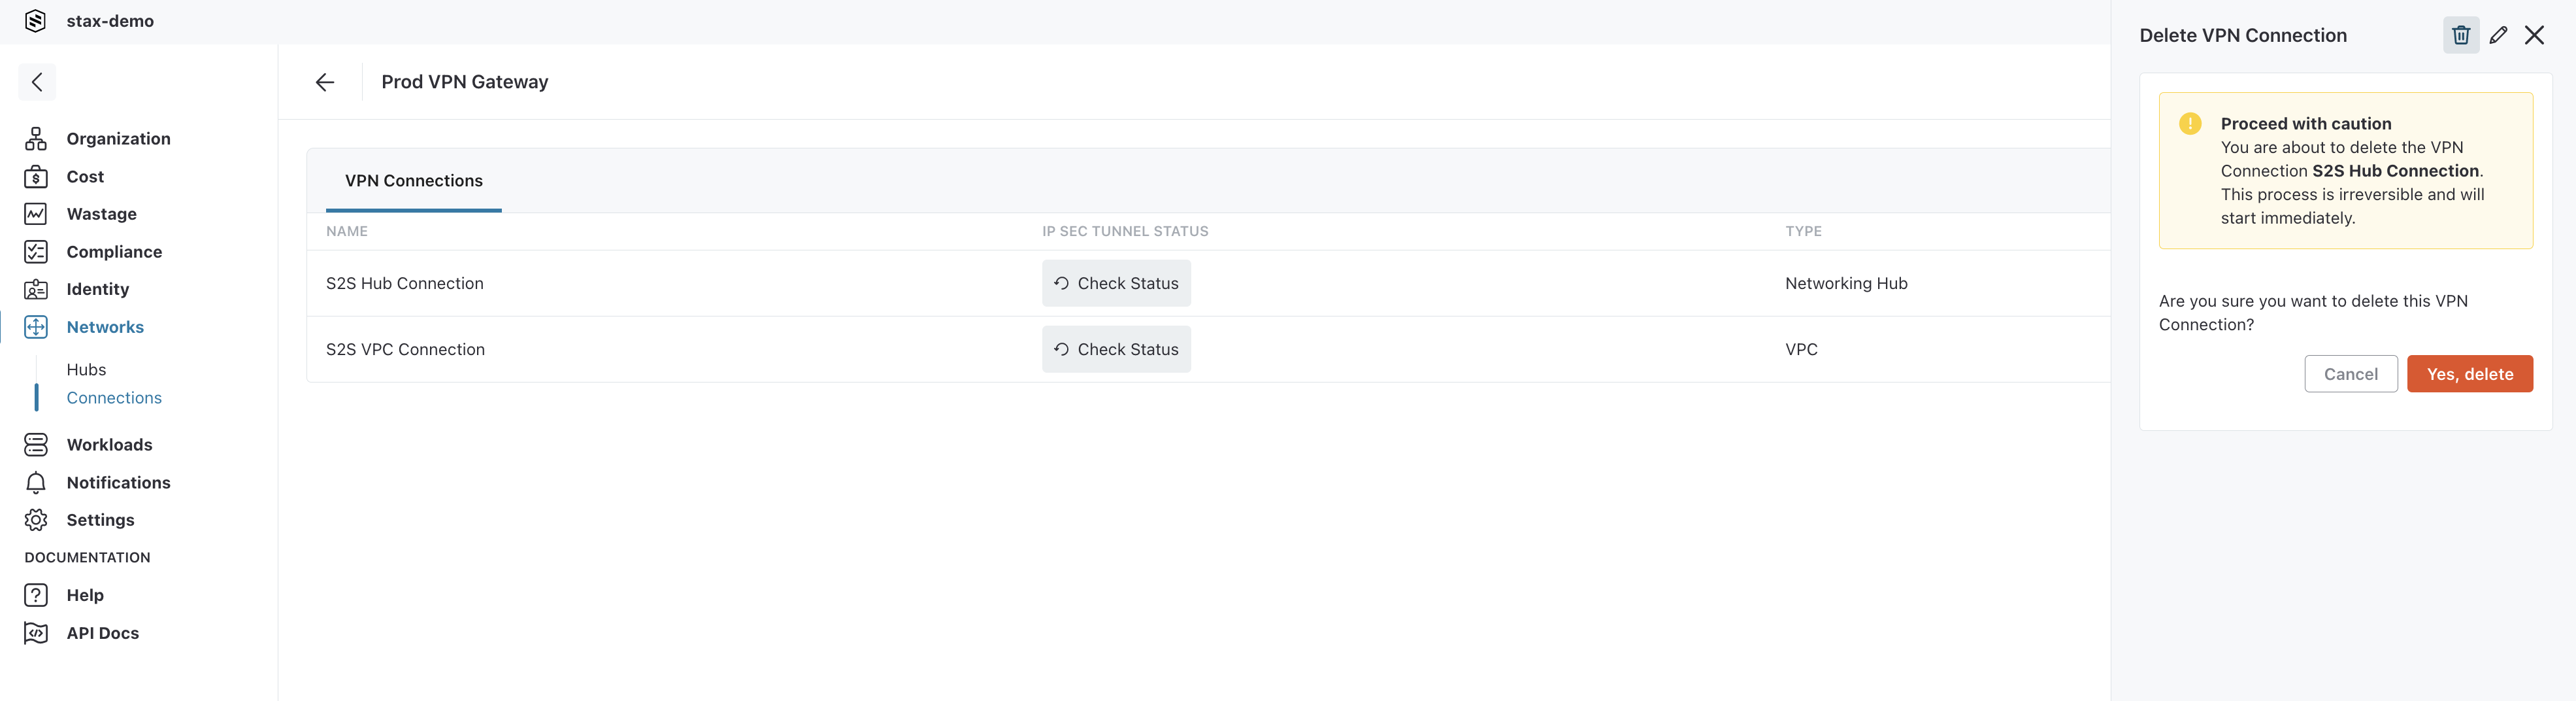
To delete a specific VPN Connection select the vertical ellipsis (⋮) located to the right of the connection's name
-
Select Delete from the list
-
Select the Yes, delete button to confirm the deletion of the VPN Connection