Manage VPCs
Networks is an opt-in feature. To enable this feature for your Stax tenancy, please raise a support case.
You can tailor your own network space and configure how your resources within your network are shared by creating a VPC in Stax. Stax offers you four types of VPCs with different inter VPC connectivity and routing rules for you to choose from; isolated, flat, shared services, and transit.
All VPCs created in Stax are architected with the below configuration:
- Up to 3 Availability Zones are supported in a Networking Hub. In the event you wish to deploy a Networking Hub into a region with more than three availability zones, only three will be utilized. If you deploy to a region with only two availability zones, only two will be used in your Networking Hub
- 4 Subnets - Public, Private, Restricted and Transit Gateway Subnets
- Gateway VPC Endpoints can be created for AWS Services that support them
- VPC Flow Logging is enabled. All flow logs are routed to an S3 bucket in your logging account
VPCs can be created in any one of three predefined sizes:
- Small (/23)
- Medium (/22)
- Large (/20)
Before You Begin
- Ensure you are an Admin or User in your Stax tenancy
- If you'd like to add a Private Hosted Zone (PHZ) Prefix to your VPC to set the domain name, you will first need to ensure you've set a PHZ Suffix on your Networking Hub (see Manage Networking Hubs)
- You will need to ensure the CIDR Range you wish to allocate to your VPC has already been created (see Manage CIDR Ranges)
- You will need to ensure the account in which you wish to deploy your VPC has already been created (see Create an AWS account)
- If deleting a VPC that contains custom workloads or resources, first delete all resources that depend on the VPC
Navigate to your Hub's main page
-
Log in to the Stax console
-
Select Networks in the left-hand nav
-
Select the desired Networking Hub from the Networks page
-
The details of the Networking Hub selected will be displayed
Create a VPC
From your Hub's main page:
-
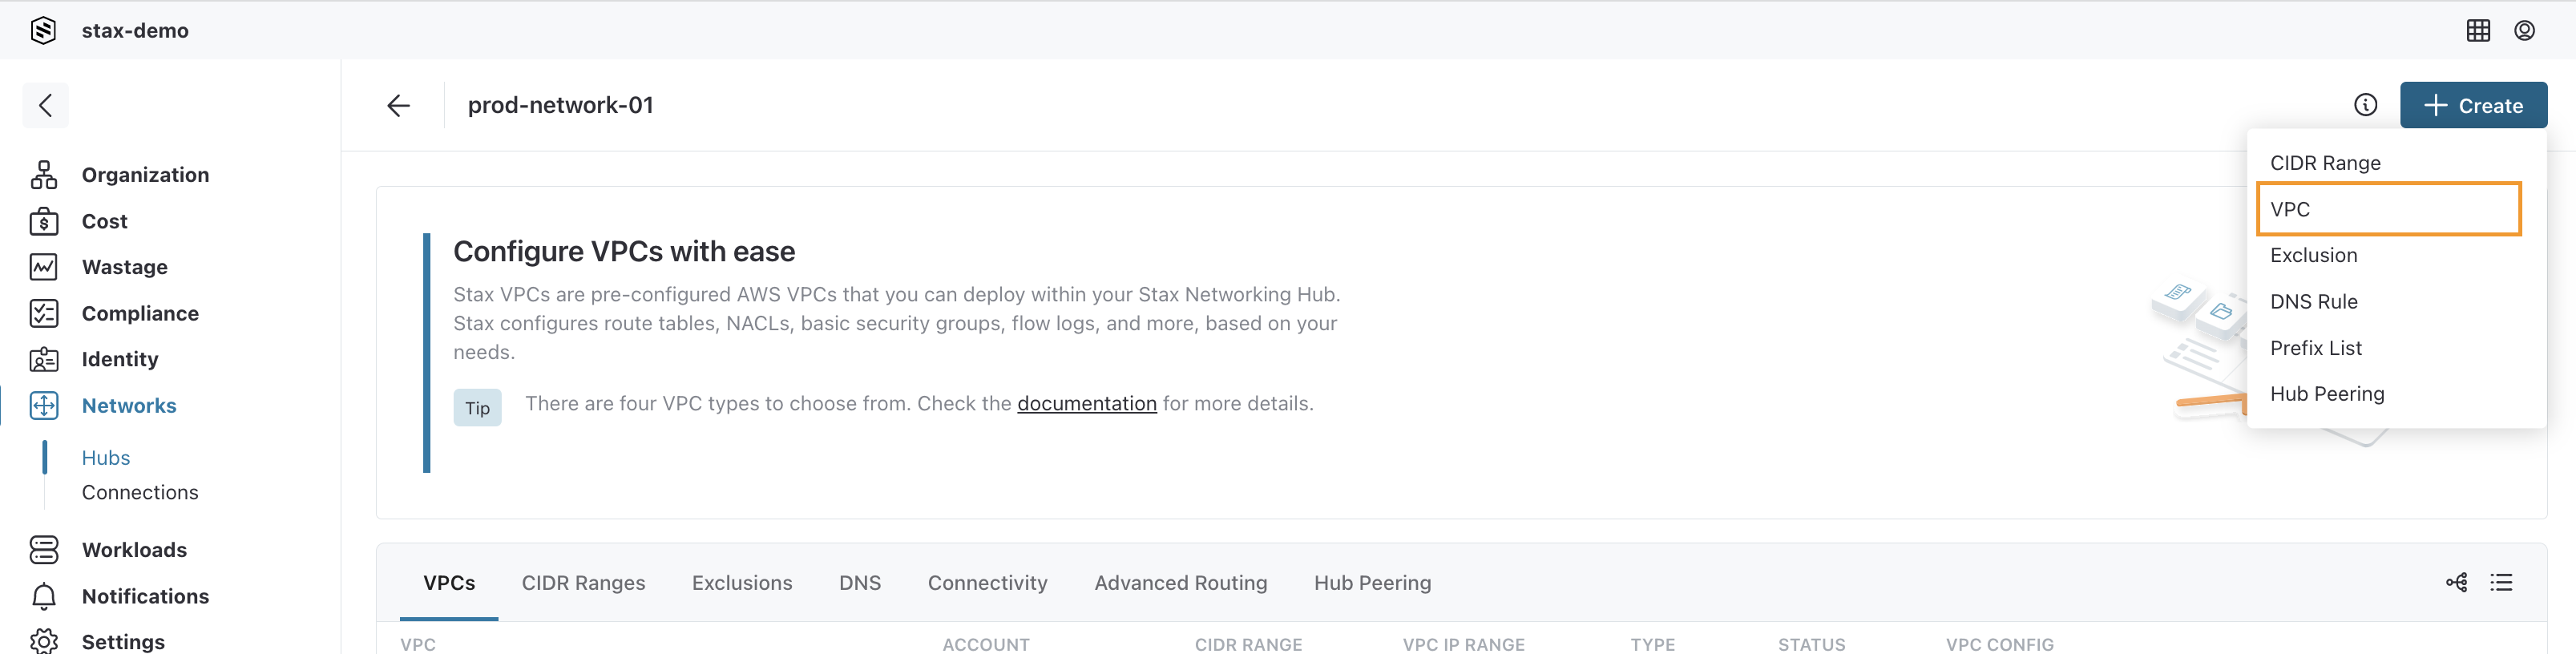
Select + Create, then select VPC
-
In the Create a VPC form, enter a Name and Description to represent the VPC to be created
-
From the drop-down list, choose the CIDR Range you wish to create the VPC in
-
Select the desired VPC Type from the options. Review Types of Stax VPCs for guidance on selecting the correct VPC type
-
If you chose the Flat VPC type, either create or select an existing Zone for the VPC to be a member of
-
Choose the subnet size
-
Within the Gateway VPC Endpoints section, choose any endpoints you wish to enable in the Gateway VPC
-
Choose the AWS Account to deploy your VPC into. It cannot be a foundation account. The region is preselected and will align with that of the parent Networking Hub
-
Within the Advanced settings section, if you've specified a private hosted zone suffix for your Networking Hub, you'll be able to choose a prefix for the new VPC here. Additionally, you can select whether or not a Virtual Private Gateway, Internet Gateway or CloudWatch VPC Flow Logs is required
-
Apply any appropriate tags to the new VPC
-
Select Create


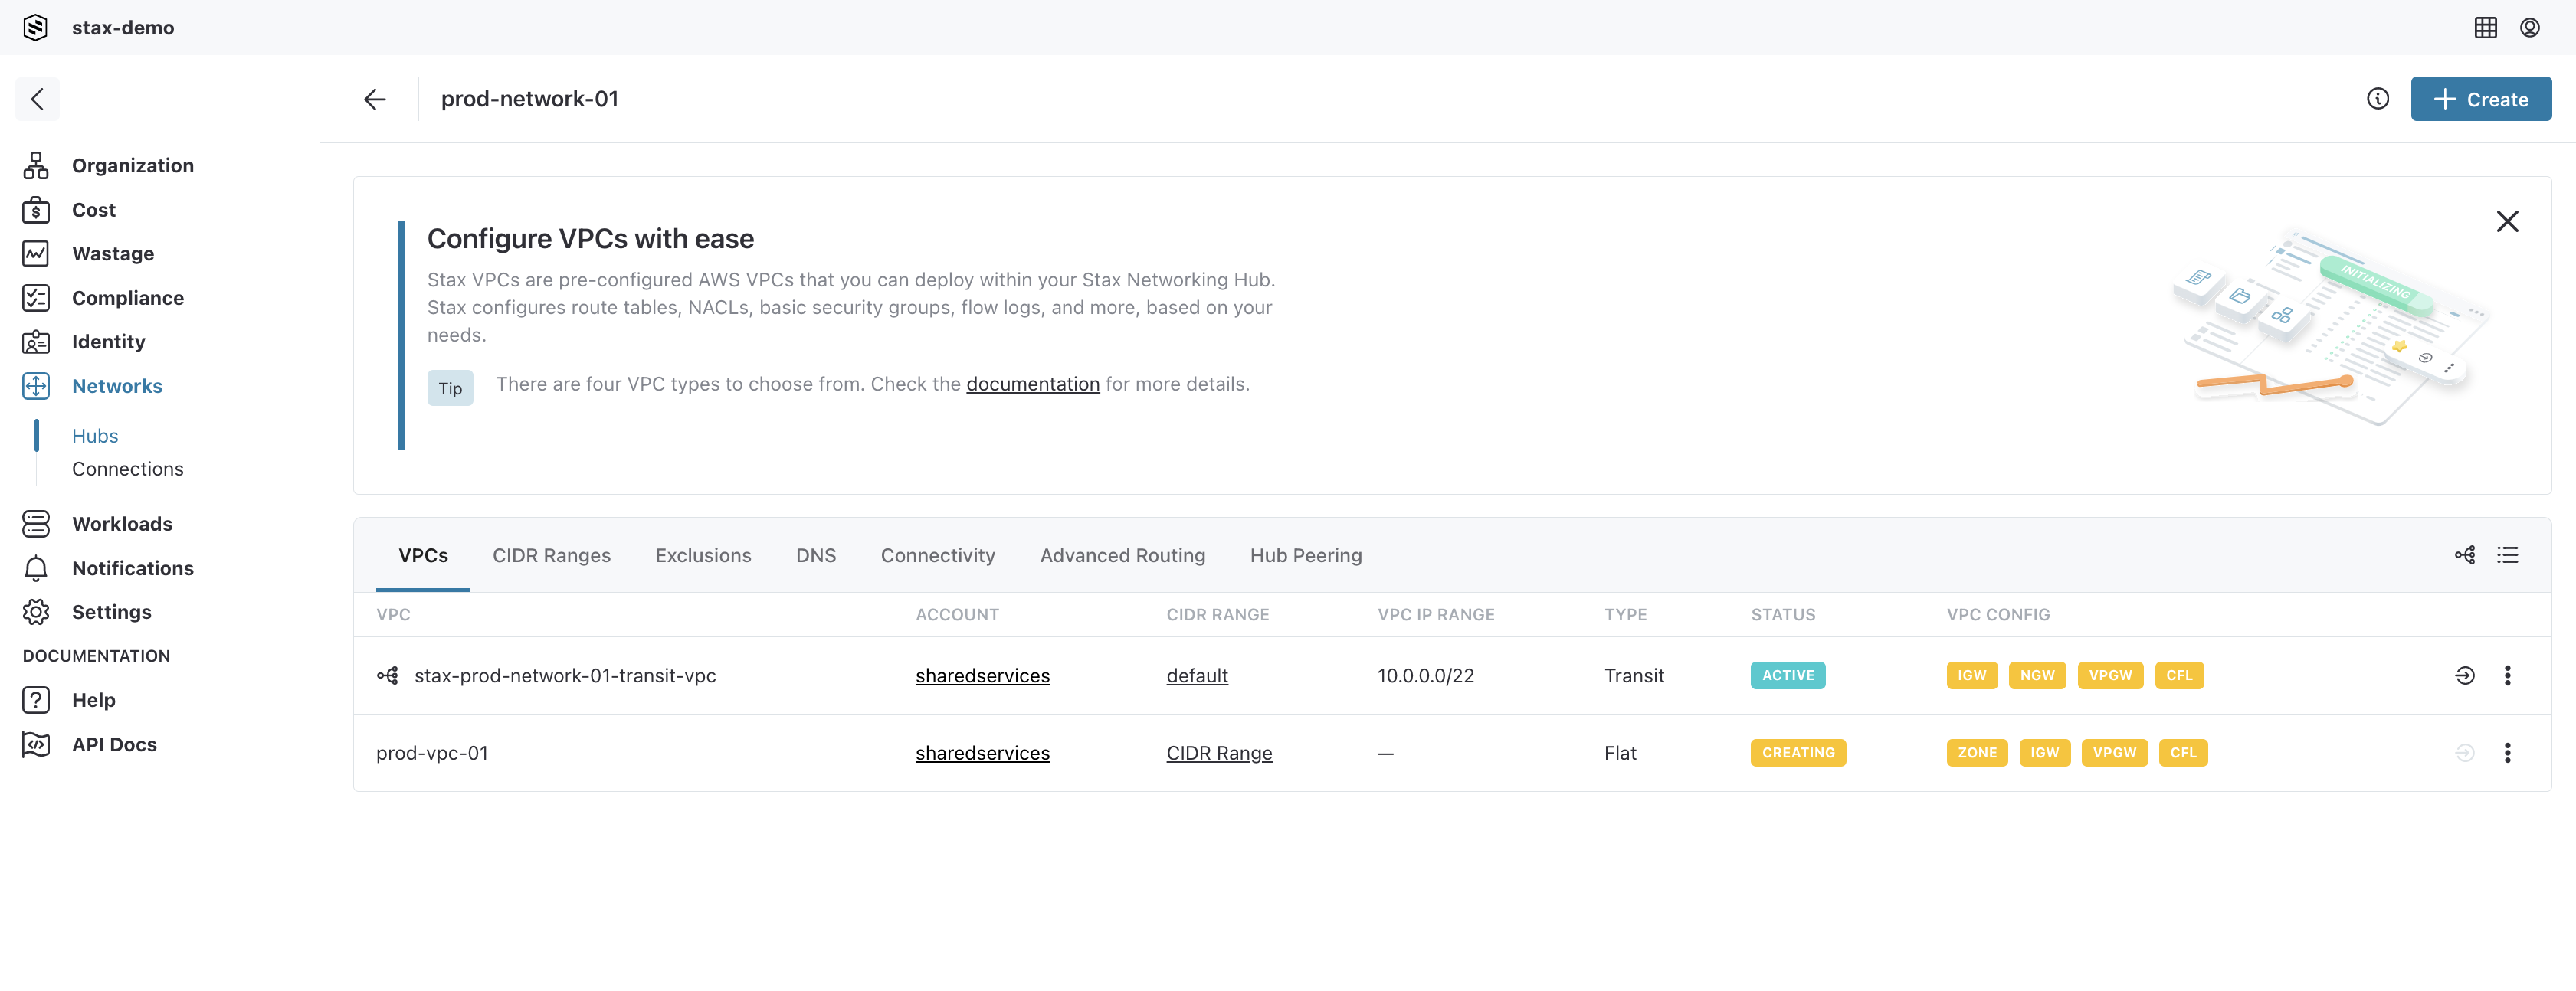
The VPC will take a few minutes to create, depending on the options you have selected, but will appear in the list of VPCs immediately with a status of CREATE_IN_PROGRESS.
View a VPC
From your Hub's main page:
-
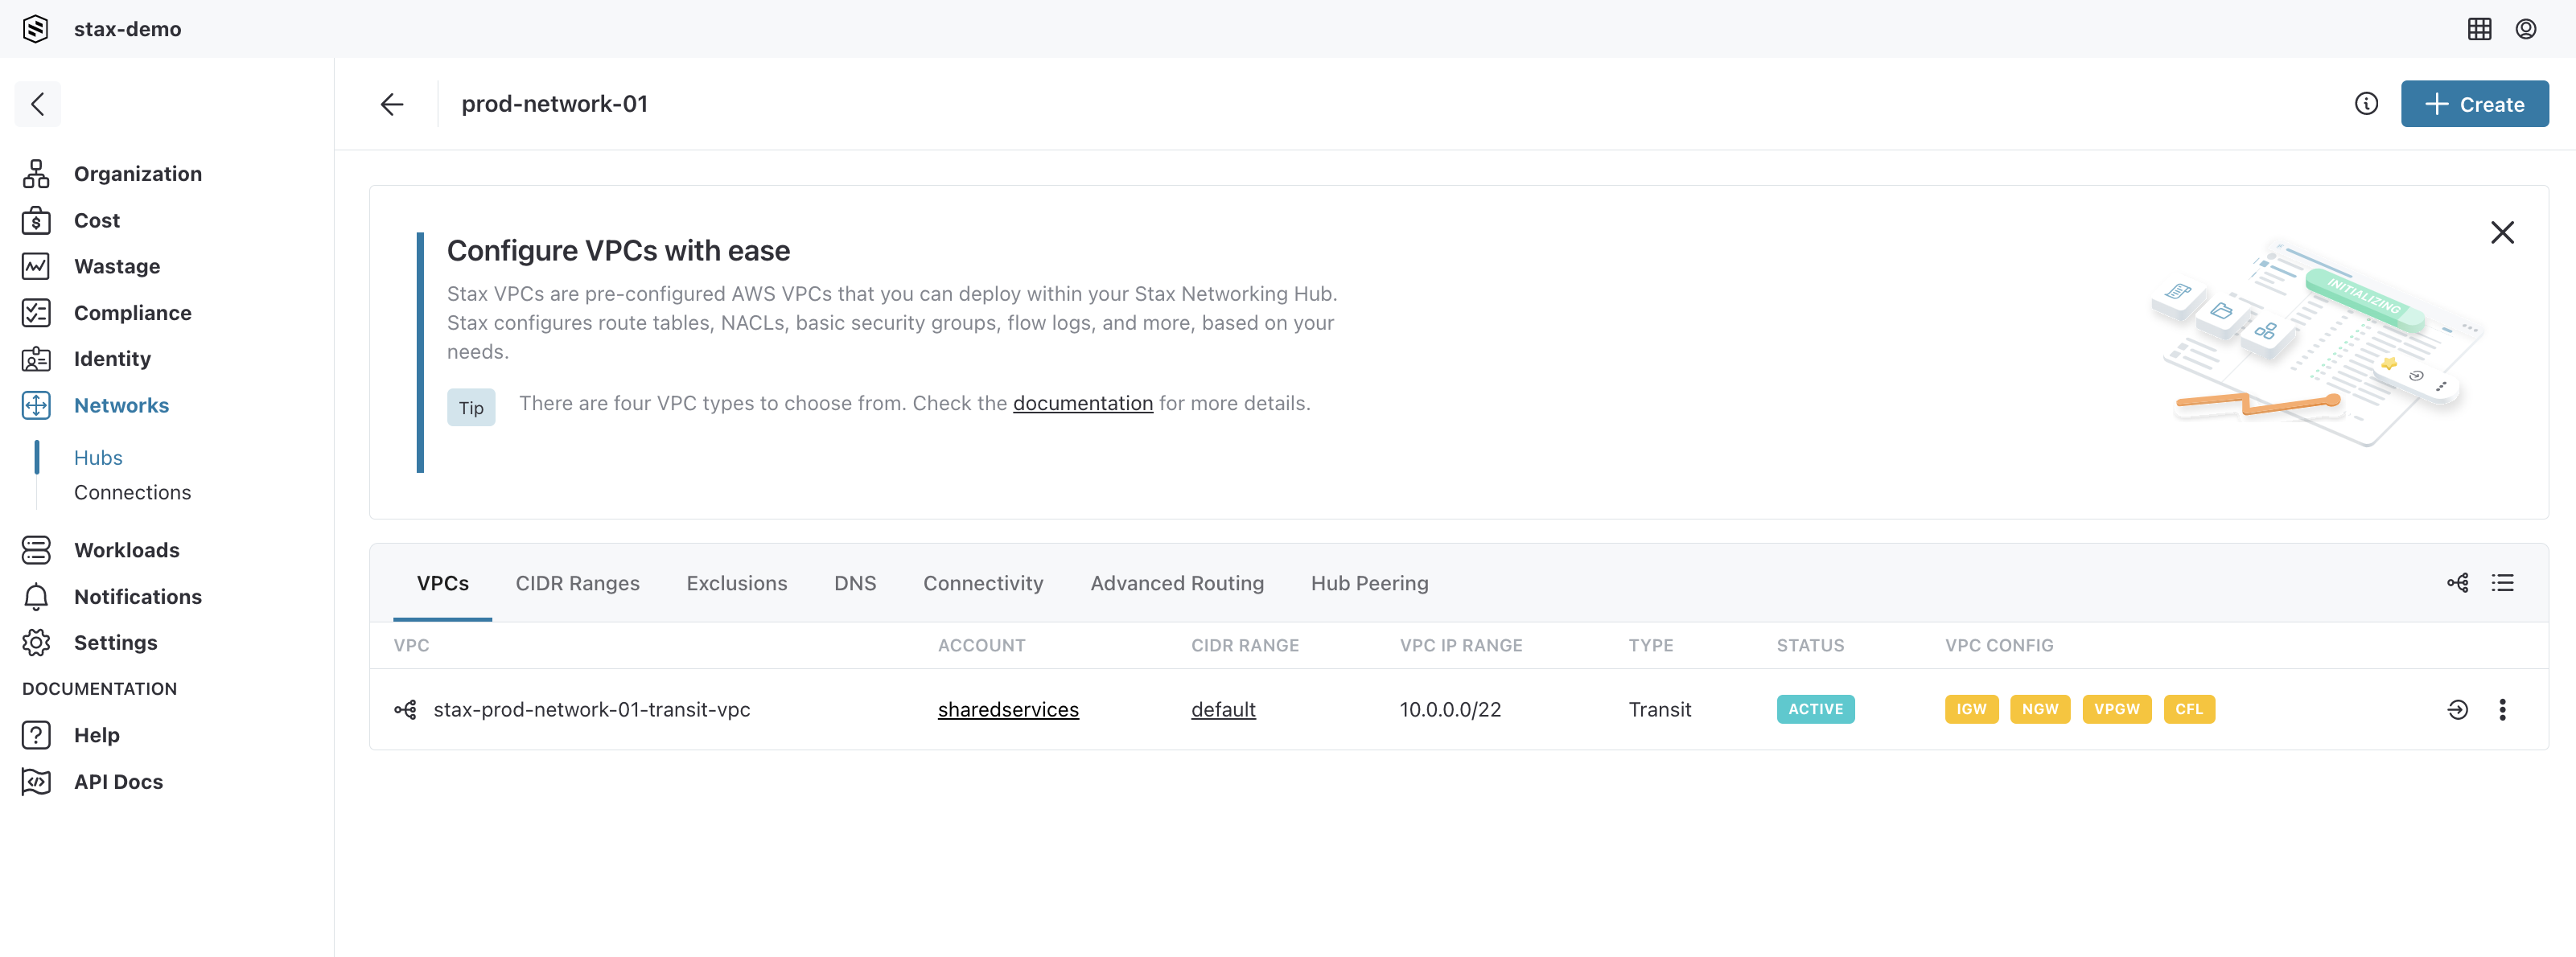
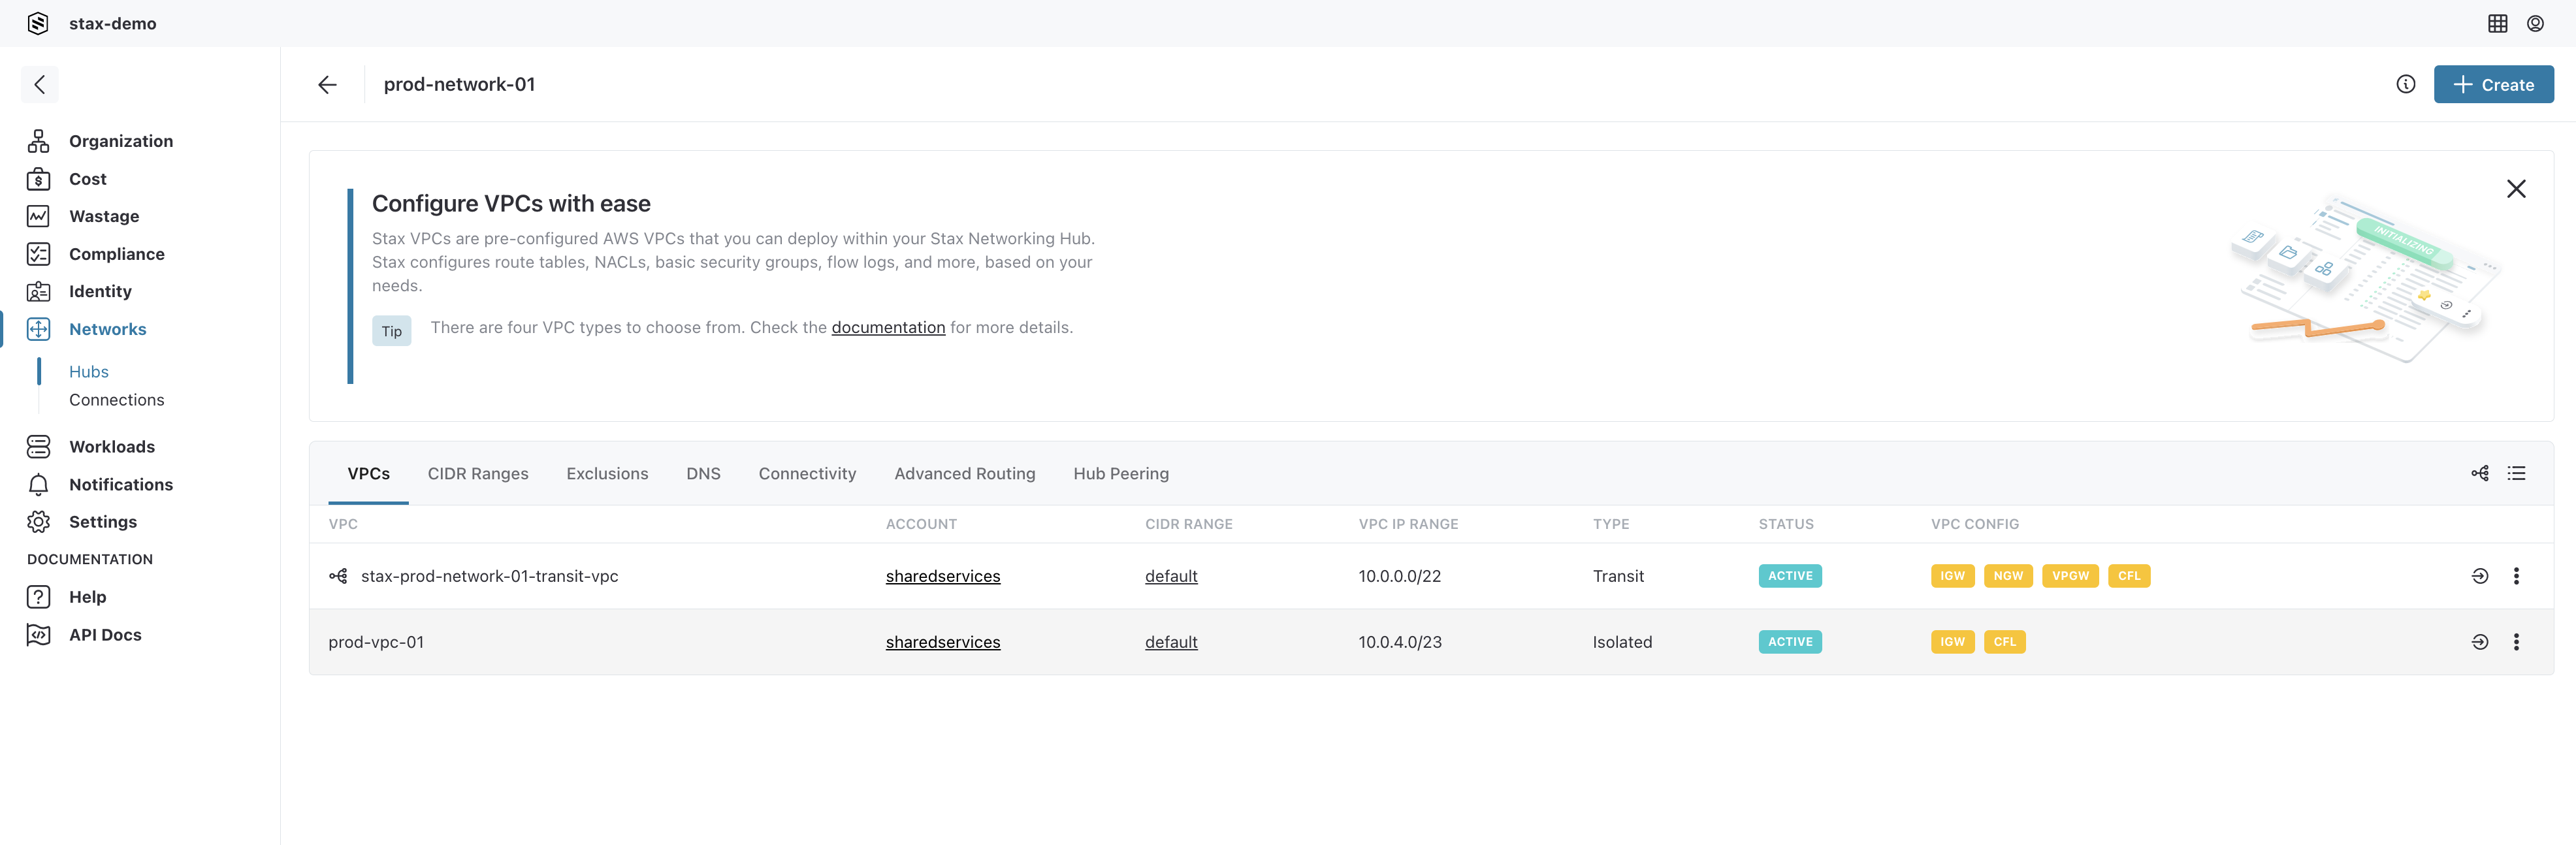
Select the VPCs tab on the main window to see a list of all VPCs in your Networking Hub
-
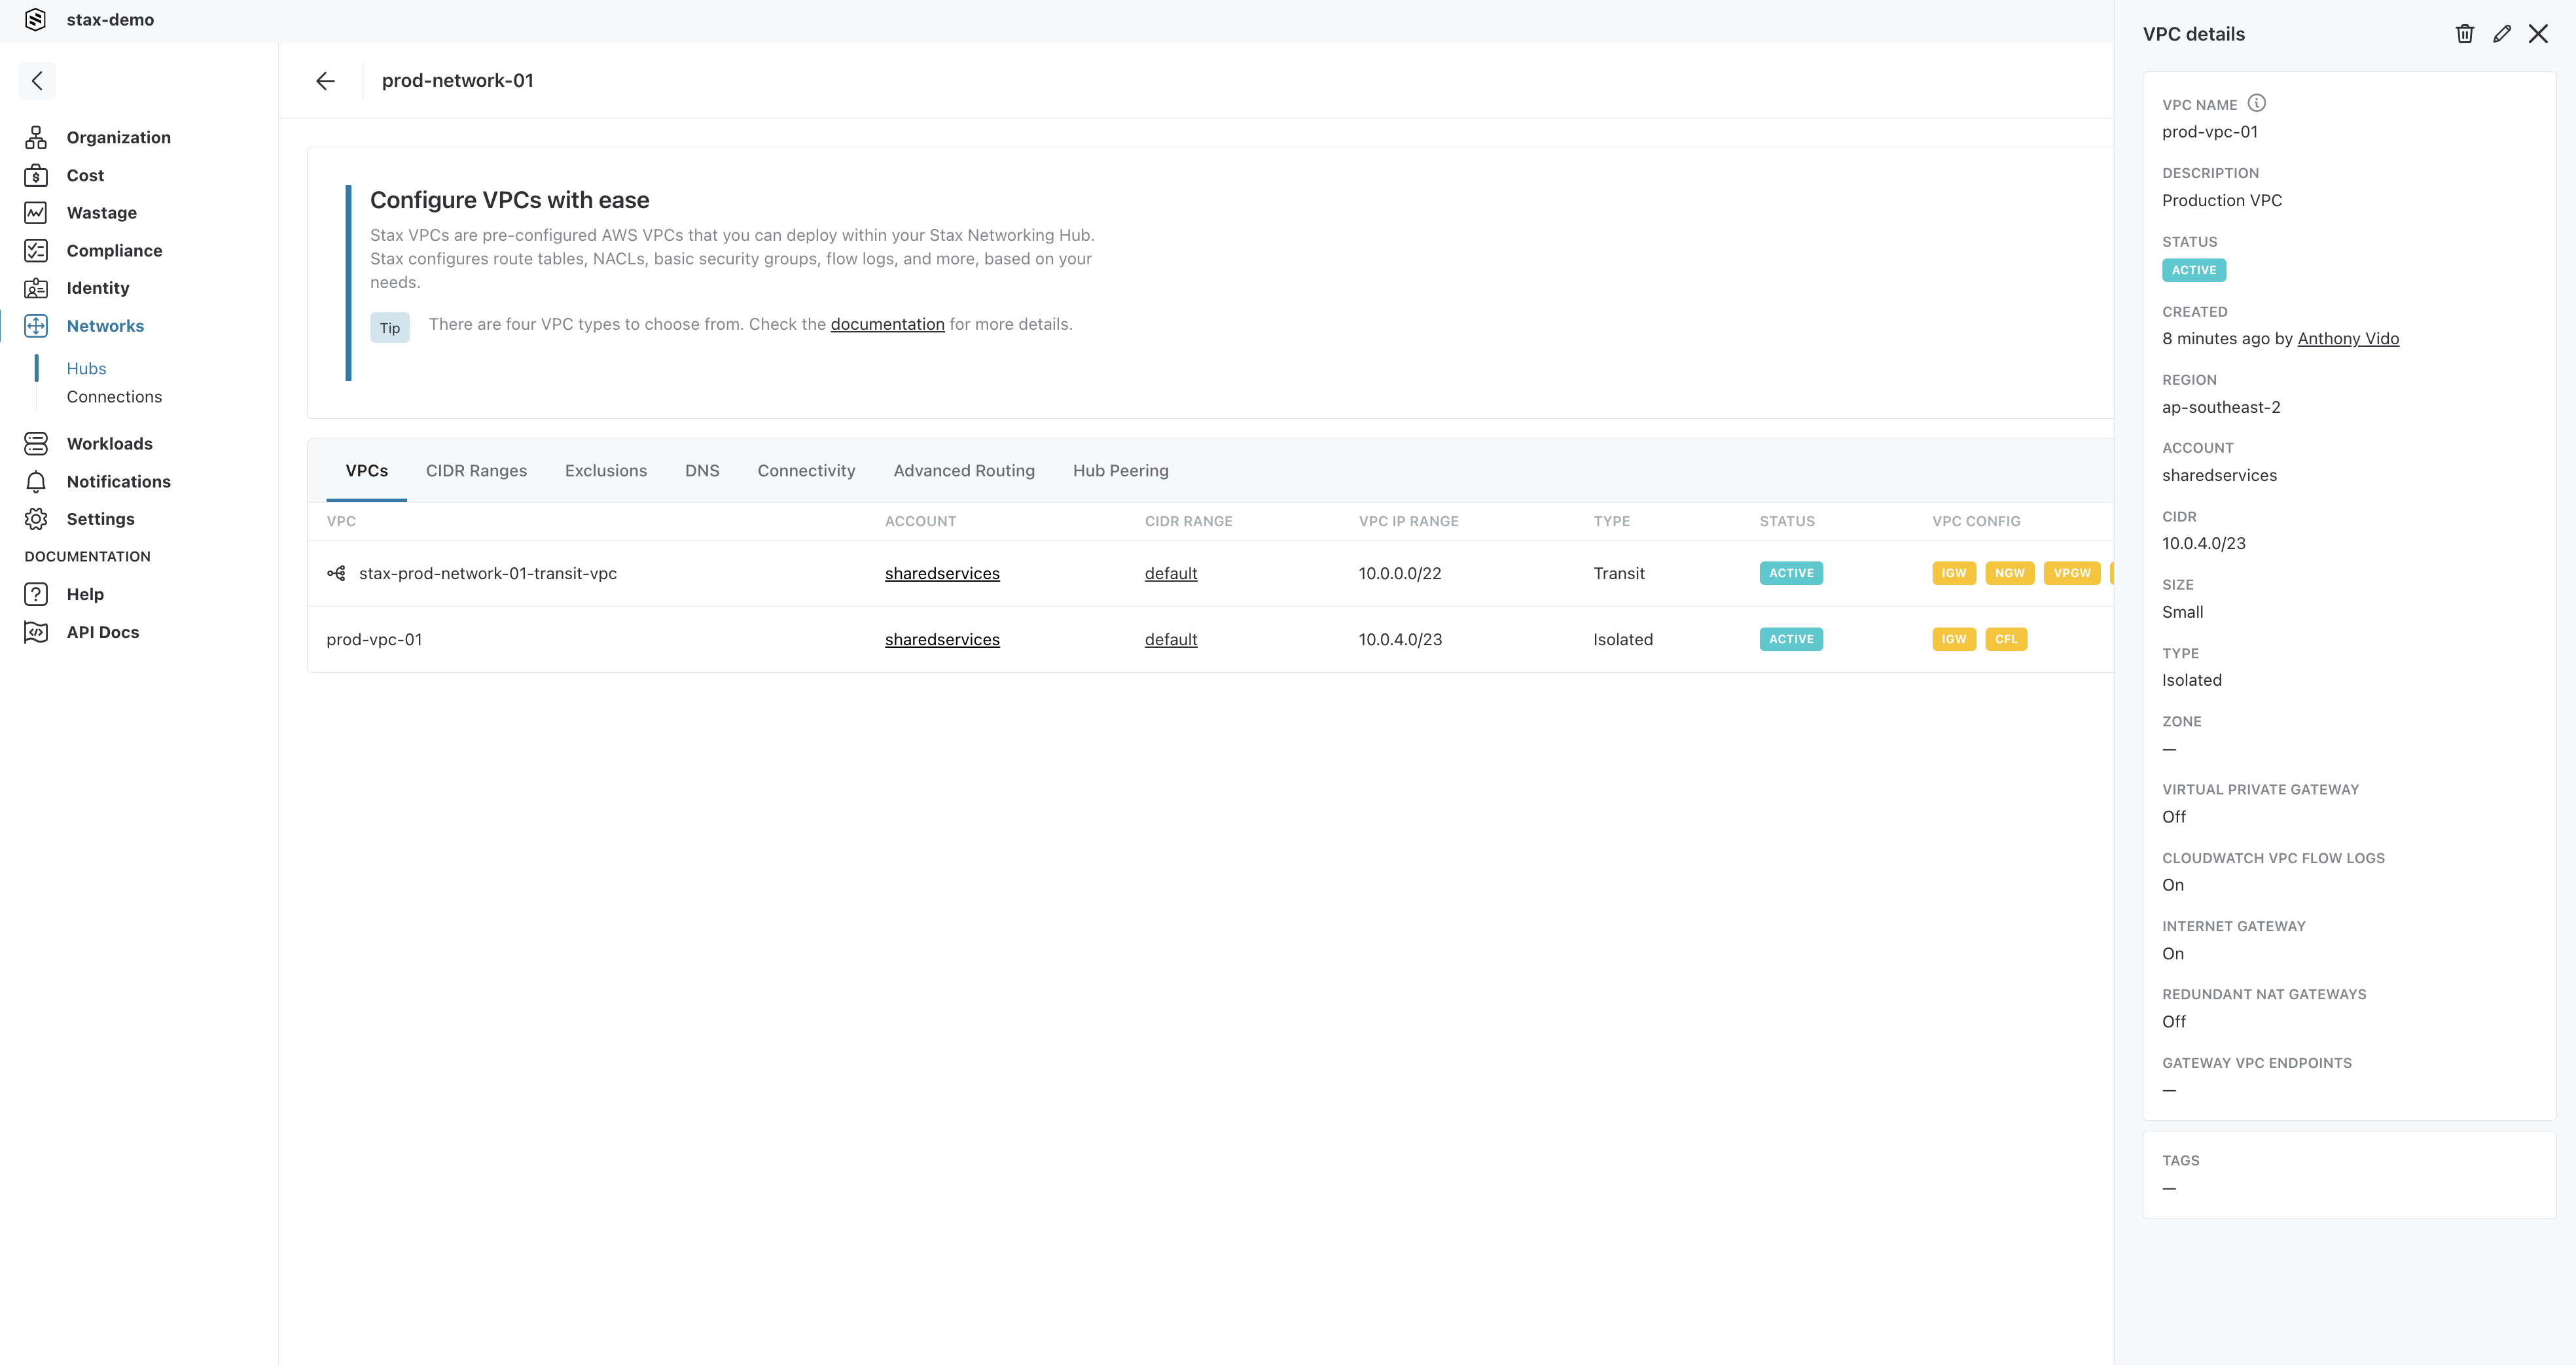
To view the details of a specific VPC, select the VPC from the list
-
The details drawer will open to the right revealing the details of your VPC
Edit a VPC's Details and Gateway VPC Endpoints
From your Hub's main page:
-
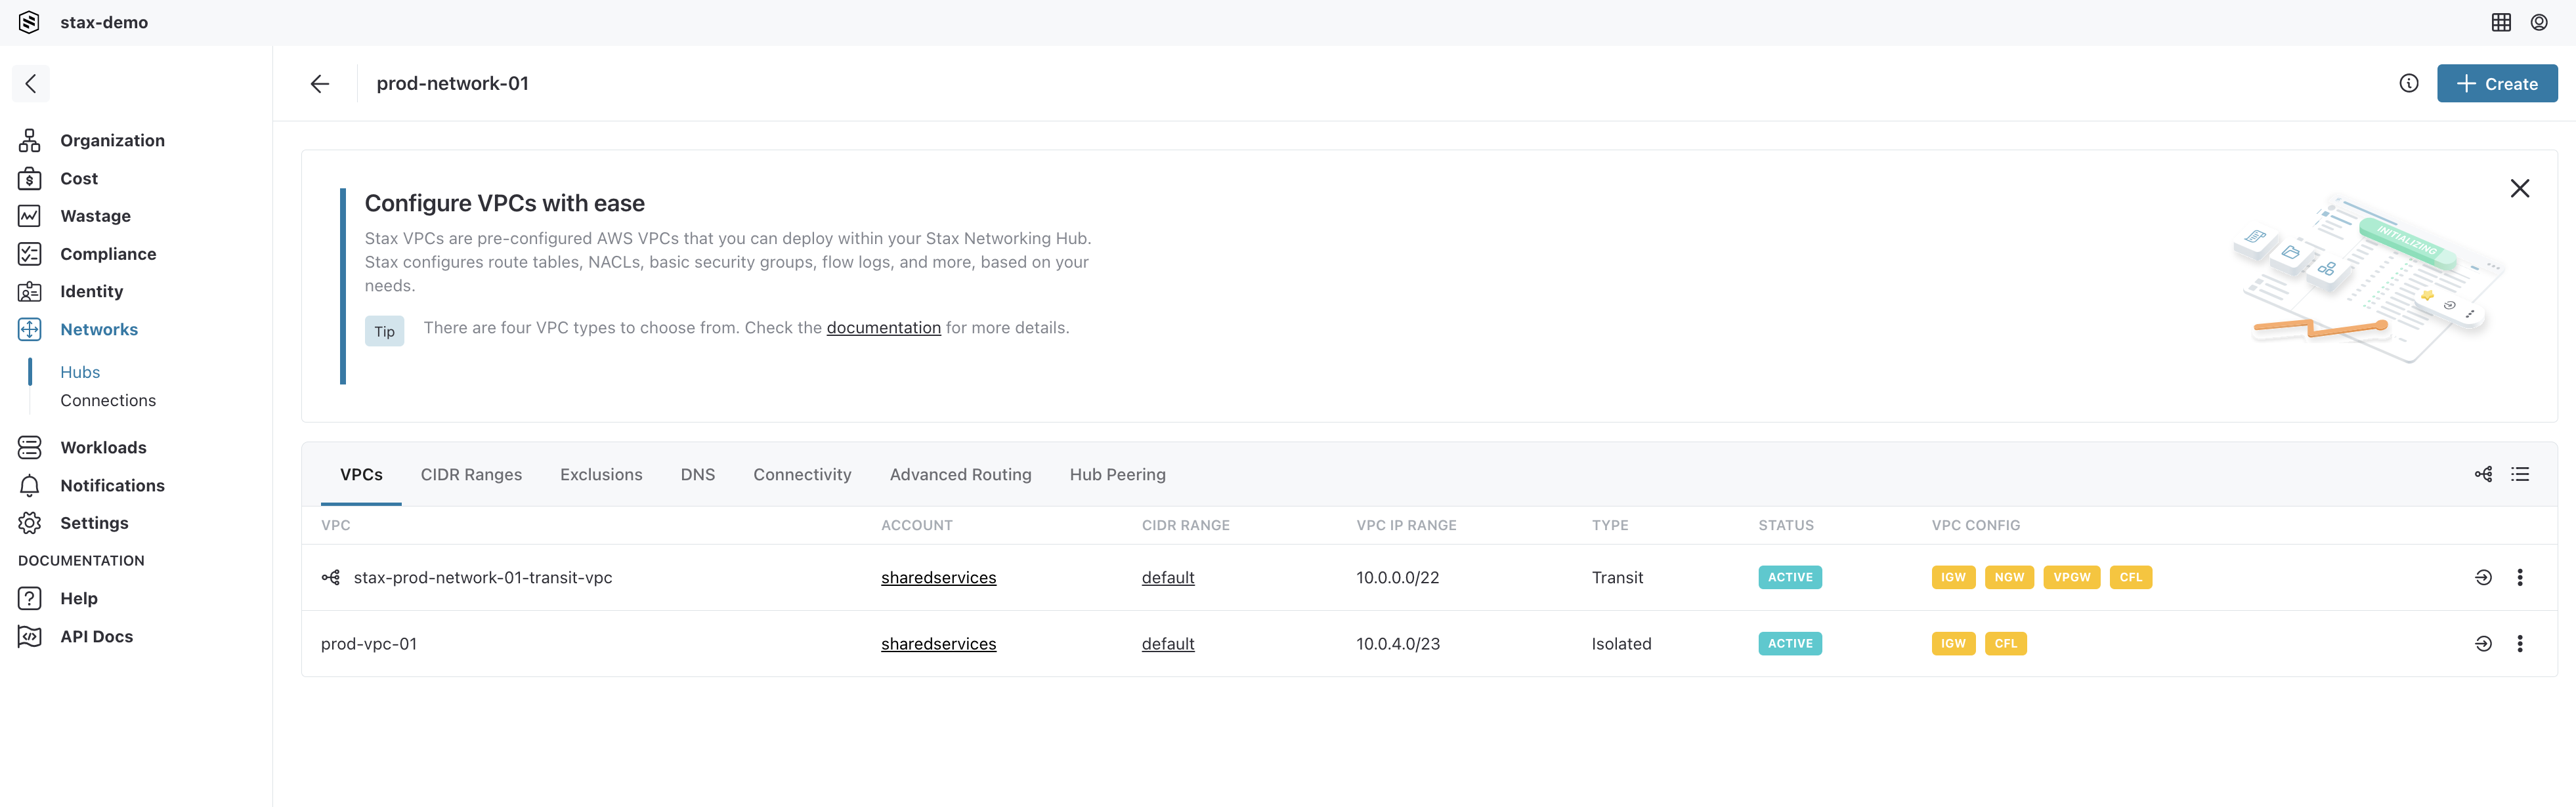
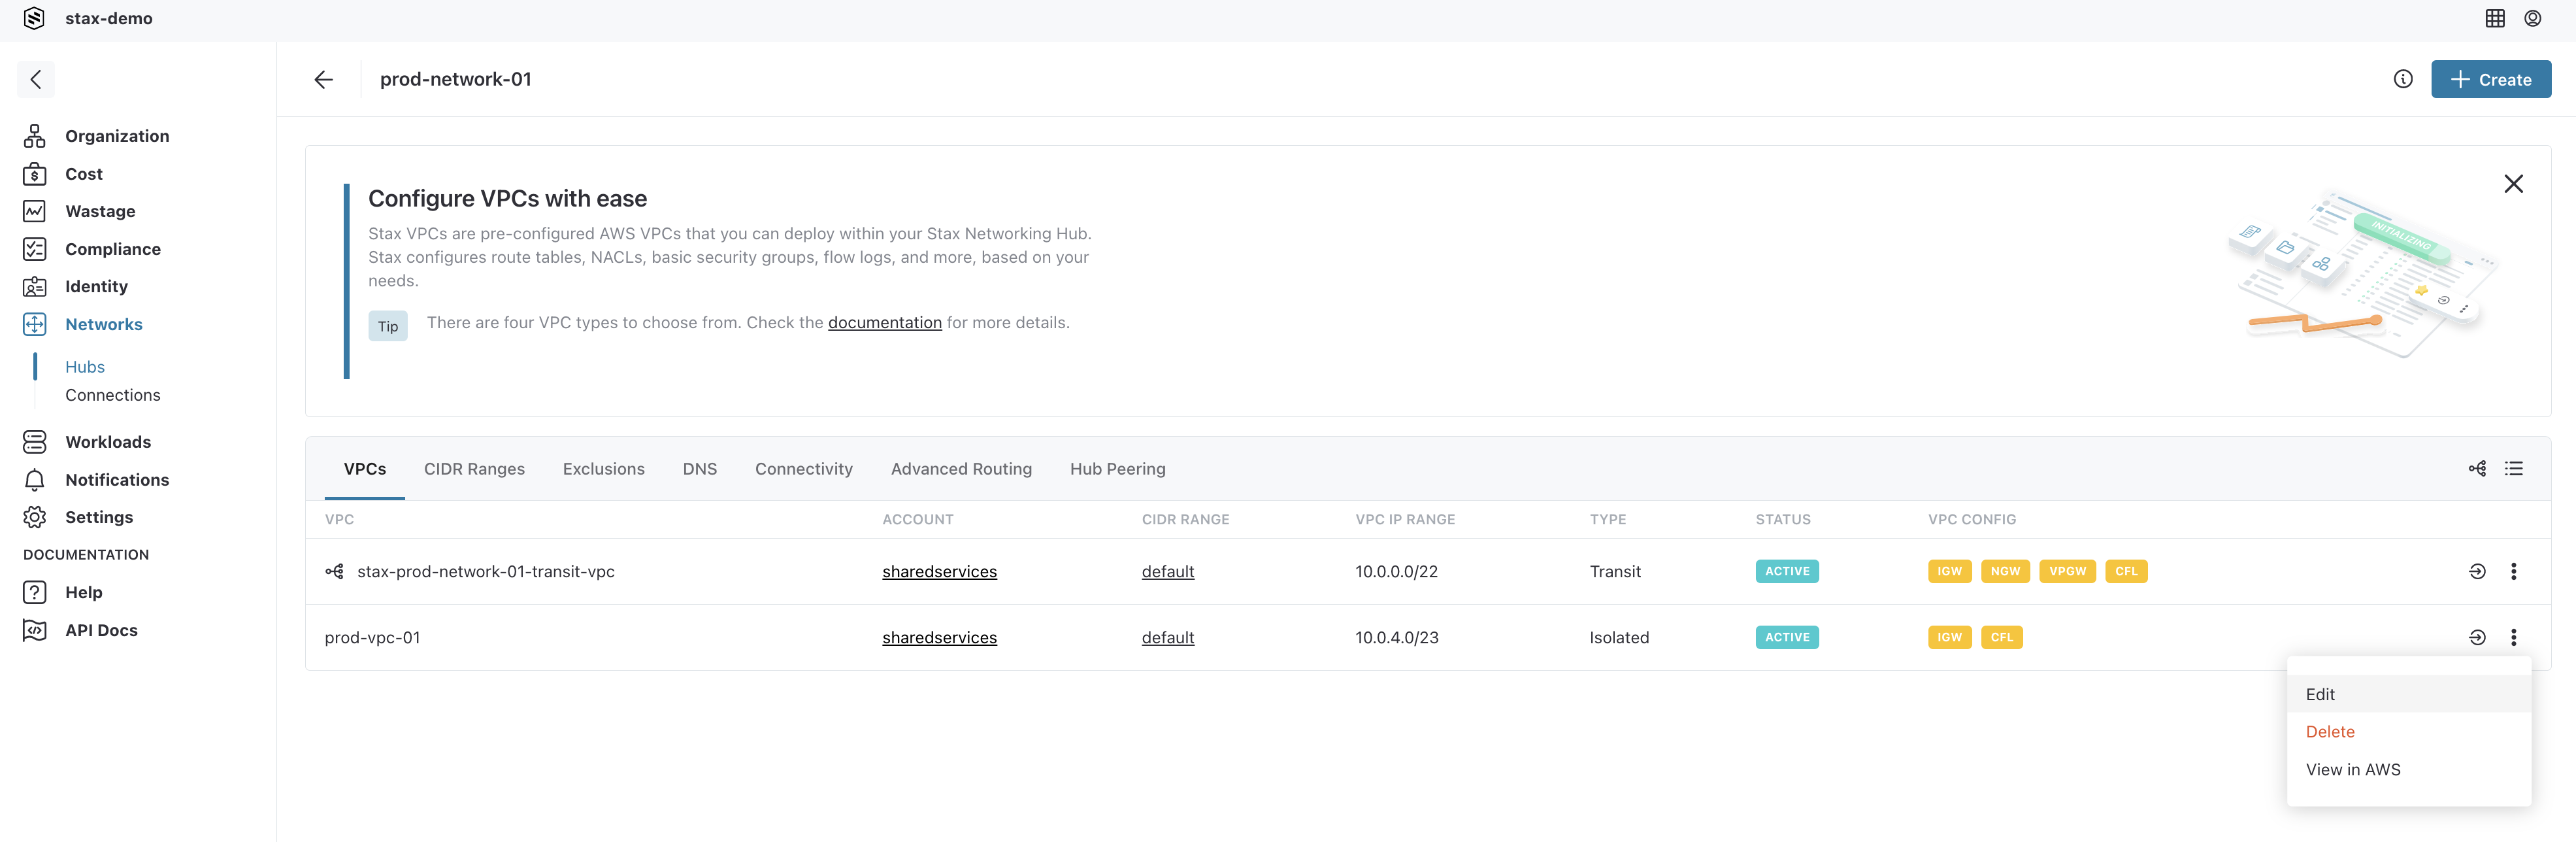
Select the VPCs tab on the main window
-
To edit the details of a specific VPC, click the vertical ellipsis (⋮) located to the right of the VPC name, then select Edit from the list
-
Make the required changes to the VPC's details or configuration
-
Select the Save button
Delete a VPC
From your Hub's main page:
-
Select the VPCs tab on the main window
-
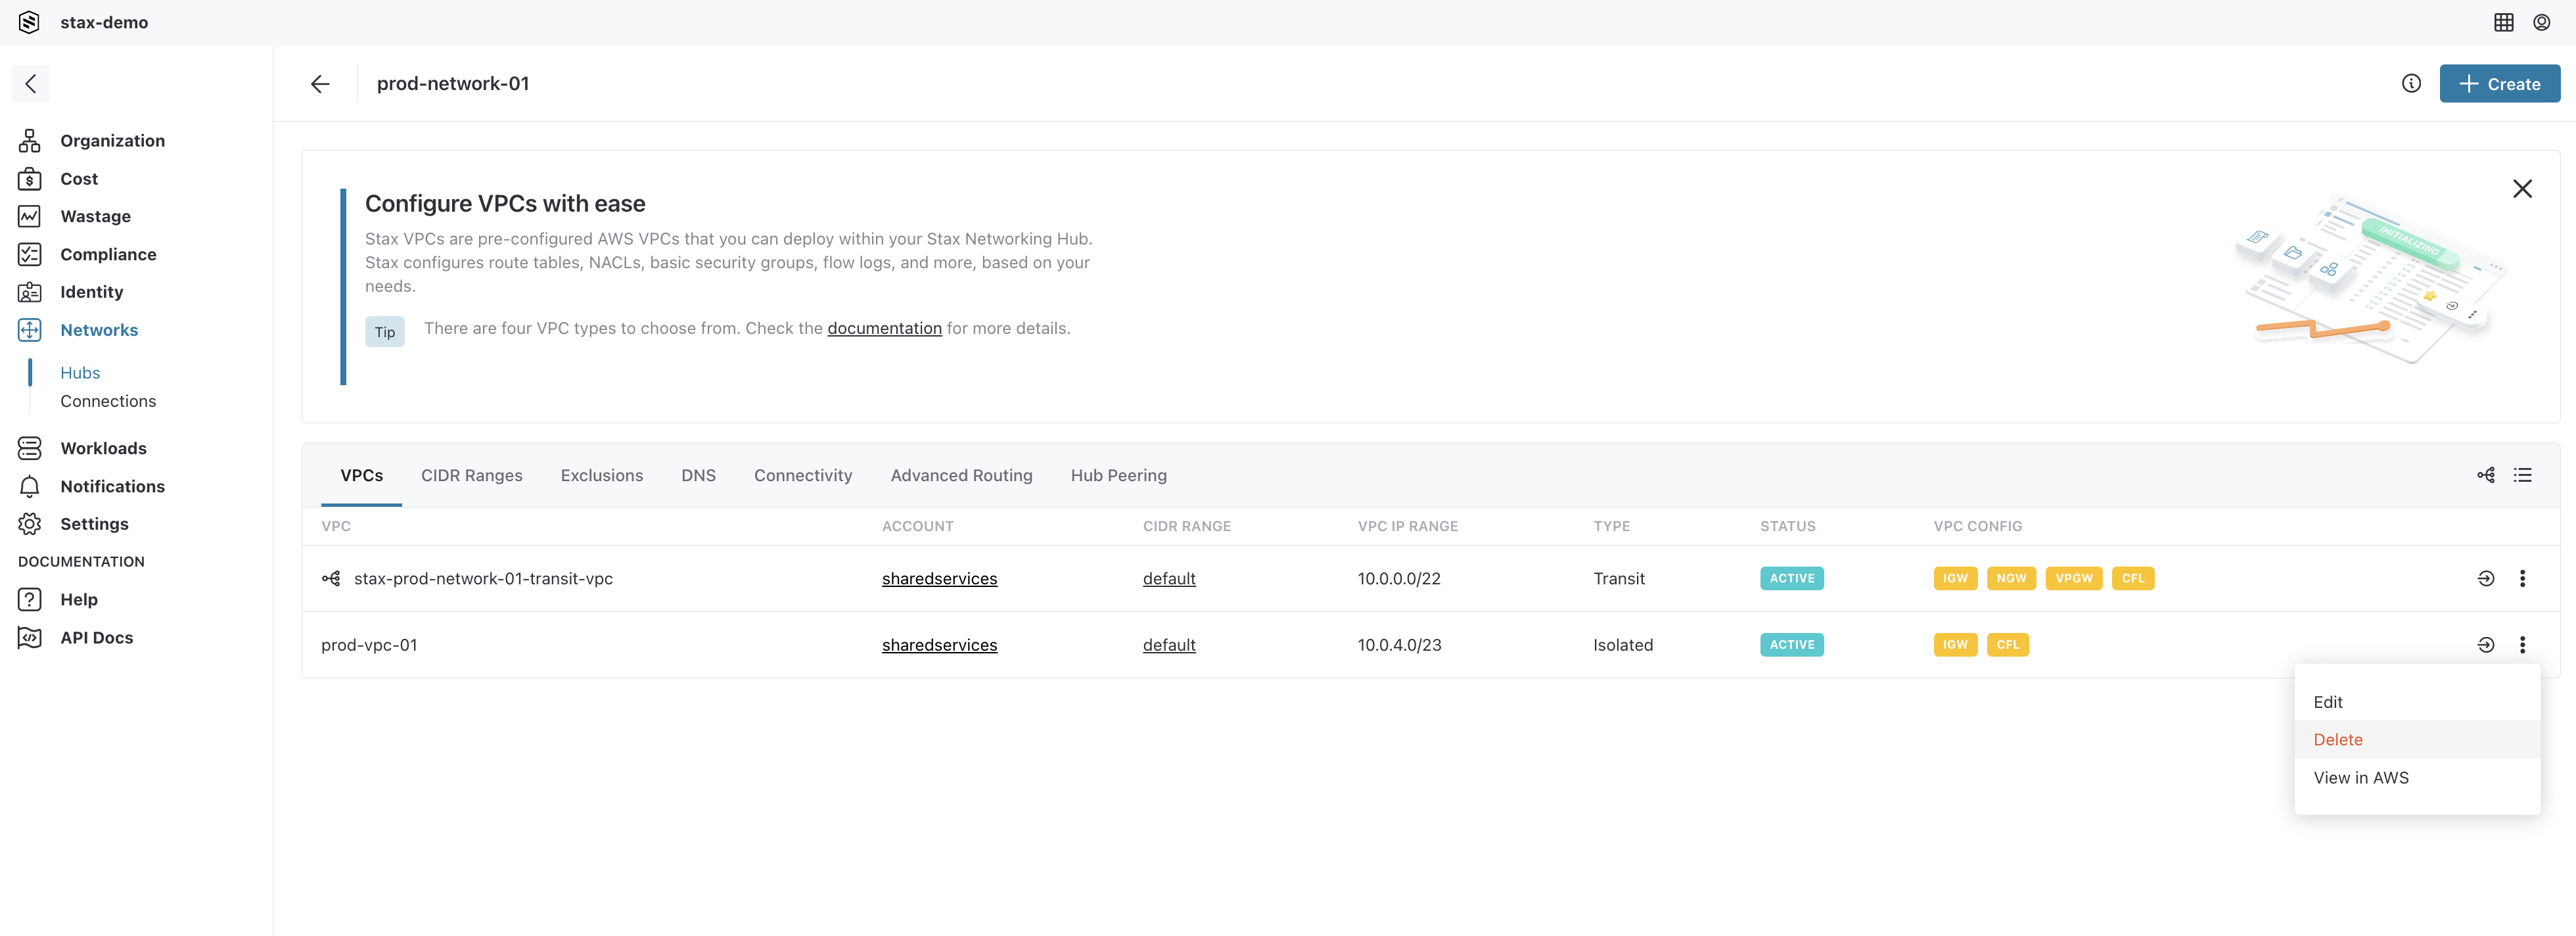
To delete a specific VPC, click the vertical ellipsis (⋮) located to the right of the VPC name, then select Delete from the list
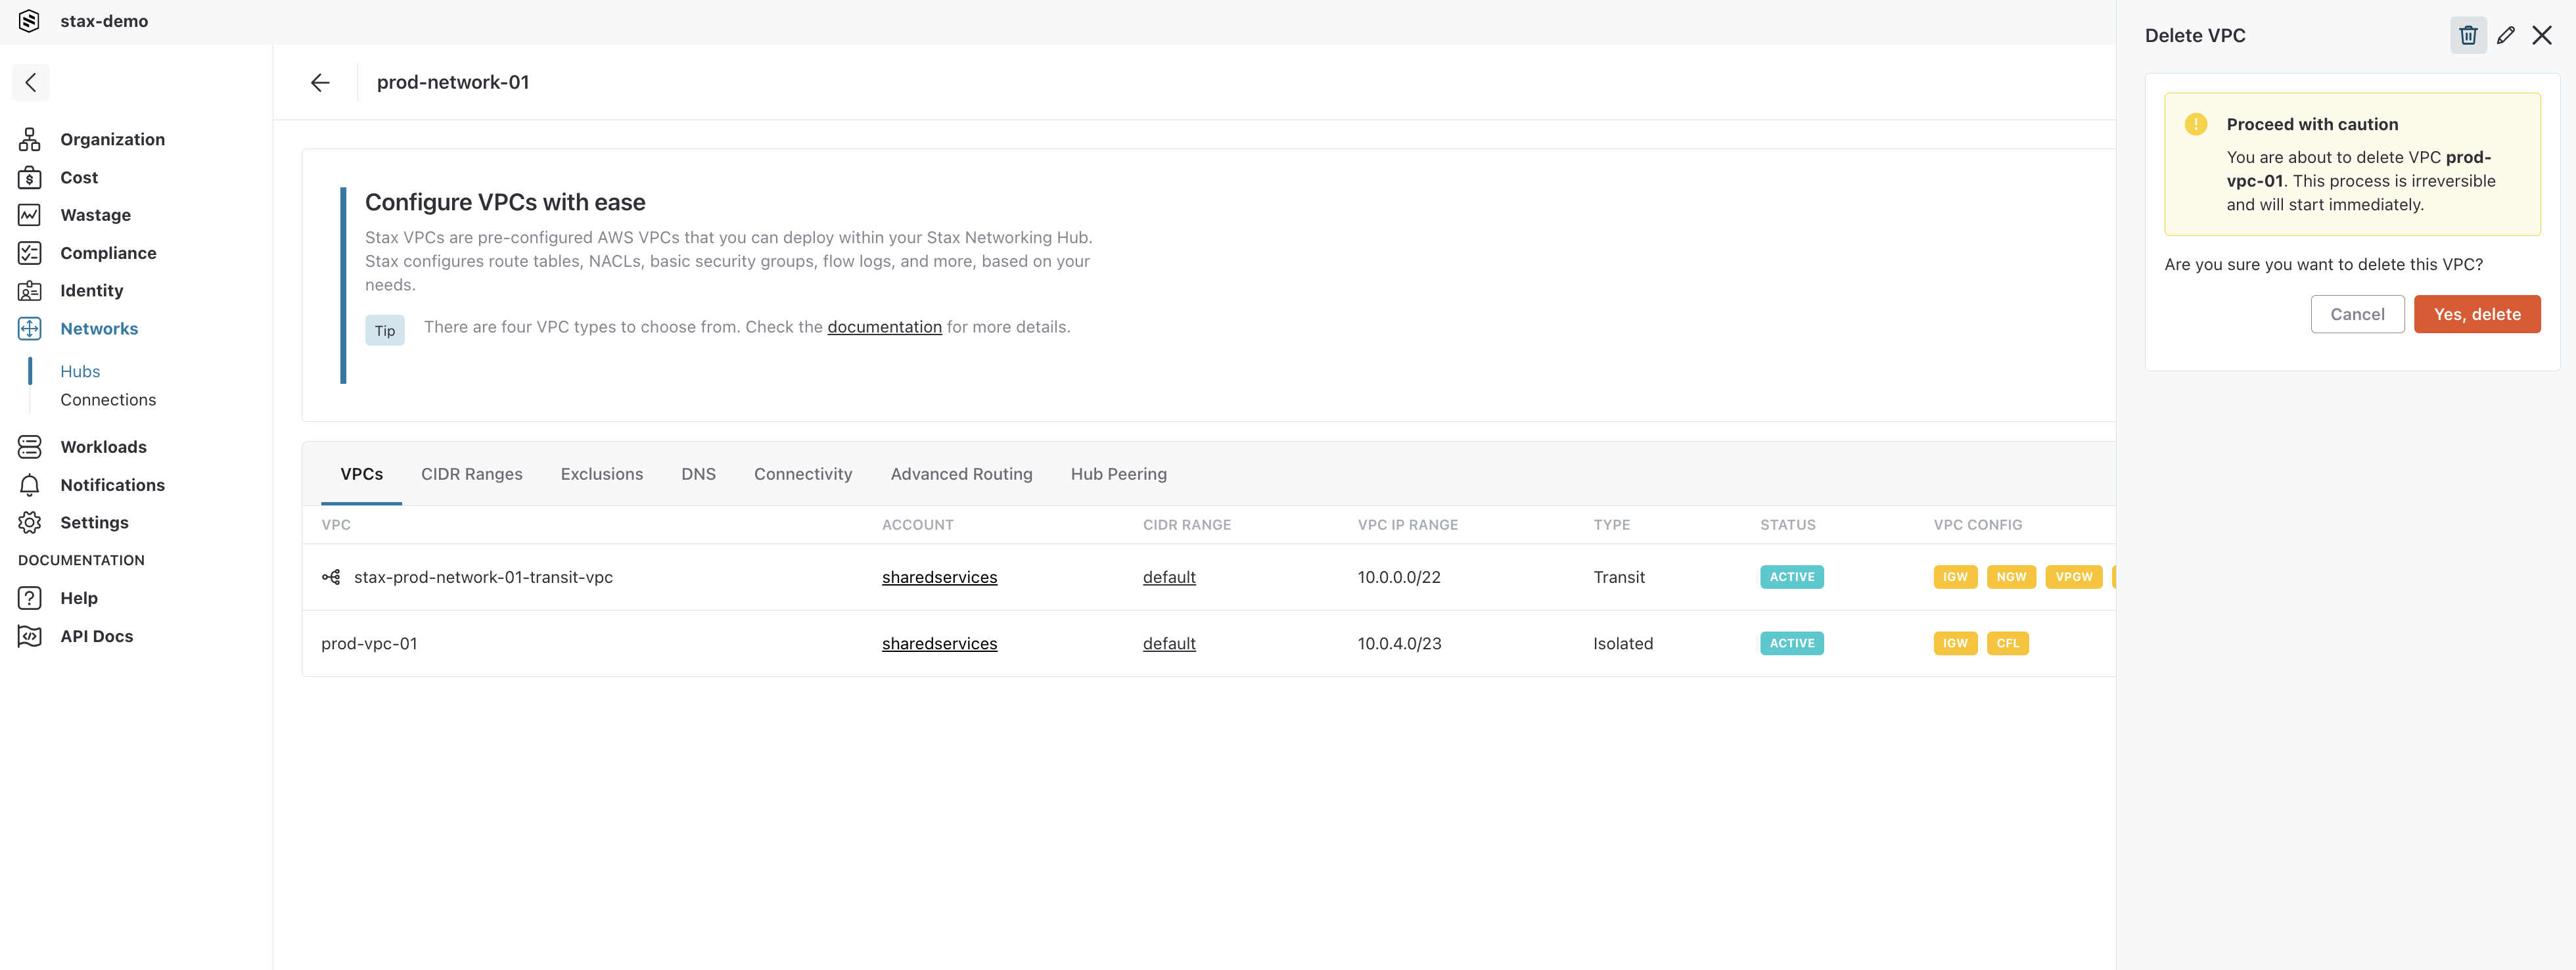
warningYou cannot delete the Transit VPC - it can only be deleted by Stax as part of deleting the Networking Hub. Additionally, you cannot delete a VPC that contains custom workloads or resources. Delete any resources from the VPC before continuing
-
Select the Yes, delete button to confirm the deletion of the VPC