Manage CIDR Ranges
Networks is an opt-in feature. To enable this feature for your Stax tenancy, please raise a support case.
All Stax-managed VPCs reside within a CIDR Range. A CIDR Range is the overarching object within a Stax Networking Hub that contains VPCs and Exclusions. The configured CIDR Range must be contained within an RFC1918-compliant private address space. You should confirm your CIDR ranges with your networking team before configuring them in a Stax Networking Hub. Some examples of supported CIDR ranges are below.
| CIDR Range | First IP Address | Last IP Address |
|---|---|---|
| 10.2.0.0/16 | 10.2.0.1 | 10.2.255.255 |
| 172.16.0.0/12 | 172.16.0.1 | 172.31.255.255 |
| 192.168.0.0/16 | 192.168.0.1 | 192.168.255.255 |
The largest supported size for a Stax CIDR Range is /8, while the smallest is /23.
CIDR Ranges support Exclusions to exempt certain portions of CIDR ranges that must be excluded for past/future use.
Before You Begin
- Ensure you are an Admin of your Stax tenancy
- Ideally, you have intermediate/advanced knowledge in networking or have spoken to your network administrator about making these changes
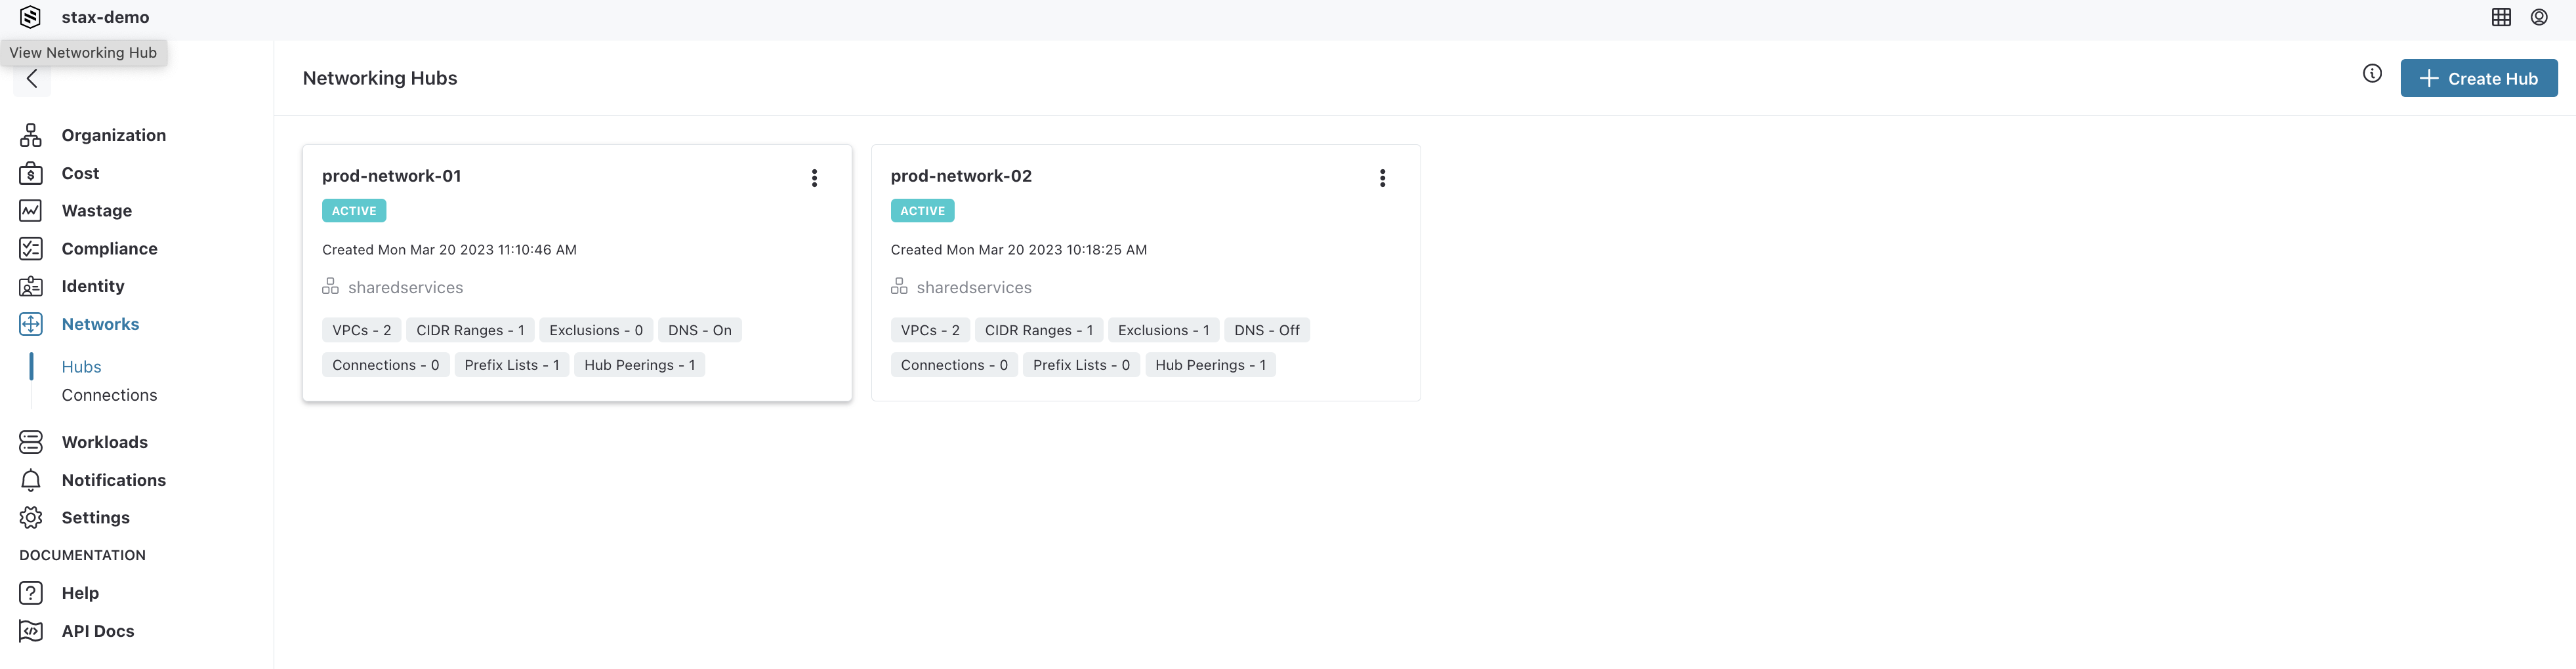
Navigate to Your Hub's Main Page
-
Log in to the Stax Console
-
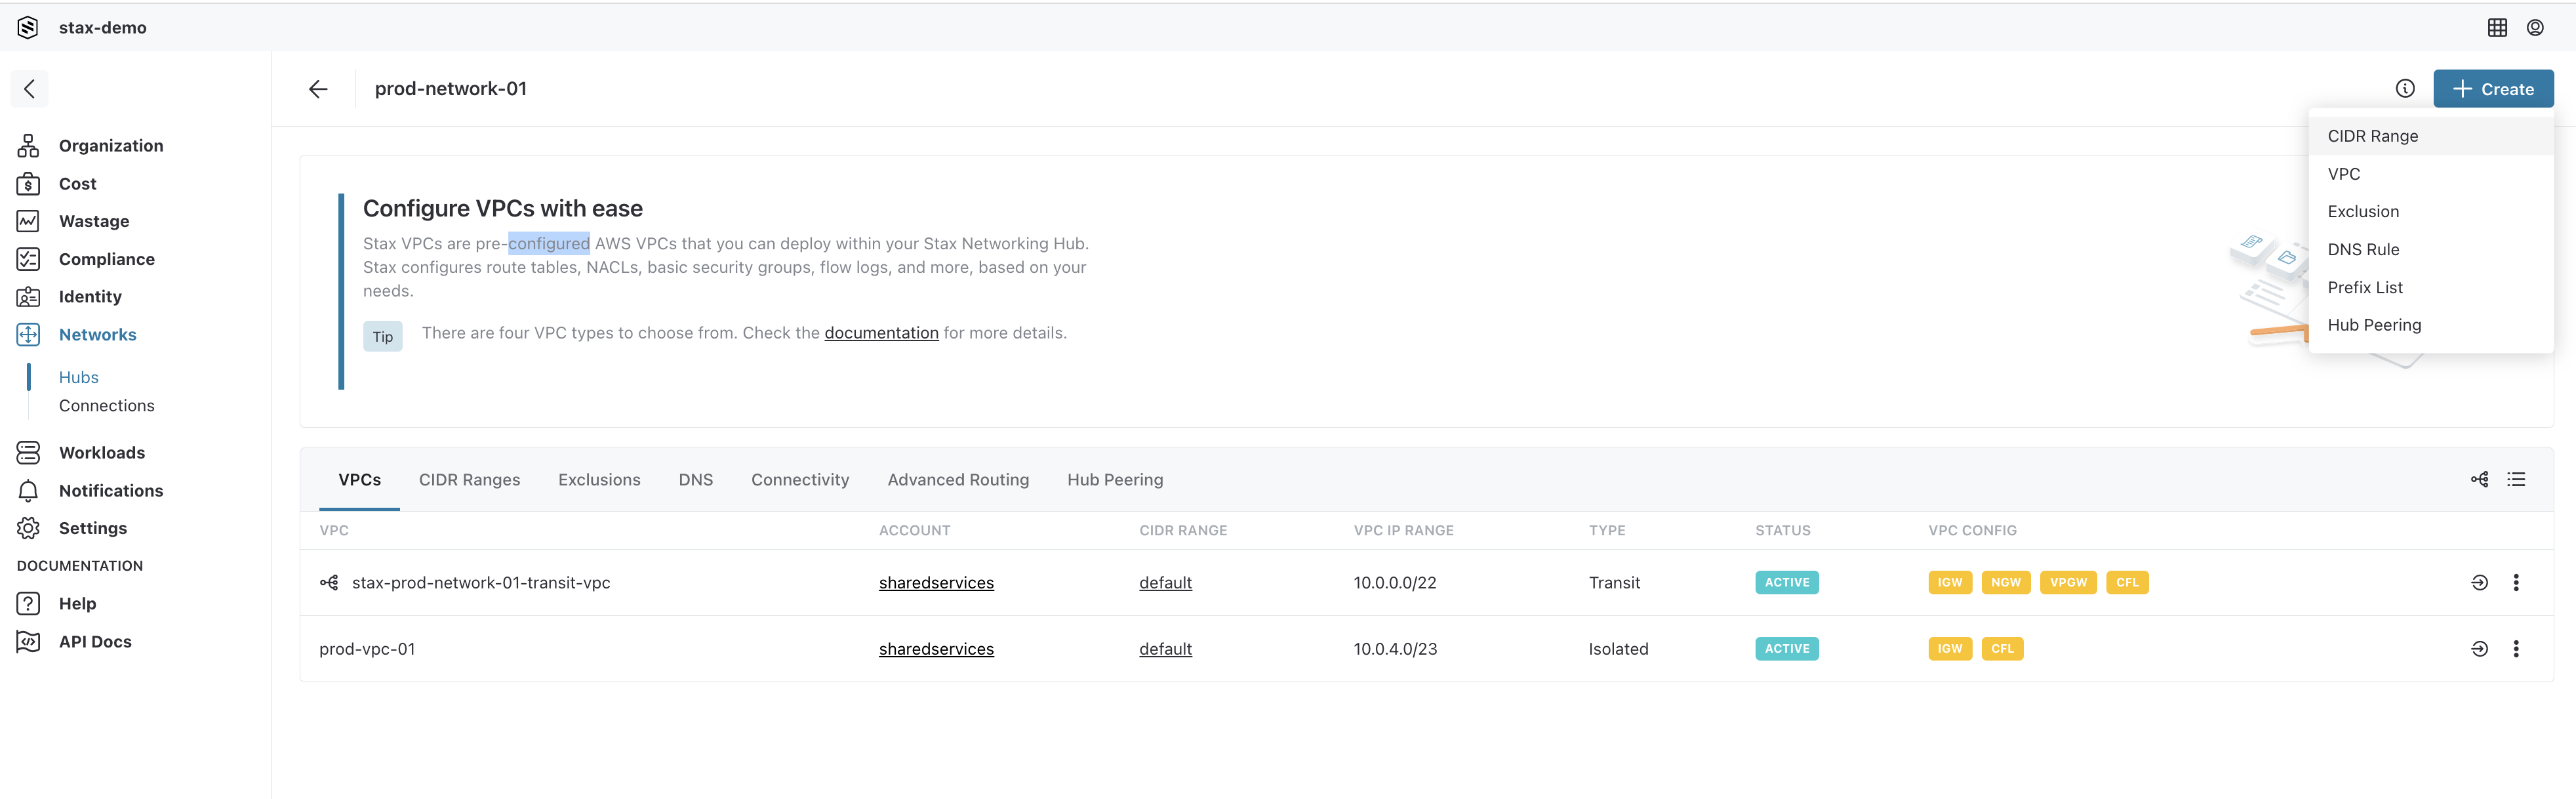
Select Networks in the left-hand nav
-
The details of the Networking Hub selected will be displayed
Create a CIDR Range
From your Hub's main page:
-
Click + Create, then select CIDR Range
-
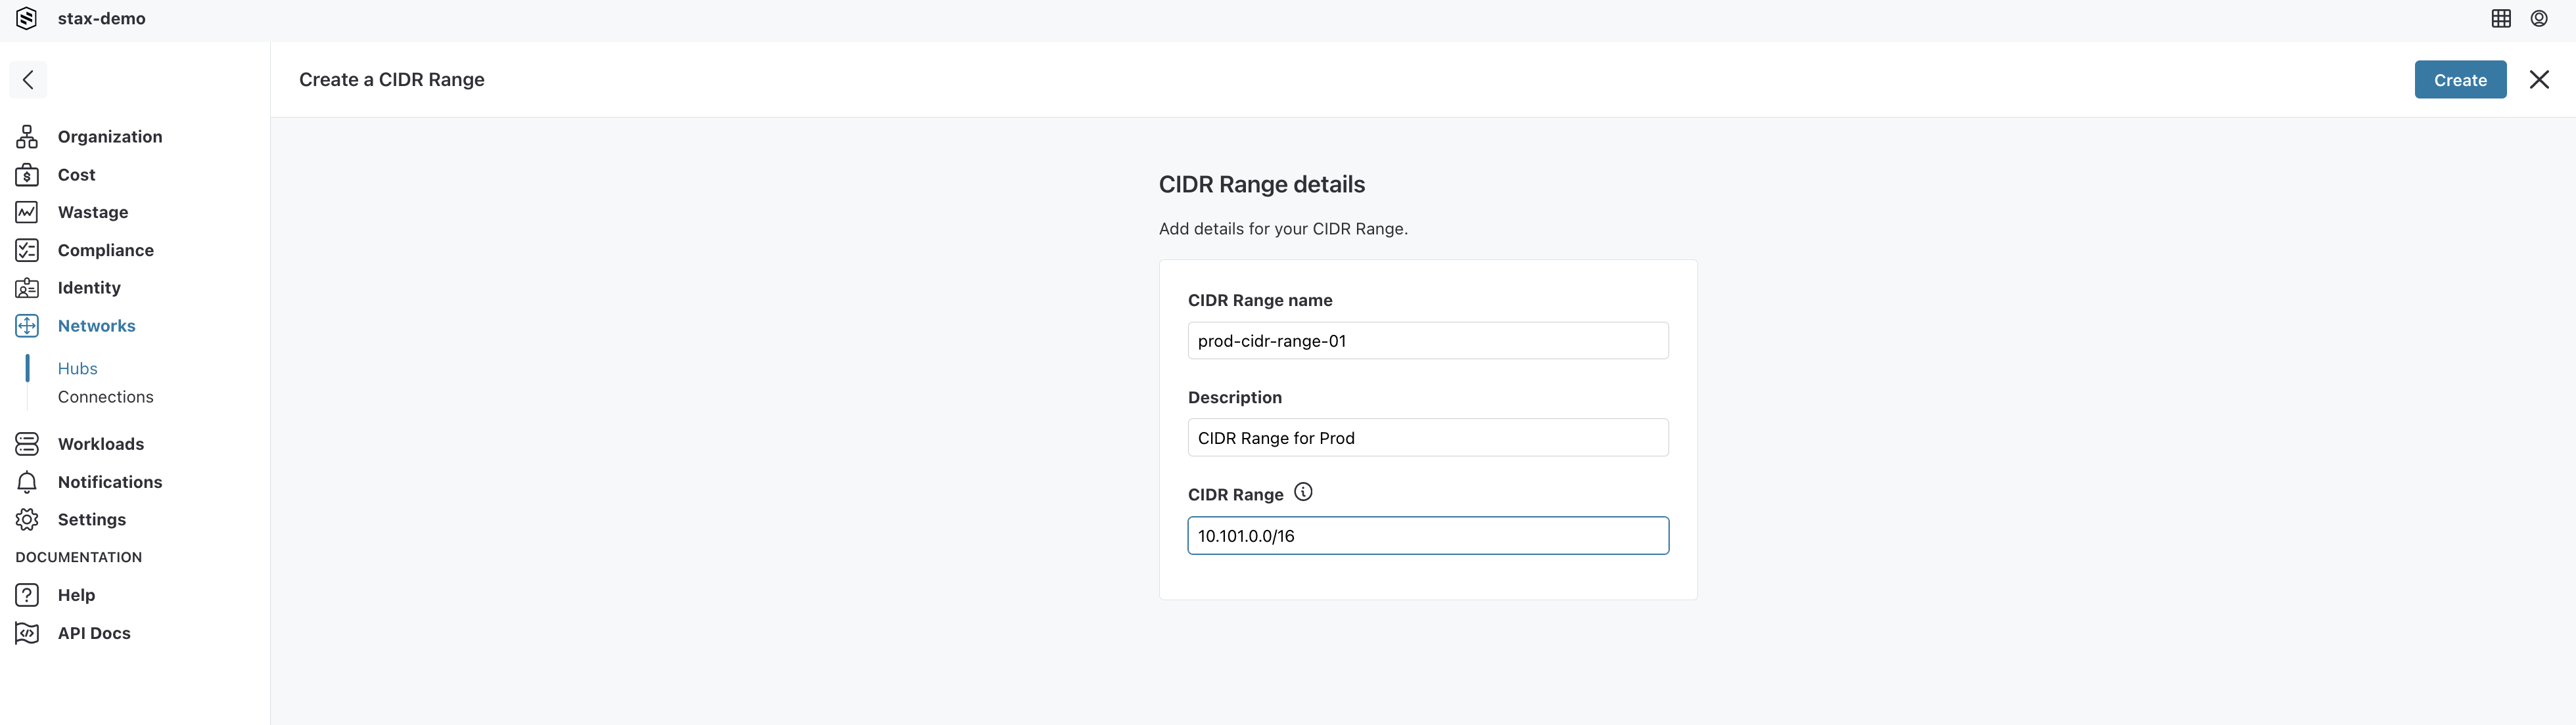
In the CIDR Range details form, enter a CIDR Range name, description, and the range itself into the corresponding fields
-
Select Create in the top right corner to create the CIDR Range
View a CIDR Range
From your Hub's main page:
-
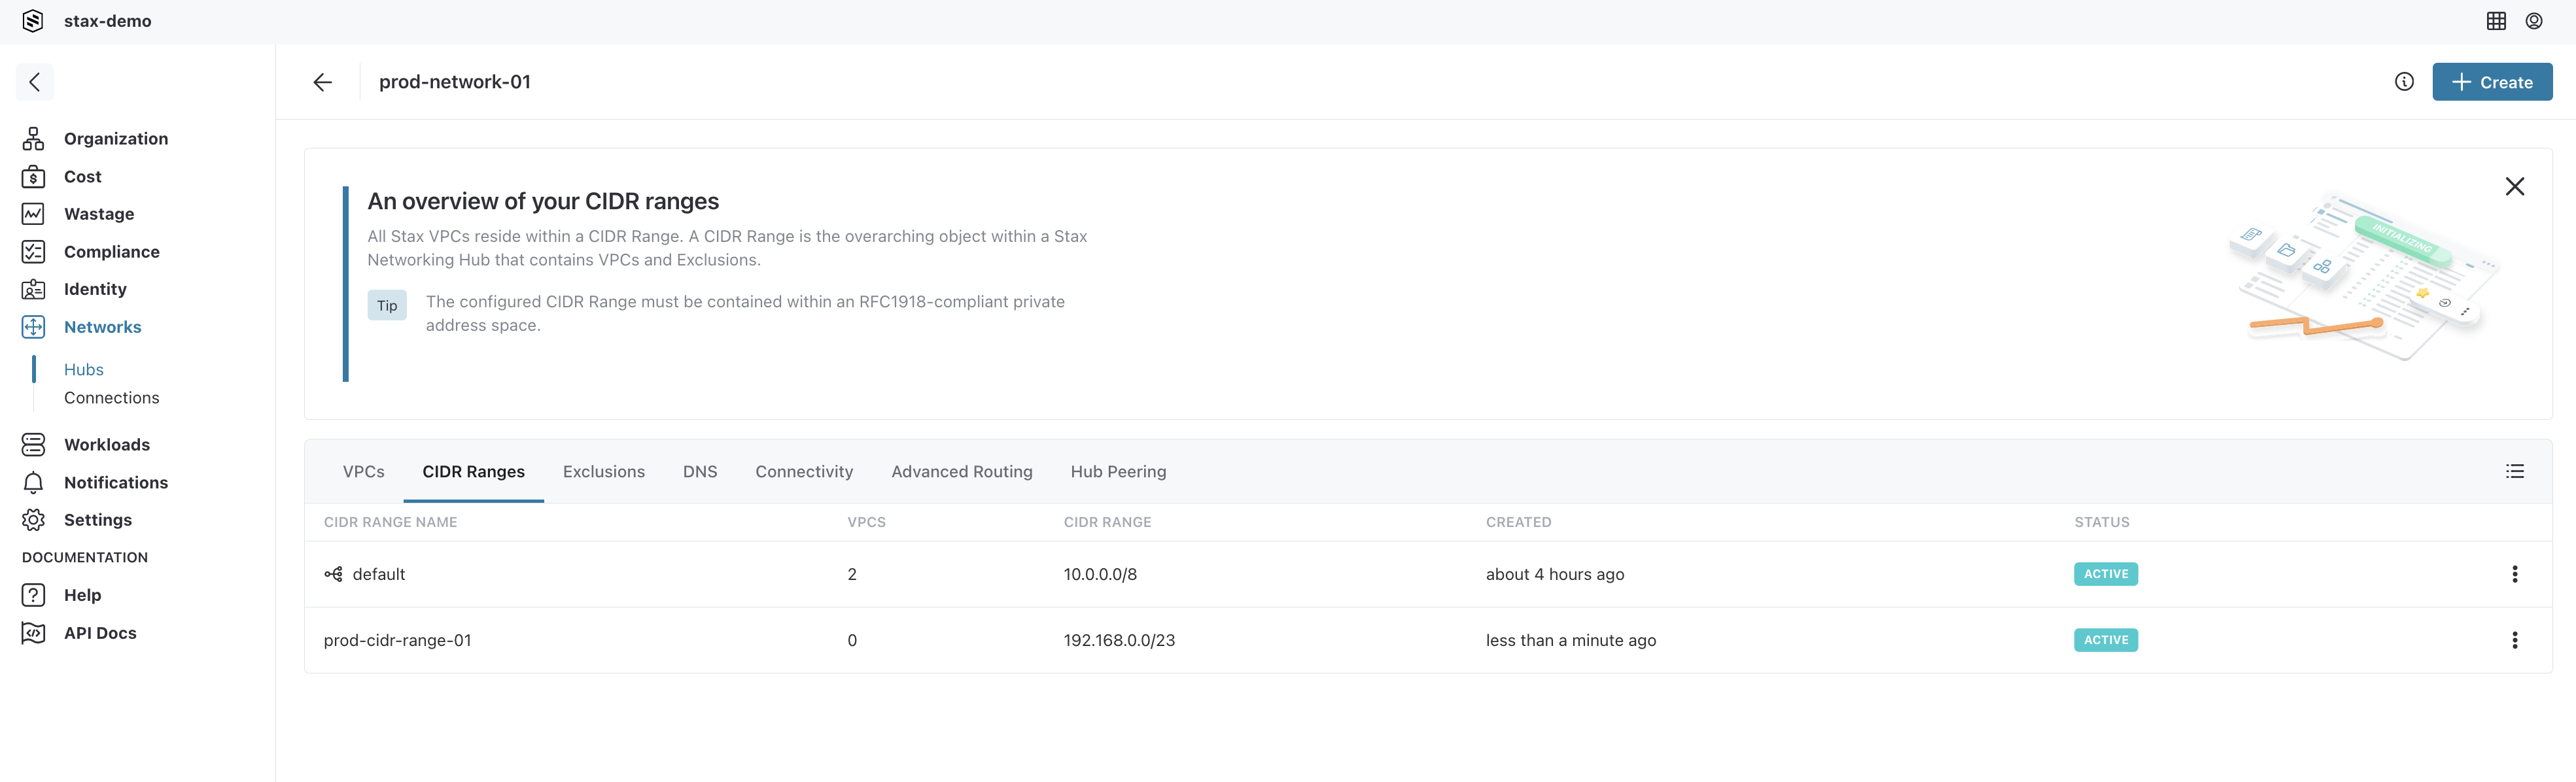
Select the CIDR Ranges tab on the main window to see a list of all CIDR Ranges in the Networking Hub
-
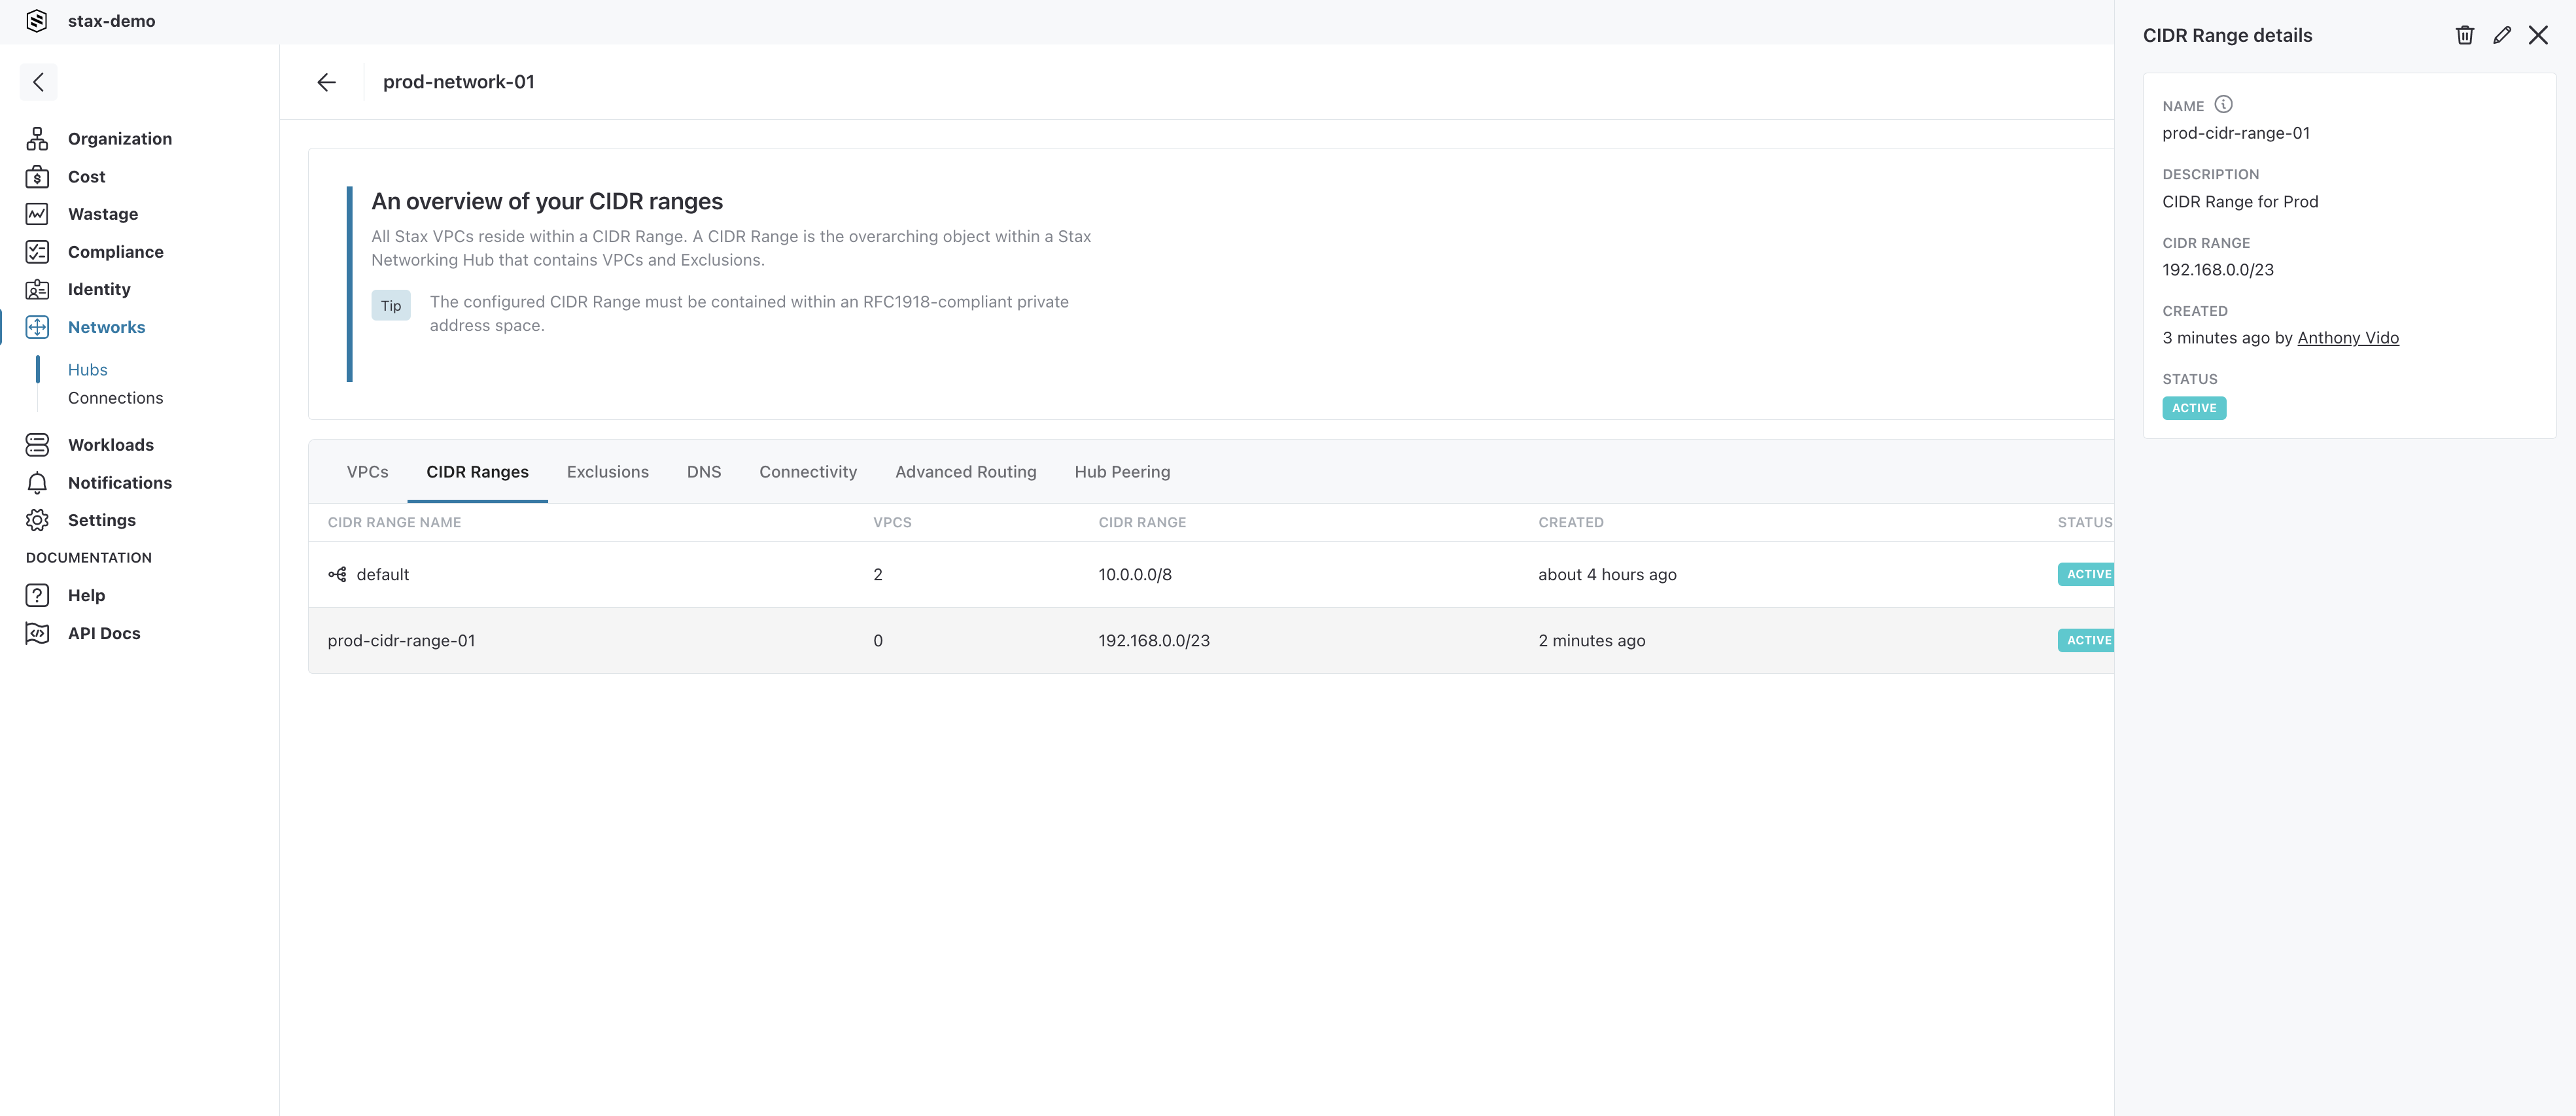
To view the details of a specific CIDR Range, select the CIDR Range from the list
-
The details drawer will open to the right revealing the details of the CIDR Range

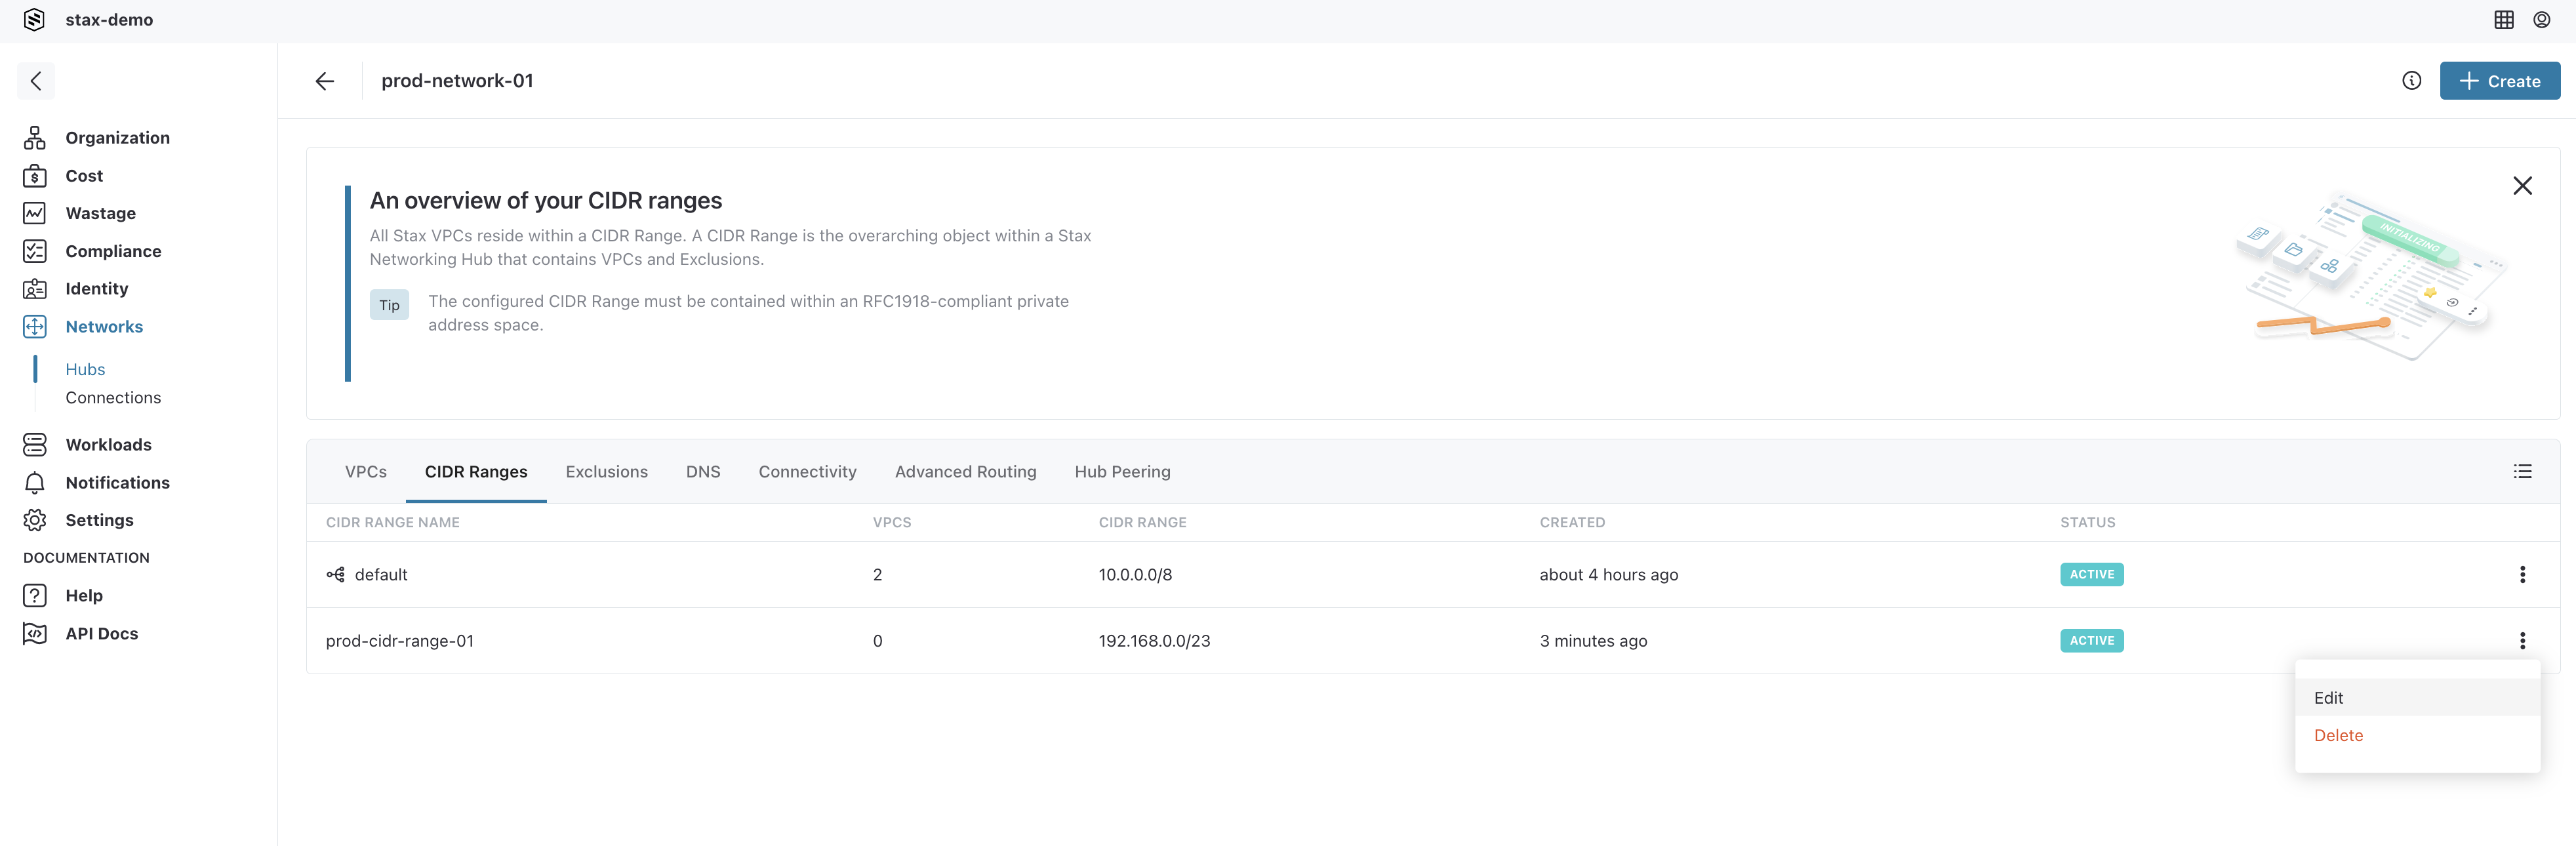
Edit a CIDR Range
From the Hub's main page:
-
Select the CIDR Ranges tab on the main window
-
To edit the details of a specific CIDR Range, click the vertical ellipsis (⋮) located to the right of the CIDR Range name, then select Edit from the list
-
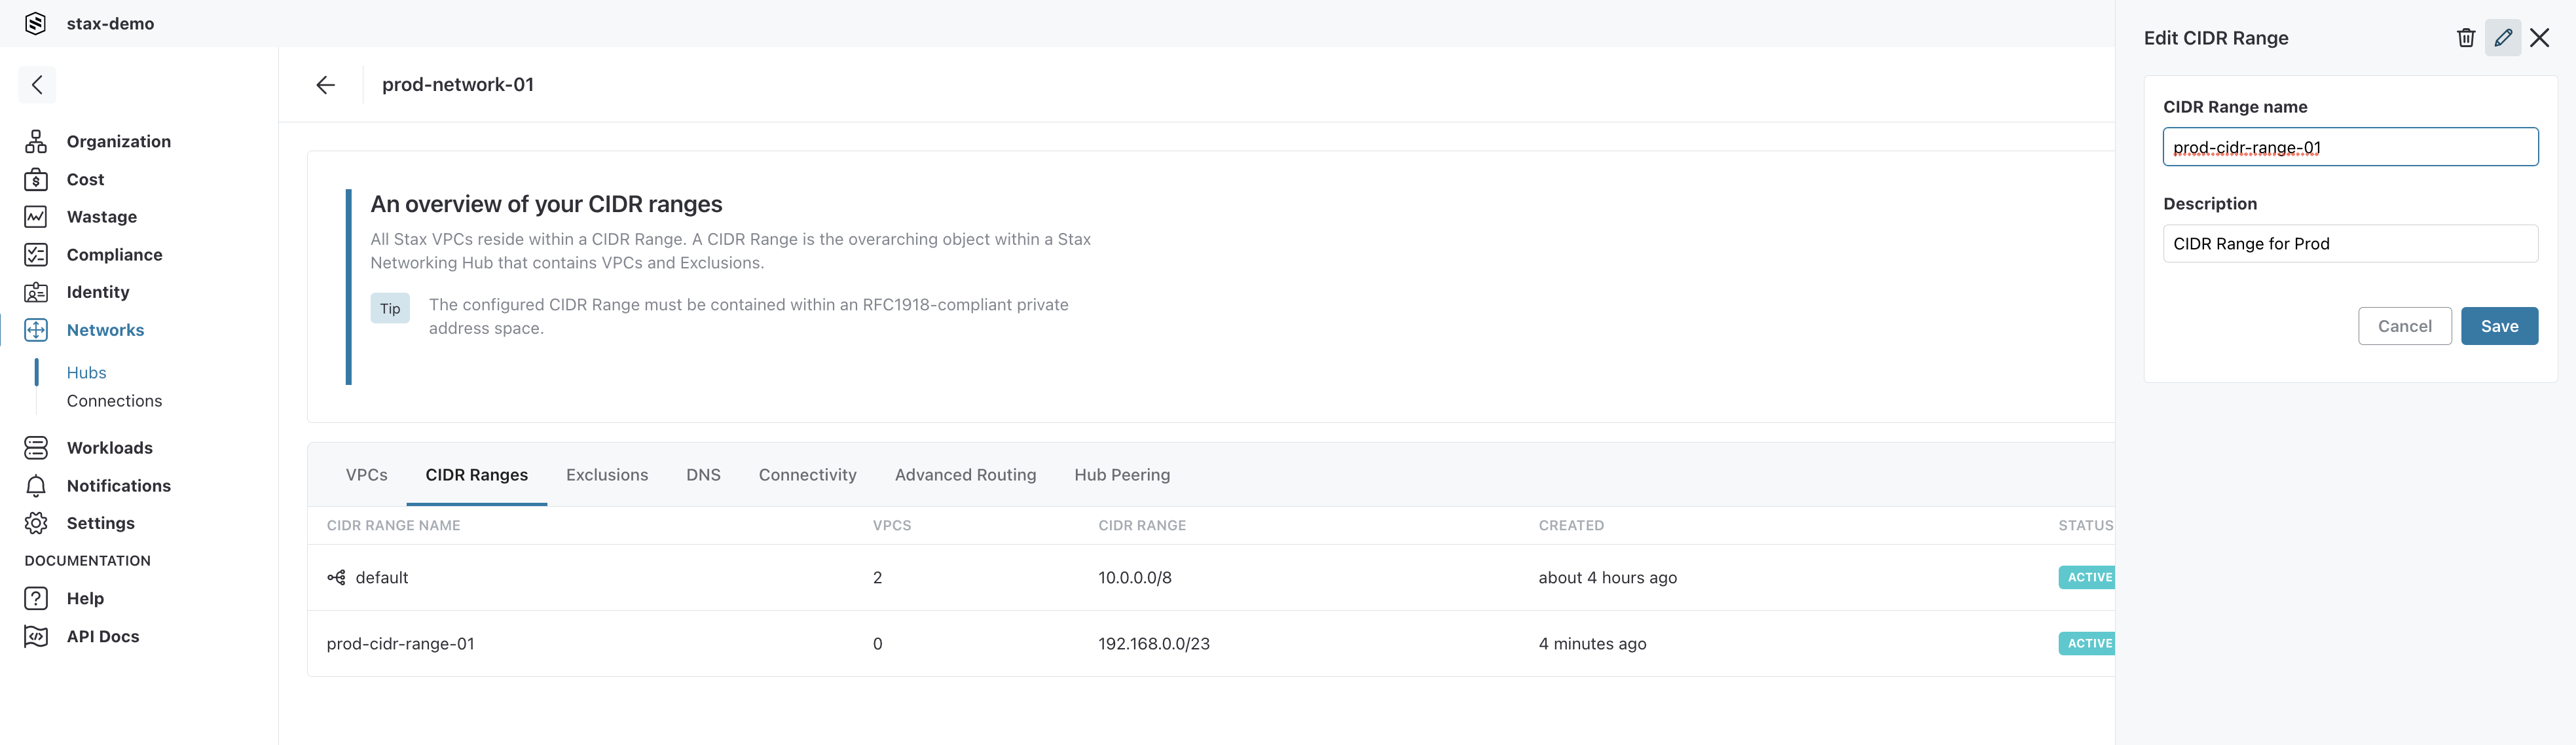
Make the required changes to the CIDR Range name and/or description
-
Select the Save button
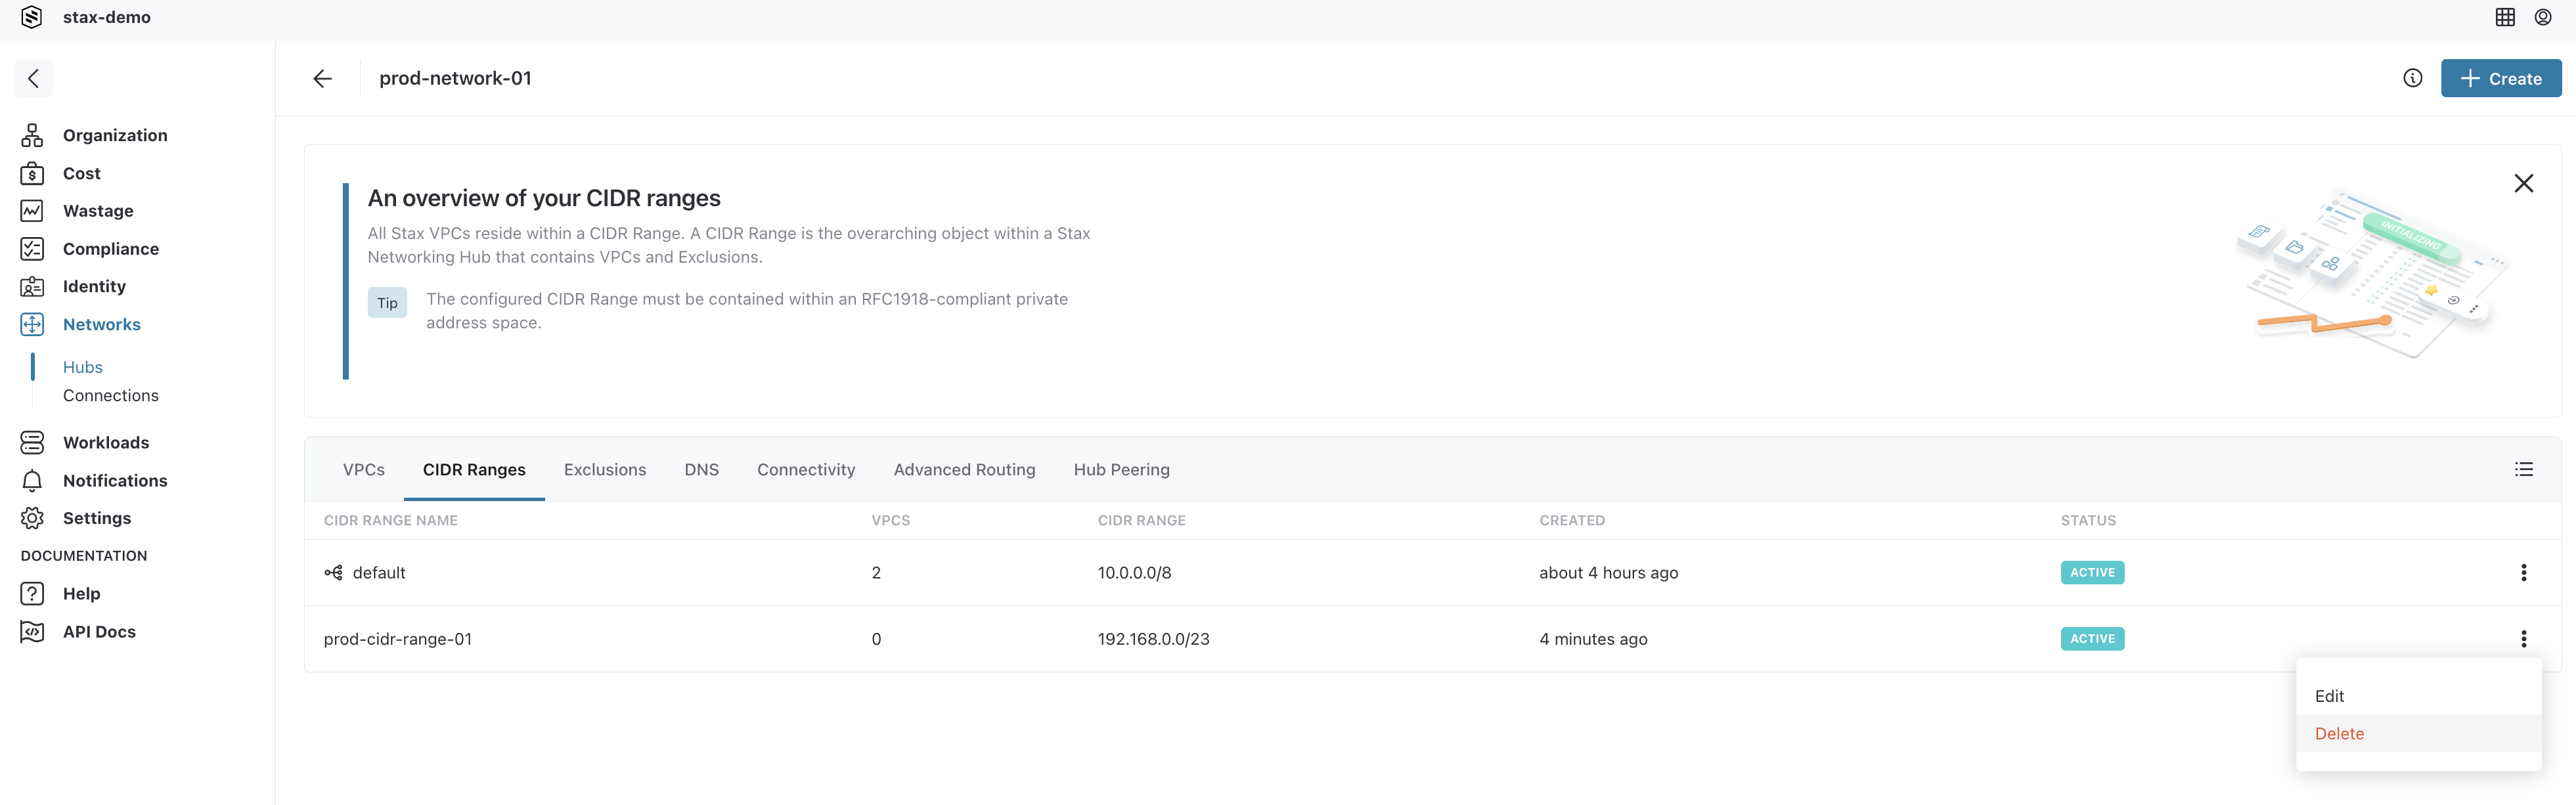
Delete a CIDR Range
From the Hub's main page:
-
Select the CIDR Ranges tab on the main window
-
To delete a specific CIDR Range, click the vertical ellipsis (⋮) located to the right of the CIDR Range name, then select Delete from the list
-
Select the Yes, delete button to confirm the deletion of the CIDR Range
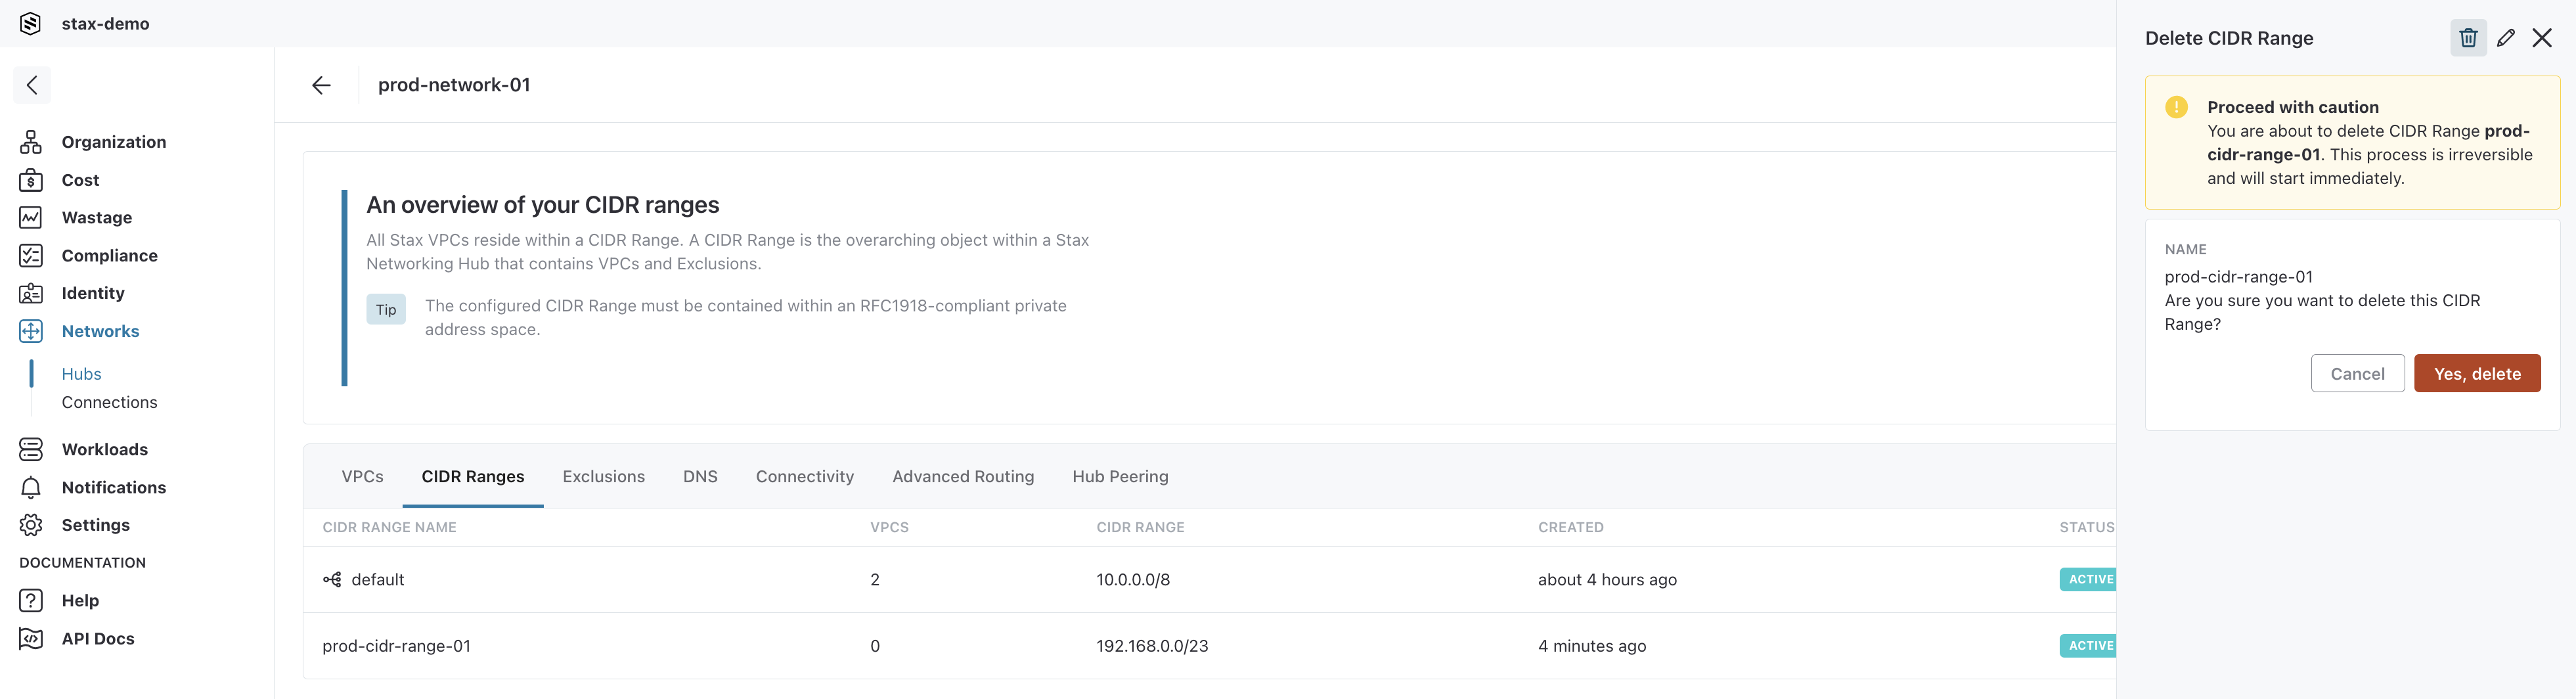
The CIDR range will be immediately removed from the Networking Hub.
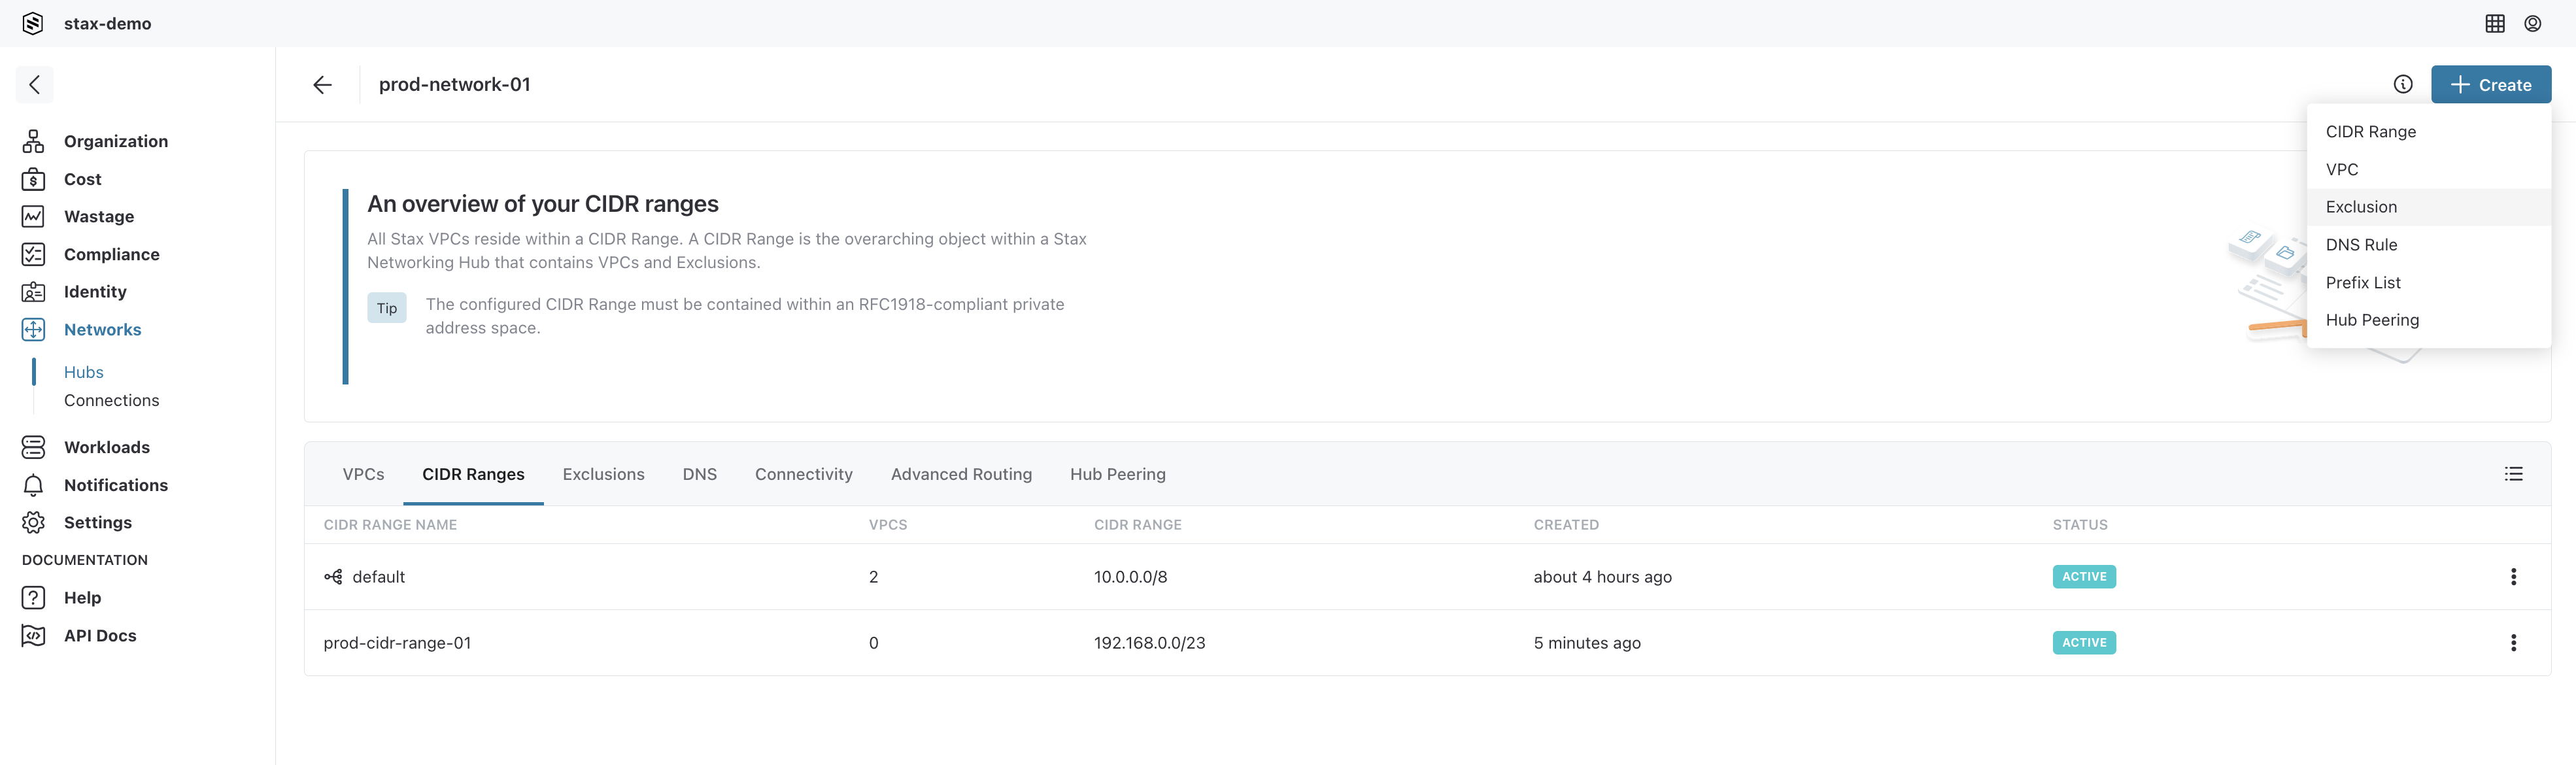
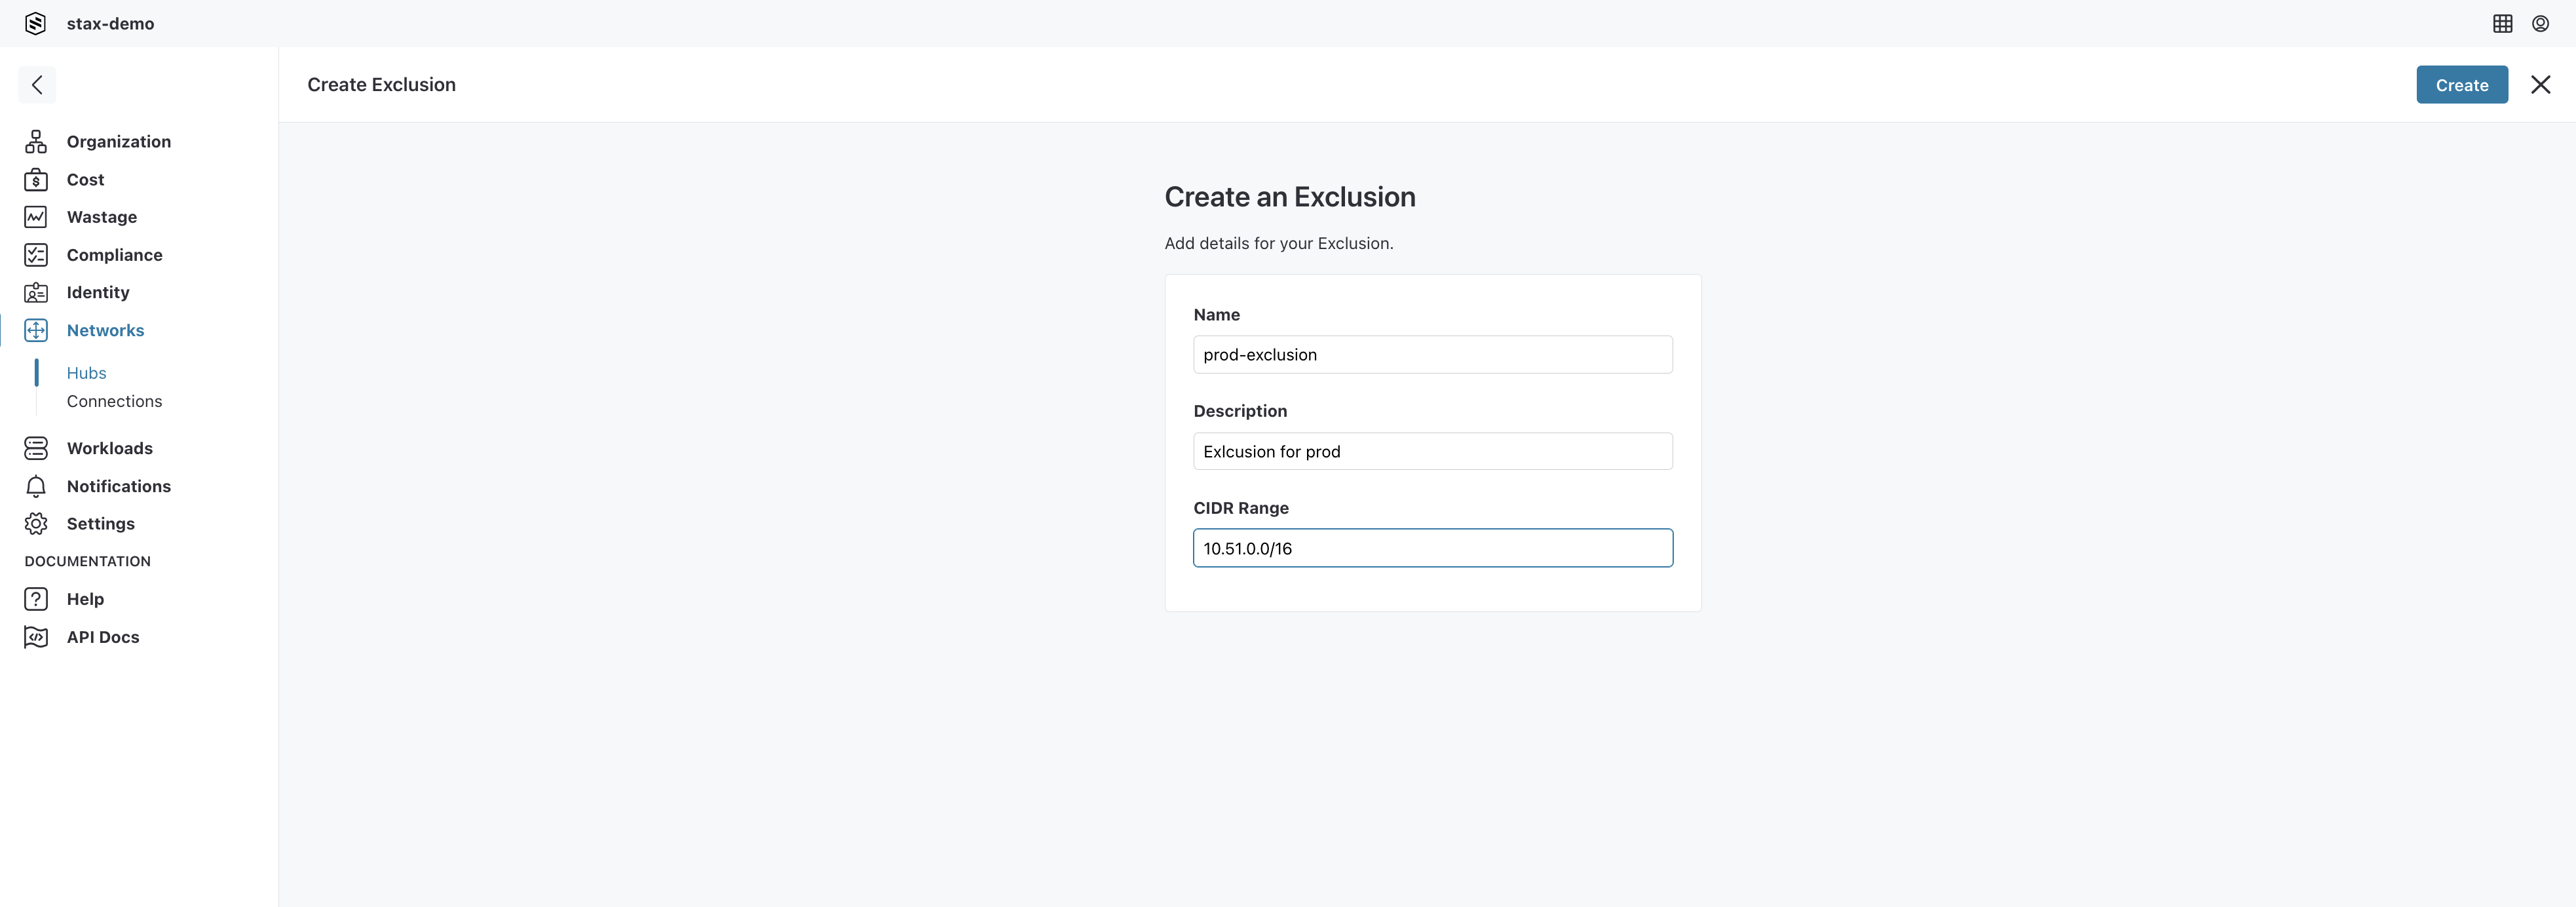
Create an Exclusion
From your Hub's main page:
-
Click + Create, then select Exclusion
-
In the Create an Exclusion form, enter an appropriate name, description, and the CIDR range for the exclusion
-
Select Create
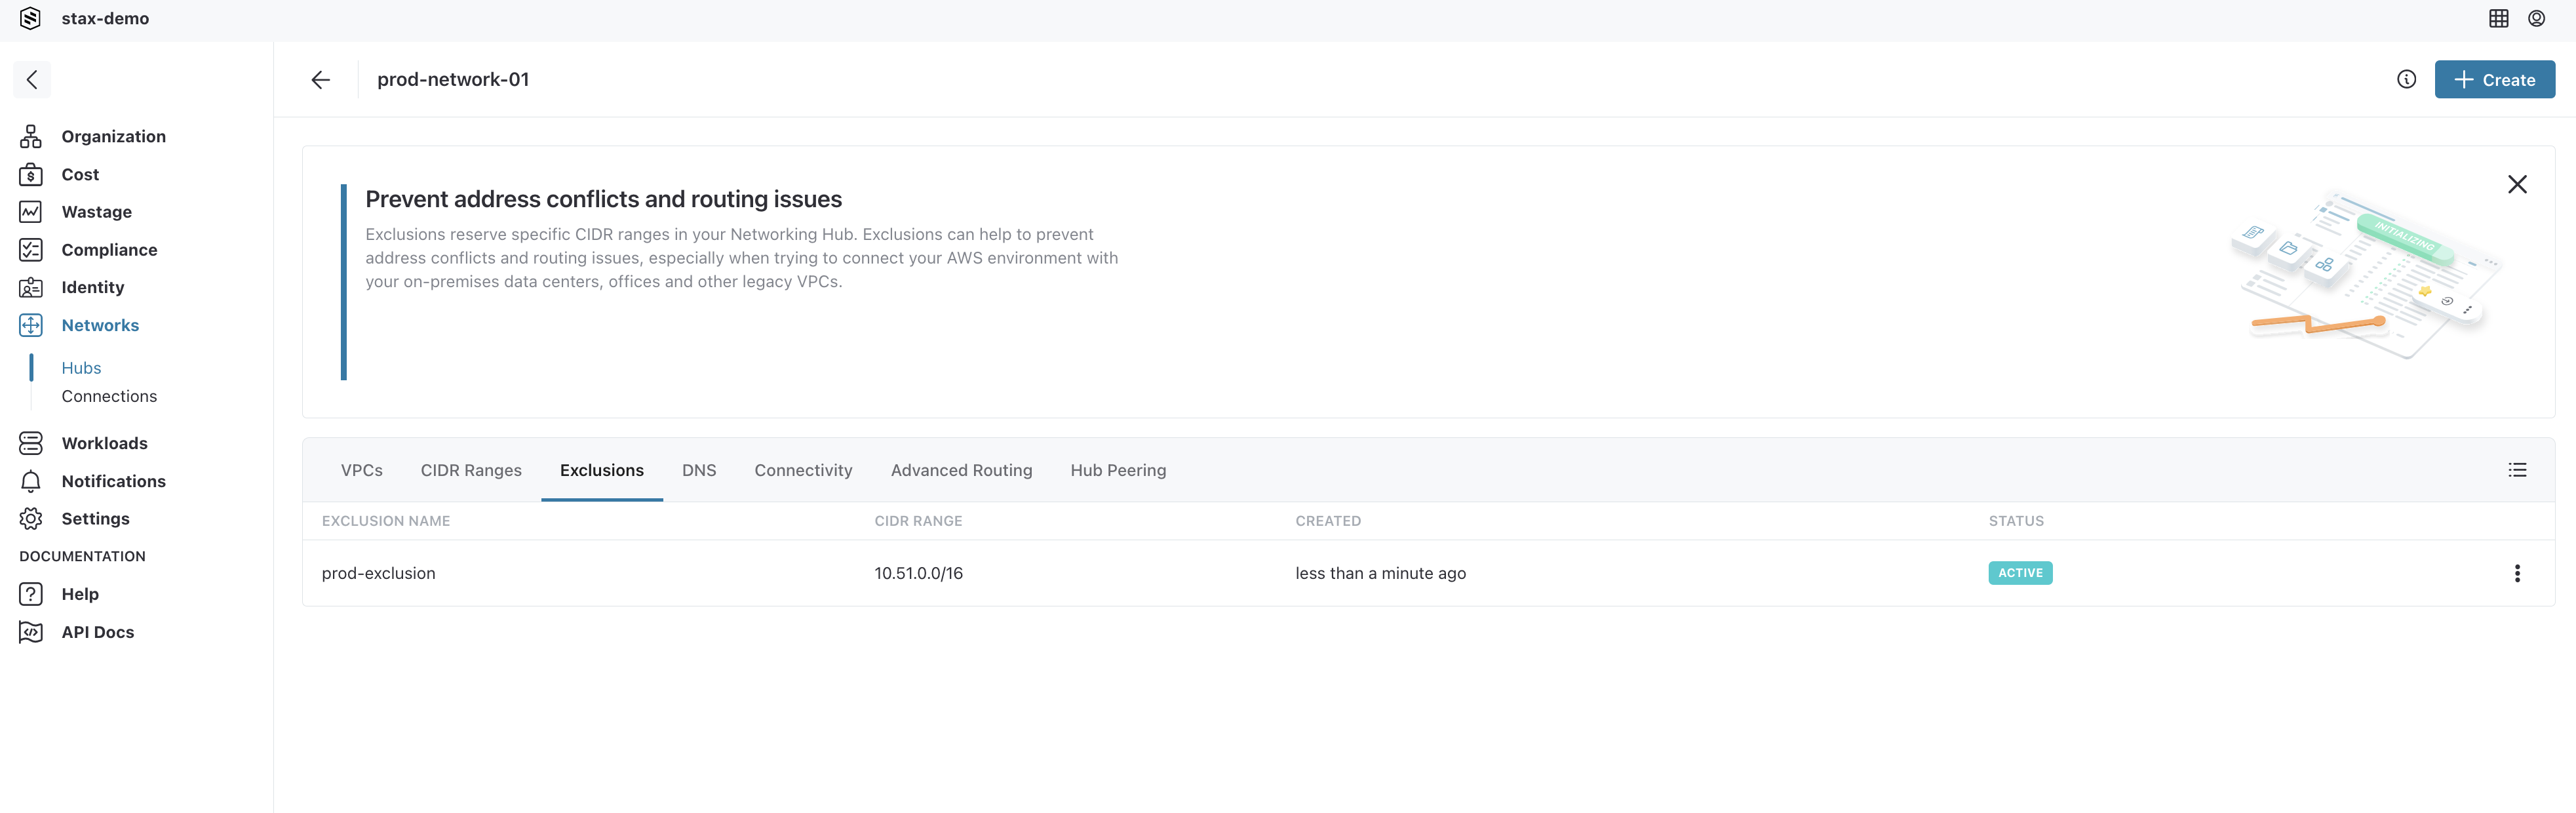
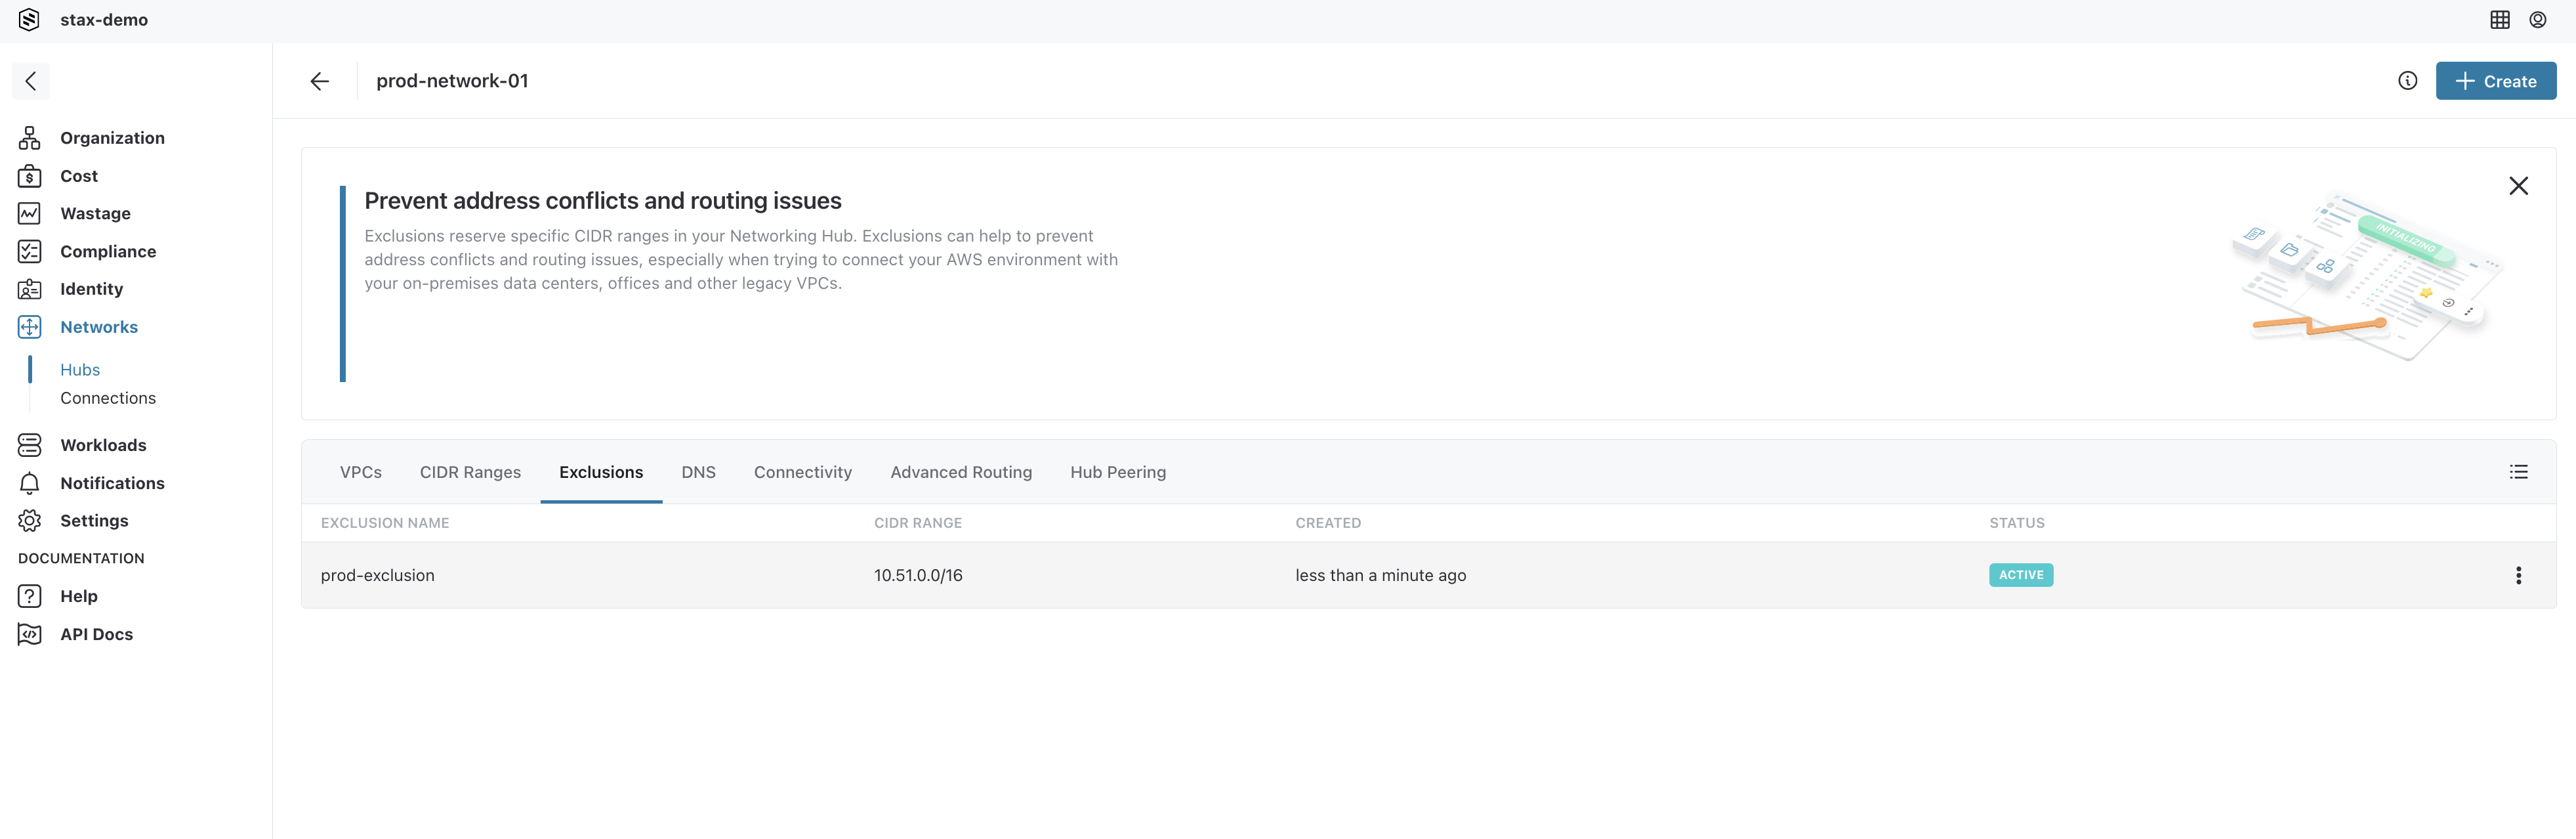
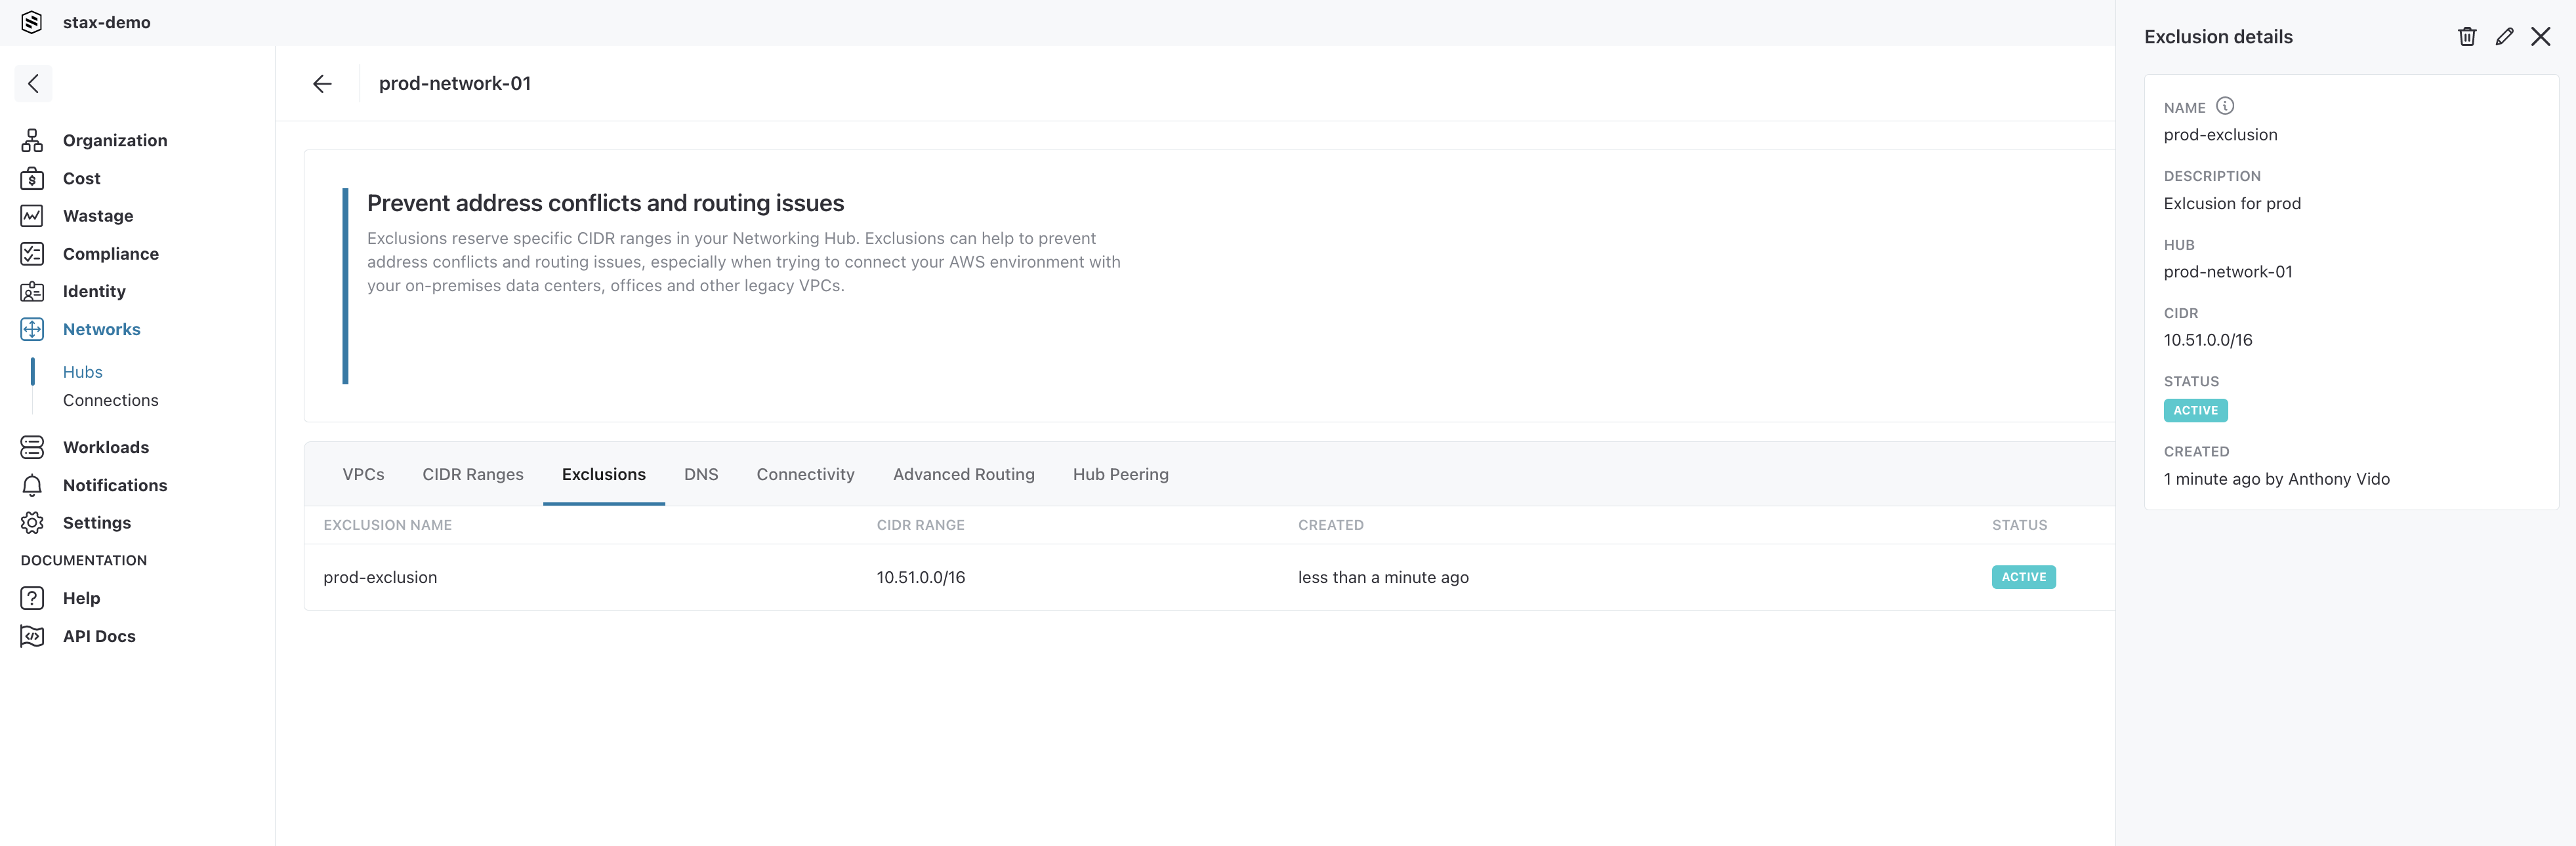
View Exclusions
From the Hub's main page:
-
Select the Exclusions tab on the main window
-
To view the details of a specific Exclusion, select the Exclusion from the list
-
The details drawer will open to the right revealing the details of the Exclusion
Edit an Exclusion
From the Hub's main page:
-
Select the Exclusions tab on the main window
-
To edit the details of a specific Exclusion, click the vertical ellipsis (⋮) located to the right of the Exclusion's name, then select Edit from the list
-
Make the required changes to the Exclusion's name and/or description
-
Select the Save button


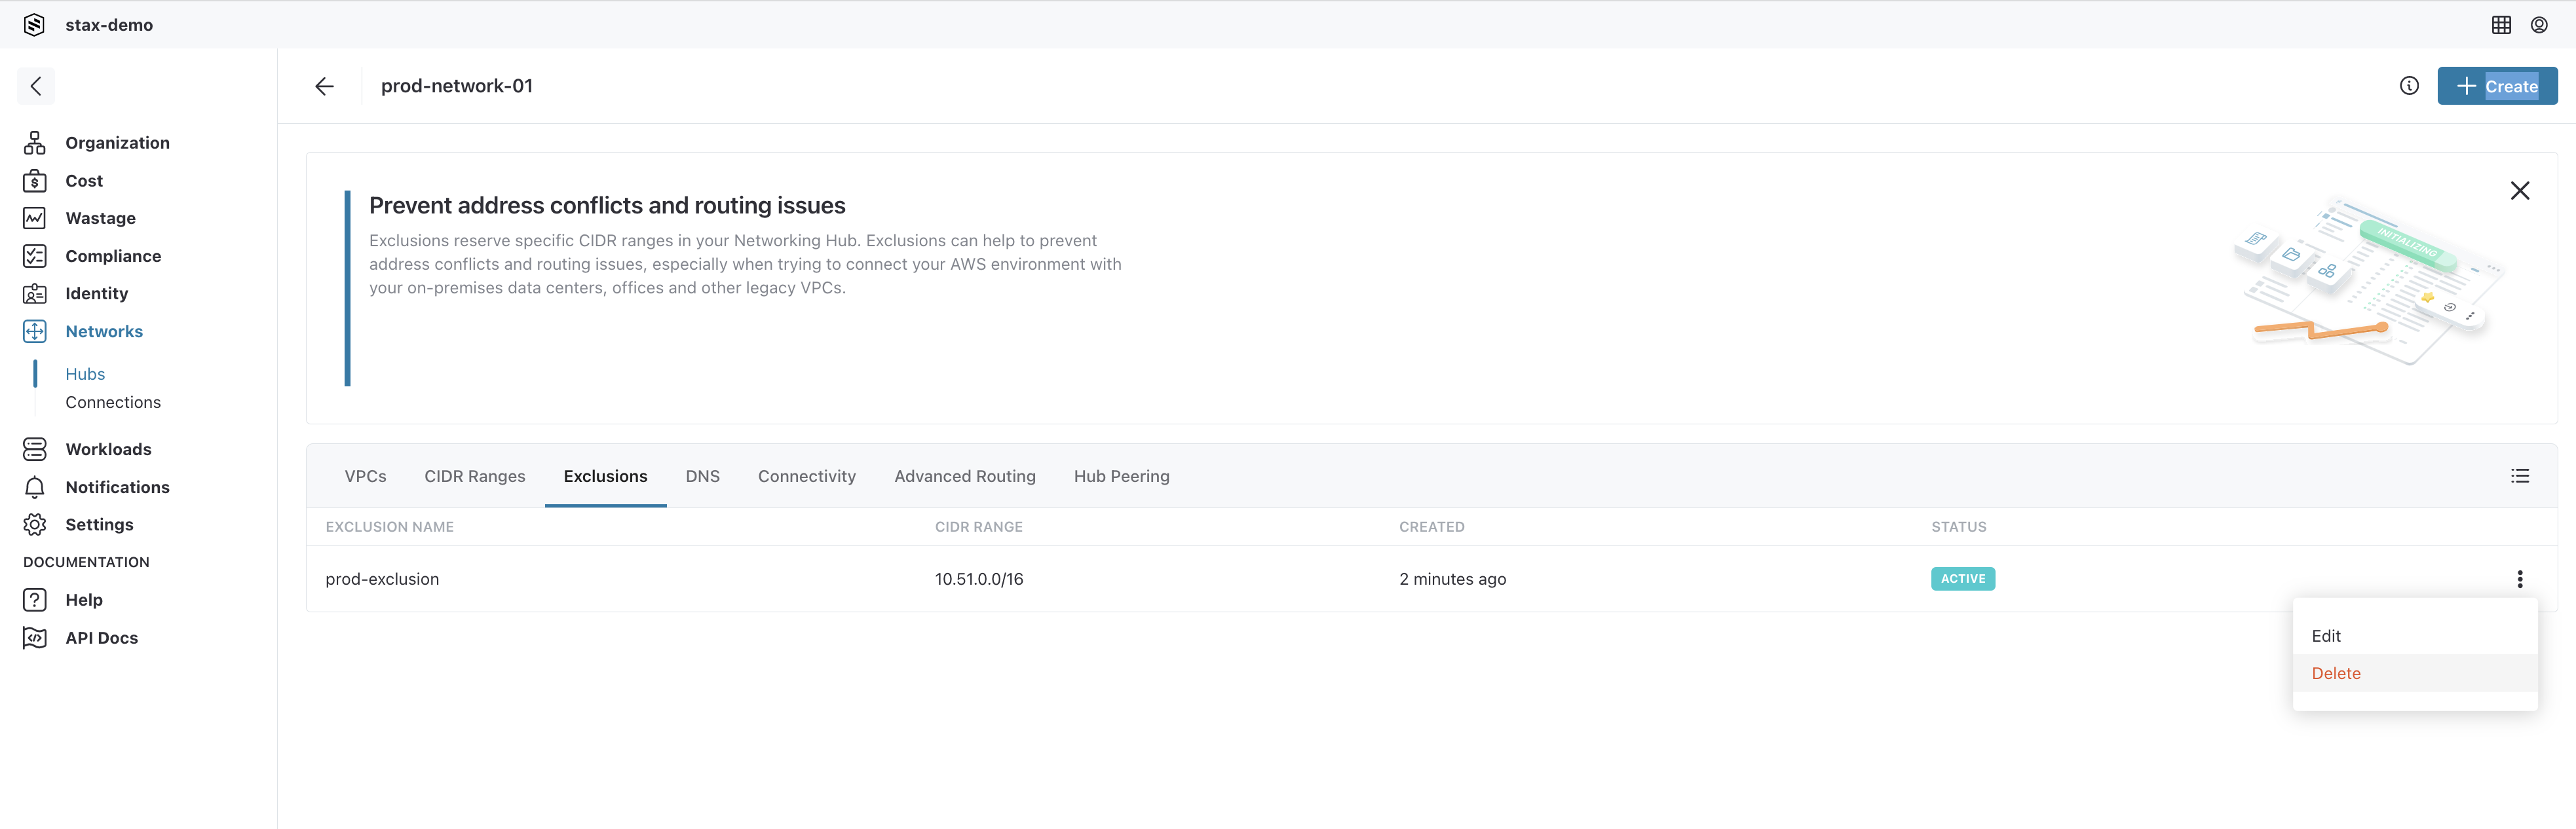
Delete an Exclusion
From the Hub's main page:
-
Select the Exclusions tab on the main window
-
To delete a specific Exclusion, click the vertical ellipsis (⋮) located to the right of the Exclusion's name, then select Delete from the list
-
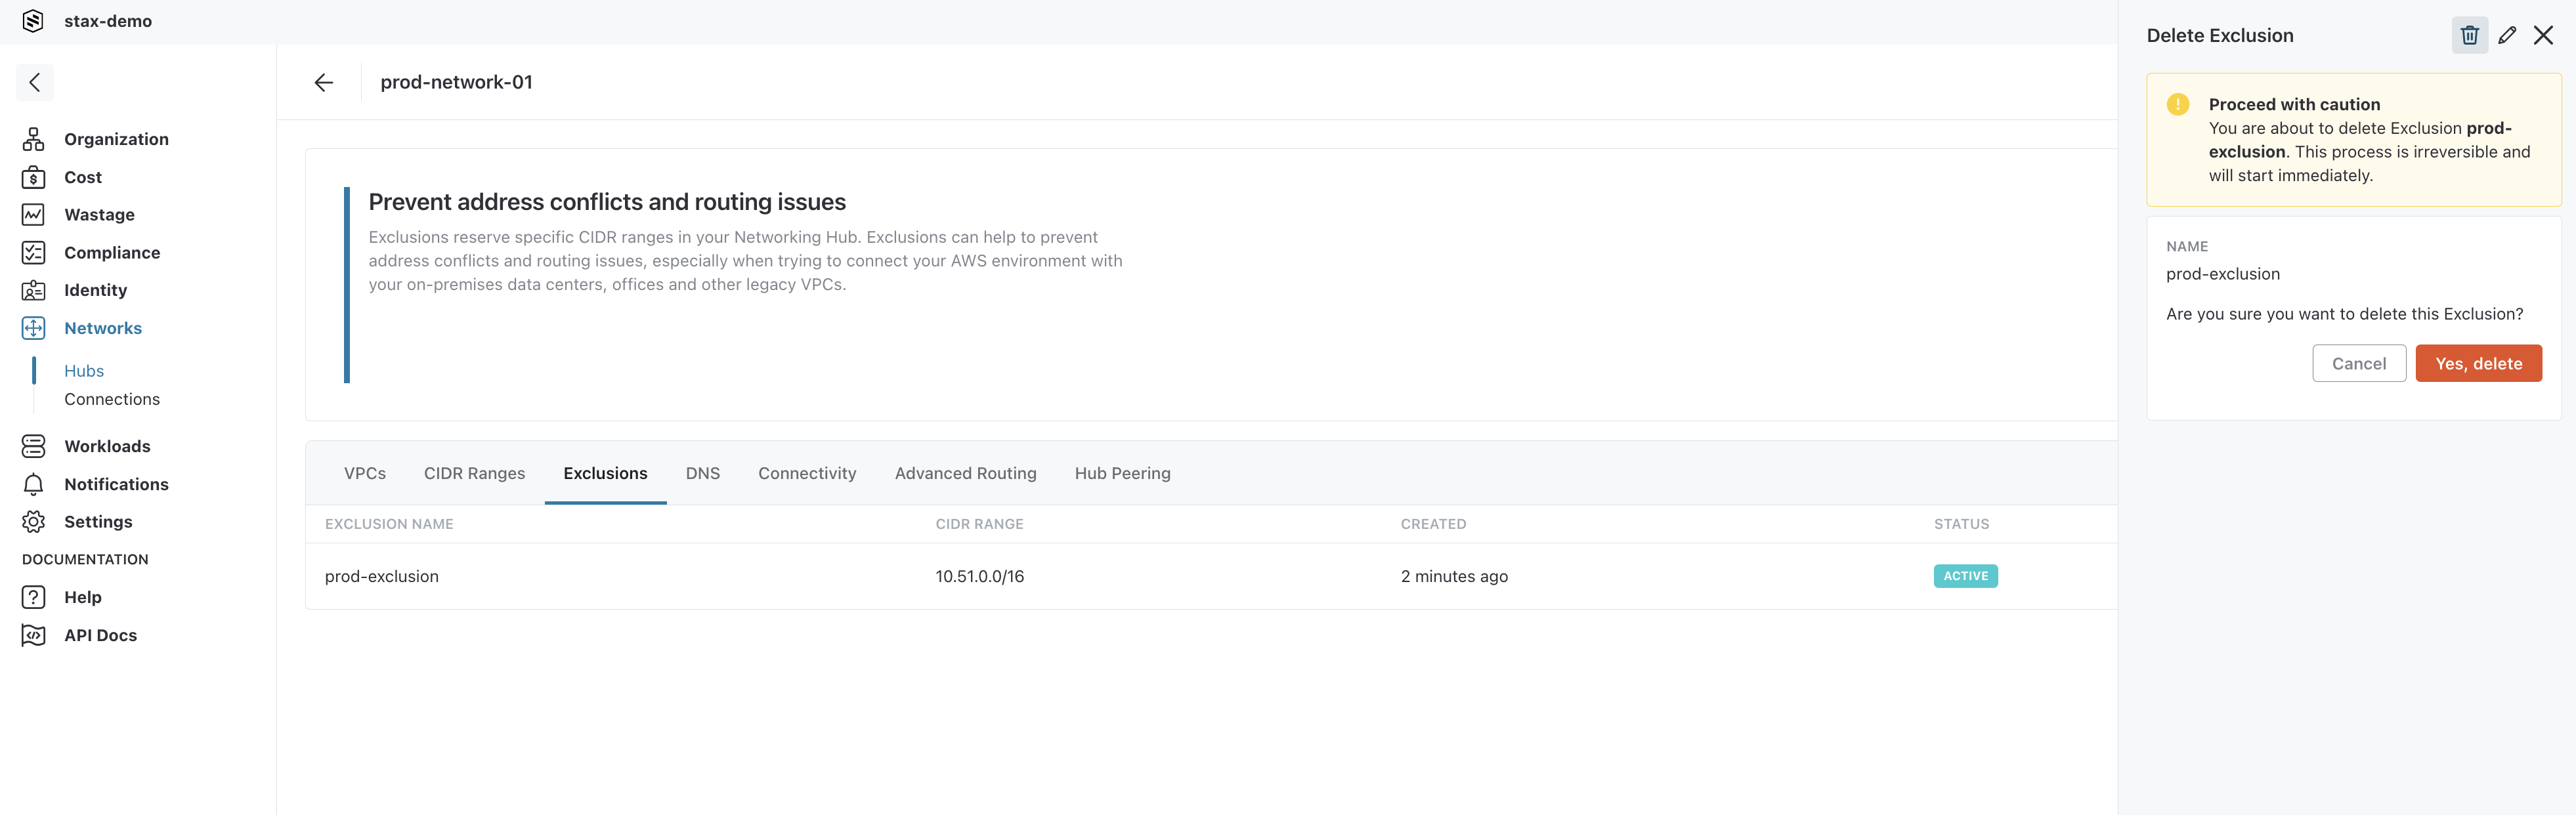
Select the Yes, delete button to confirm the deletion of the Exclusion
-
The Exclusion will be immediately removed from the Networking Hub.